本文的目的是让有基本技能的系统工程师能够快速理解并部署vRealize automation进而做深入的学习和研究
任何系统设置和排错的问题请在后面跟帖讨论
安装前的准备条件操作系统及APP:
windows 2012 R2 Standard
sql server 2012
centos 7.5
vmware esxi6.7
vmware vcsa6.7
vmware vrealize automation 7.1
Java
基本原理:
我们将会参考vmware hands-on lab创建一个完整的应用环境
可以使用一台拥有32GB内存的windows主机安装vmware workstation完成这个配置
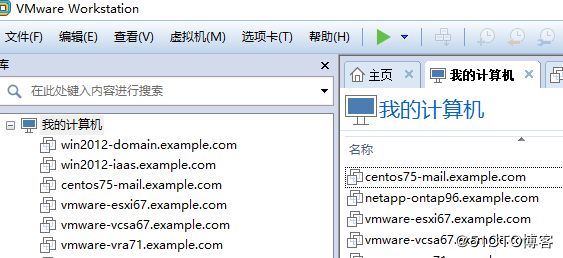
准备一台域控和DNS windows2012 安装AD/LDAP/DNS等服务
准备一台基于windows2012的IAAS和SQL Server(或安装一台独立的SQL Server)
安装一台邮件服务器,这里我们使用Centos的sendmail+dovecot的基本配置
安装一台esxi主机,要求内存不低于32GB
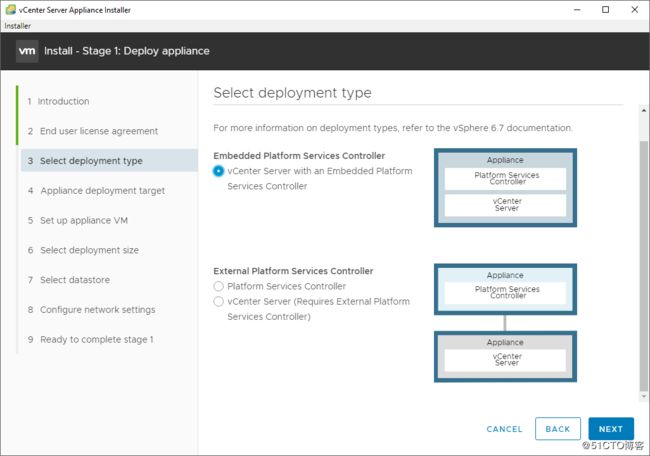
安装vcsa6.7到前面的esxi主机上并完成vCetner初始配置
利用esxi web-ui 或vcenter部署vrealize automation7.1
环境配置描述:
在动手前,请仔细考虑一下我们如何定义这个环境
AD/LDAP win2012-domain.example.com 192.168.0.100
IAAS/SQL win2012-iaas.example.com 192.168.0.101
EMAIL centos75-mail.example.com 192.168.0.102
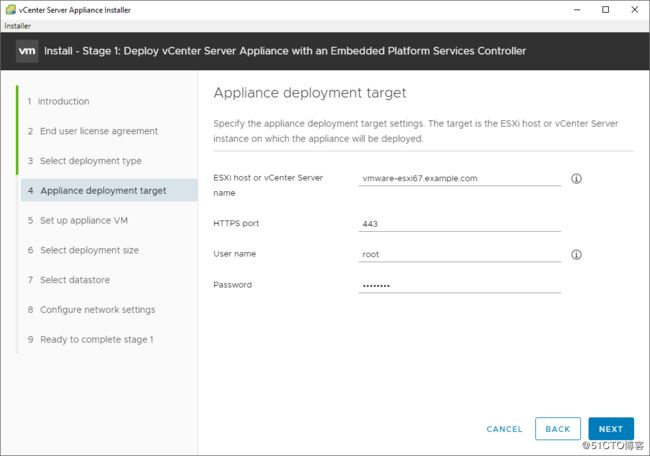
ESXI vmware-esxi67.example.com 192.168.0.111(假设我们有多台esxi可以使用112,113,114...)
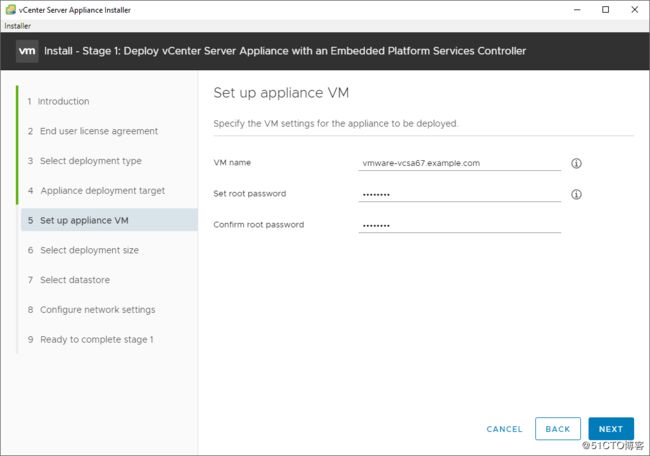
VCENTER vmware-vcsa67.example.com 192.168.0.103
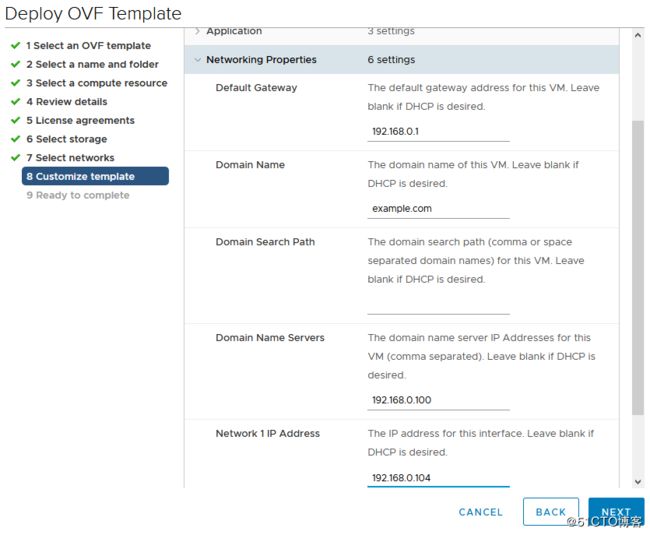
VREALIZE vmware-vra71.example.com 192.168.0.104
开始基本安装和基本配置:
以下的安装配置都是基于vmware workstation 14/15多次的测试并可以完全运行的
你的电脑建议使用intel xeon或i3, i5, i7四核或更高级别的处理器,内存32GB,固态硬盘
为保证试验成功,请安装下面的顺序一次安装和配置
Example: 解决DNS问题后,部署才能使用FQDN
用户名:administrator [email protected] [email protected] [email protected] root
密码: P@ssw0rd
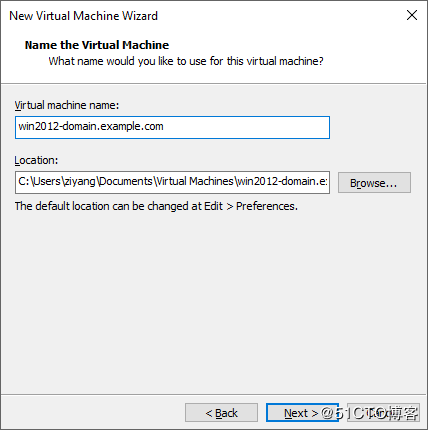
1. 安装windows2012,自定义内存1GB,磁盘15GB
更改主机名为:win2012-domain,设置IP地址:192.168.0.100,启用远程桌面,reboot
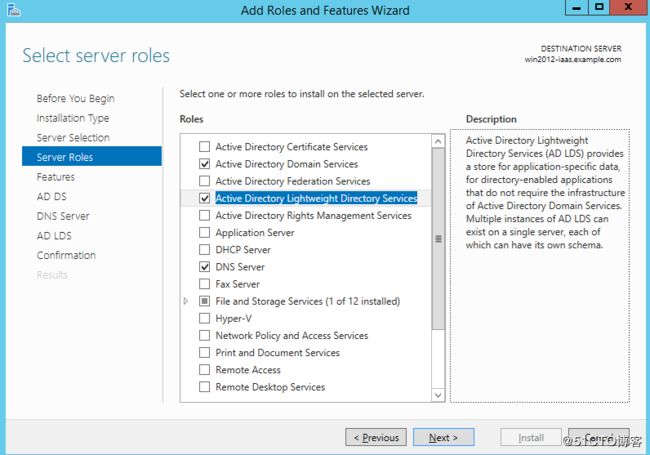
安装新的roles/features,我们需要选择AD/LDAP/DNS三个Roles并安装
promot DC,创建新的域控,域名是example.com
创建测试用户和组
group: support(engineer1, enginner2)
user: engineer1(user11, user12), engineer2(user21, user22)
创建DNS并按前面的信息指定A记录,设置MX记录只想centos75-mail,设置别名mail/smtp都指向centos75-mail
关闭windows防火墙,Reboot
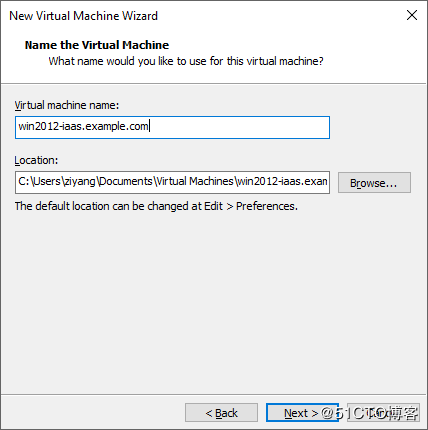
2. 安装windows2012,自定义CPU 2,内存8GB,磁盘30GB
设置主机名:win2012-iaas,IP:192.168.0.101,DNS:192.168.0.100,Reboot
加入EXAMPLE域,Reboot,关闭防windows火墙,启用远程桌面
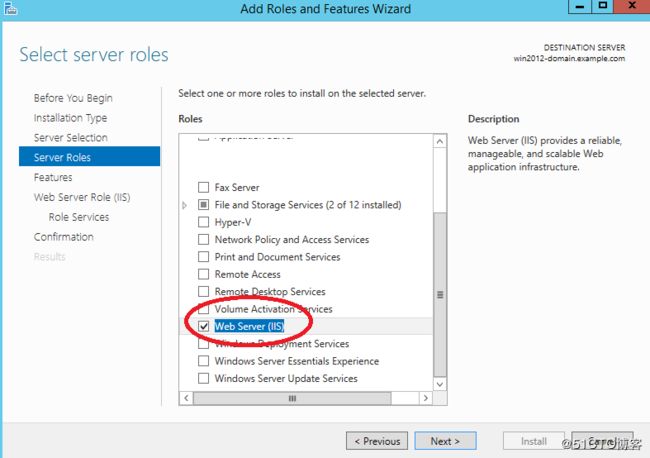
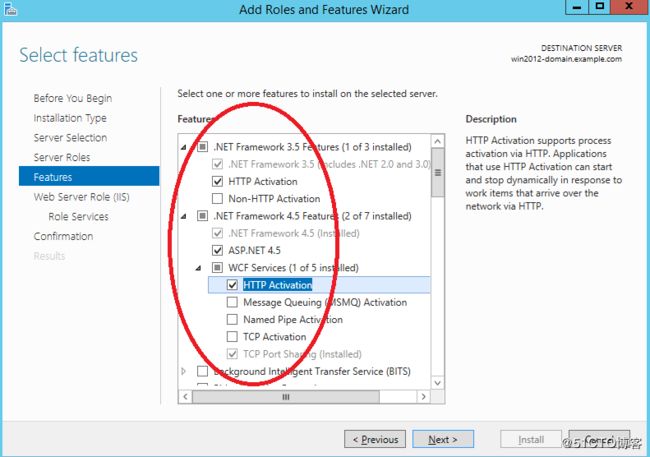
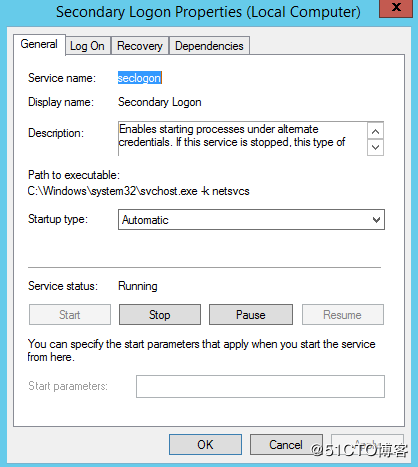
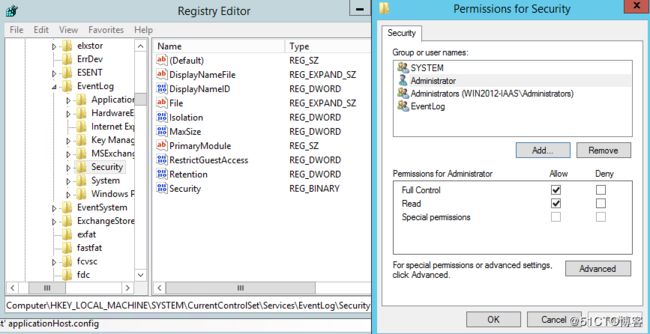
安装新的Roles/Features,下面的IIS/ASP.NET等feature及注册表等是安装vrealize IAAS主机时需要的,这里可以参考VMware的说明
IAAS主机还需要继续设置
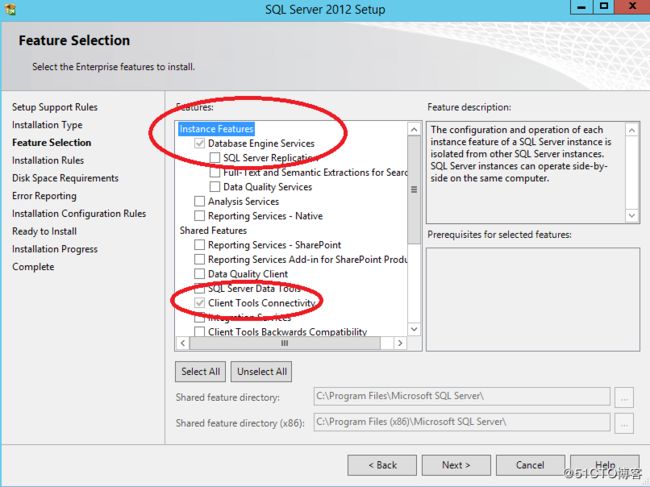
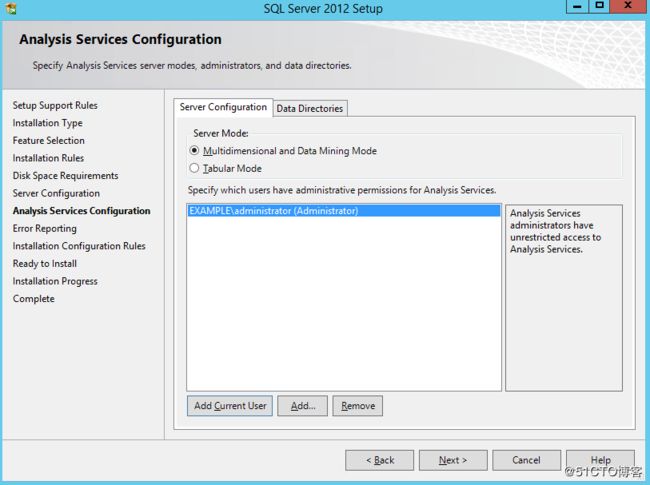
安装SQLServer,只需要安装Database Engine Service和Client Tools Connectivity即可
3. 安装centos7.5,自定义硬件512MB内存,10GB硬盘,软件最小化安装
配置网络IP:192.168.0.102, DNS:192.168.0.100
yum install sendmail sendmail-cf
yum install dovecot
systemctl disable firewalld
systemctl enable sendmail
systemctl enable dovecot
vi /etc/selinux/config
selinux=disabled
关于sendmail/dovecot的详细配置不作详细说明,如有疑问请跟帖提问
4. 安装esxi,自定义硬件4核心CPU,32GB内存,100GB硬盘
网络配置IP:192.168.0.111,DNS:192.168.0.100
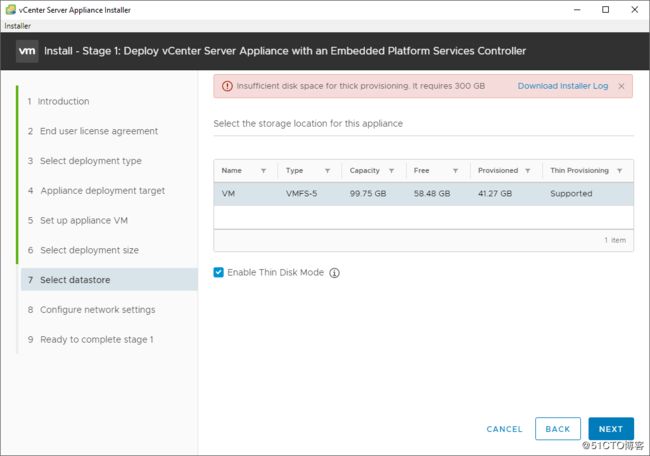
5. 安装vcsa
X:\vcsa-ui-installer\win32\installer.exe
vCenter集成LDAP认证
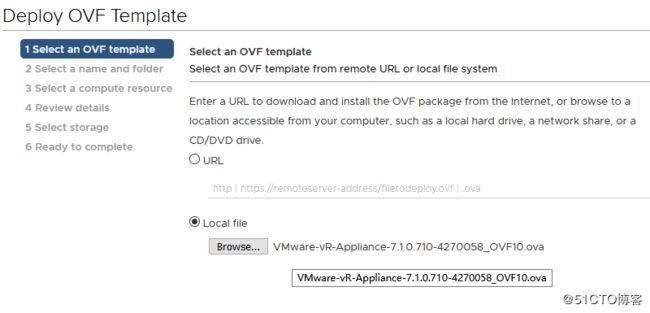
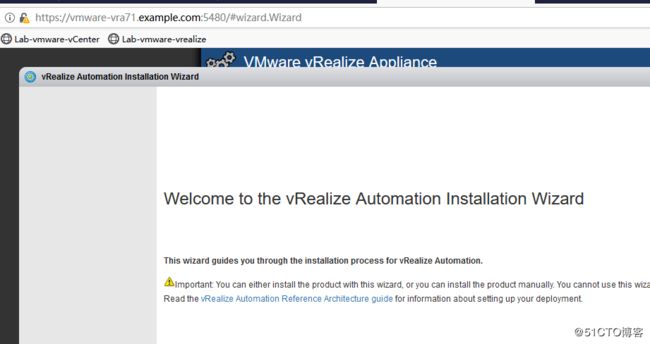
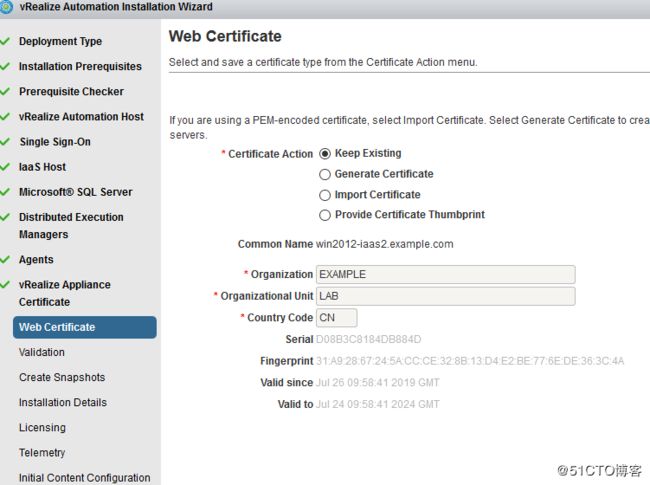
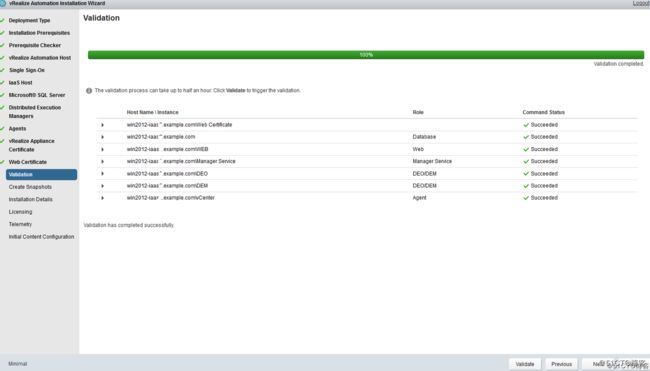
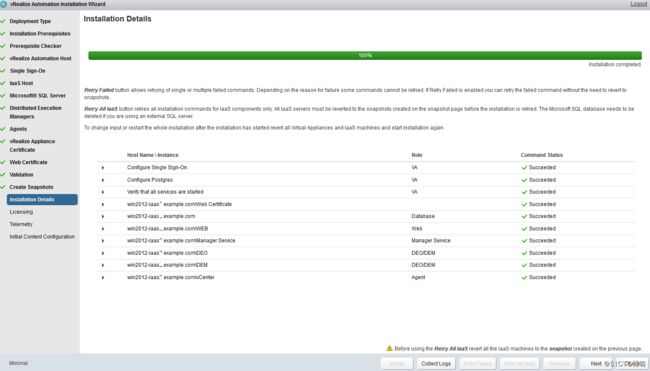
6. 安装vrealize automation
使用vcenter部署vrealize automation OVF,在选择磁盘时使用thin provision
https://vmware-vcsa67.example.com
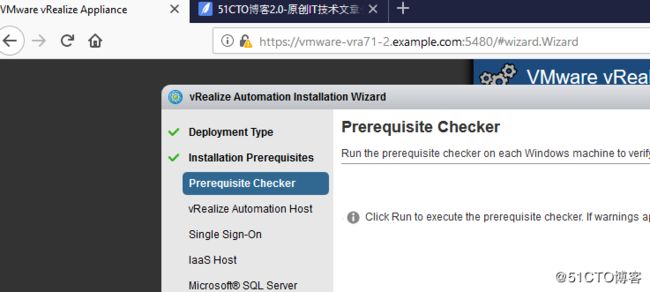
完成设置
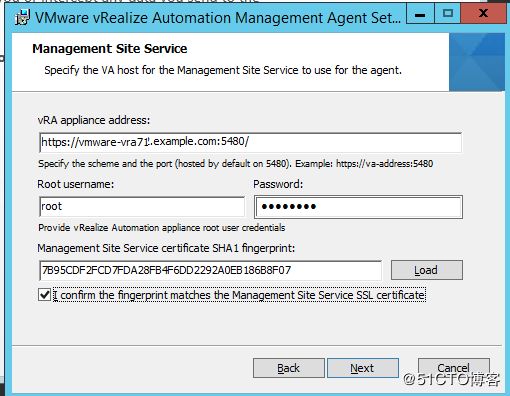
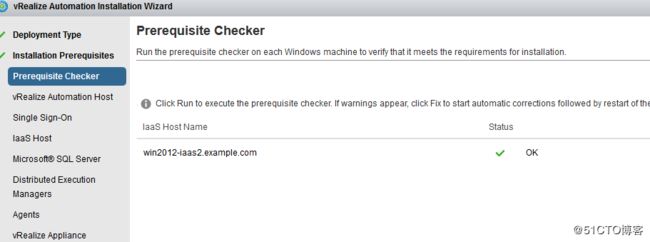
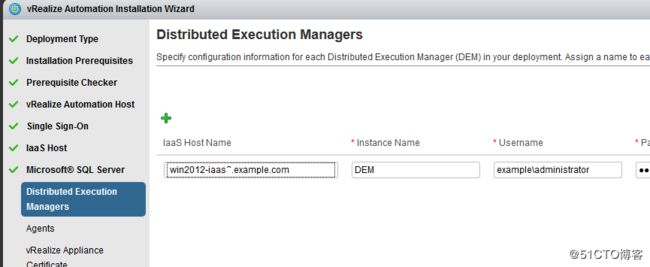
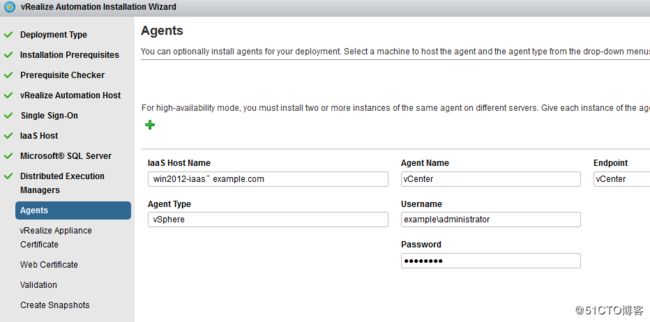
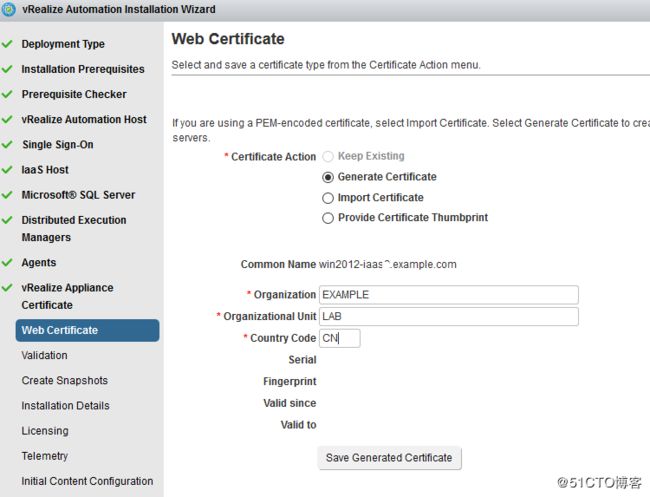
https://vmware-vra71.example.com:5480/installer/vCAC-IaaSManagementAgent-Setup.msi
这一步是在win2012-iaas上安装
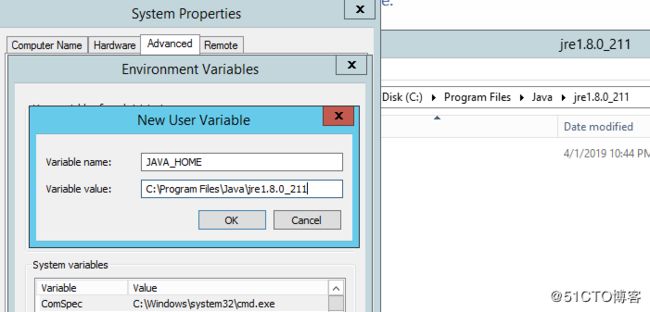
同时安装java 64bit并设置环境变量JAVA_HOME="C:\Program Files\Java\jre1.8.0_211",这里取决于你的JAVA版本
![]()
vRealize Automation 7 高级配置
1. 在win2012-iaas上安装GuestAgent,用于创建自定义虚拟机
2. xxx
3. xxx
