1.新建一个Android应用(已有的跳过)
2.在项目中增加RN
2.1 在Android项目的根目录,按顺序执行下列命令:
$npm init

$npm install --save react

$npm install --save react-native
2.2 增加start命令
打开init生成的package.json,在“scripts”内添加“start”,如下:
"scripts": {

"test":"echo \"Error:notestspecified\" && exit 1",

"start":"node node_modules/react-native/local-cli/cli.js start"

}
整个package.json类似这样:
{
    "name": "rnandnative",
    "version": "1.0.0",
    "description": "",
    "main": "index.android.js",
    "scripts": {
        "test": "echo \"Error: no test specified\" && exit 1",
        "start": "node node_modules/react-native/local-cli/cli.js start"
    },
    "author": "",
    "license": "ISC",
    "dependencies": {
        "react": "^15.5.4",
        "react-native": "^0.44.0"
    }
}
2.3 新建index.android.js
直接把“ AwesomeProject”里的index.android.js拷贝过来,修改AppRegistry.registerComponent注册的name,这里的name需要和package.json的name一致。
AppRegistry.registerComponent('rnandnative', () => AwesomeProject);
3.配置Native部分
3.1配置gradle(构建工具)
- 在Android根目录下的build.gradle中添加RN maven 入口
allprojects {
    repositories {
        jcenter()
            maven {
                url "$rootDir/node_modules/react-native/android"
            }
     }
}
- 在app目录下的build.gradle中添加项目的react-native依赖
compile "com.facebook.react:react-native:+" // From node_modules
dependencies {
    compile fileTree(dir: 'libs', include: ['*.jar'])
    androidTestCompile('com.android.support.test.espresso:espresso-core:2.2.2', {
        exclude group: 'com.android.support', module: 'support-annotations'
    })
    compile 'com.android.support:appcompat-v7:25.3.1'
    compile 'com.android.support.constraint:constraint-layout:1.0.2'
    compile "com.facebook.react:react-native:+" // From node_modules
    testCompile 'junit:junit:4.12'
}
3.2 添加权限
在安卓的配置文件AndroidManifest.xml中添加权限
/**添加网络访问权限**/
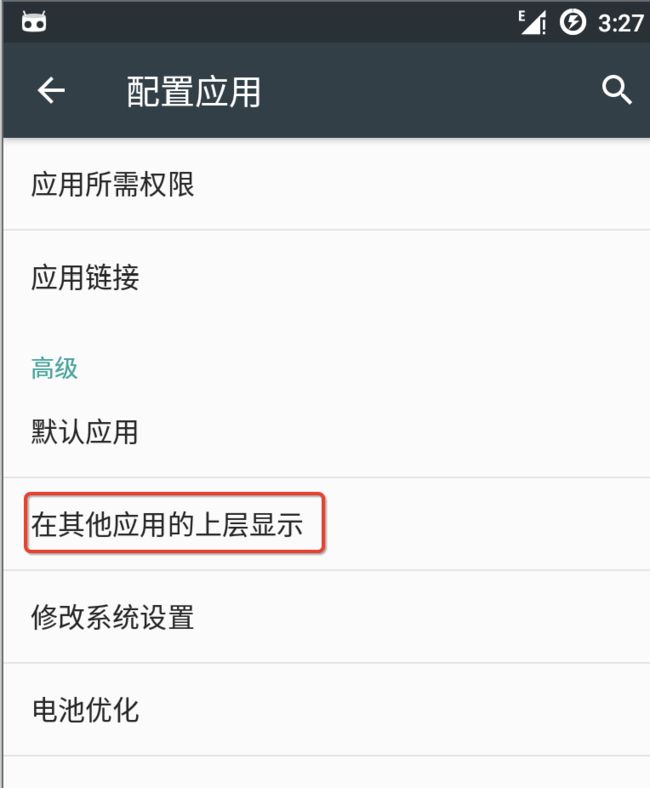
手机在debug模式下从自己的计算机下载index页面。下载的过程会有个提示的dialog,显示它需要上面的权限。6.0及以上的系统,除了在Manifest里授权,还需要在系统设置里的“应用”里的“在其他应用的上层显示”里,找到我们的应用,勾选上允许。大致如下图:
4.编写Activity
我在MainActivity中添加了一个按钮,跳转到RN的Activity,RN的Activity代码如下:
import android.app.Activity;
import android.content.Context;
import android.content.Intent;
import android.os.Bundle;
import android.view.KeyEvent;
import com.facebook.react.common.LifecycleState;
import com.facebook.react.ReactInstanceManager;
import com.facebook.react.ReactRootView;
import com.facebook.react.modules.core.DefaultHardwareBackBtnHandler;
import com.facebook.react.shell.MainReactPackage;


public class MyRNActivity extends Activity implements DefaultHardwareBackBtnHandler {
    private ReactRootView mReactRootView;
    private ReactInstanceManager mReactInstanceManager;

    public static void startActivity(Context context){
        Intent intent = new Intent(context, MyRNActivity.class);
        context.startActivity(intent);
    }

    @Override
    protected void onCreate(Bundle savedInstanceState) {
        super.onCreate(savedInstanceState);

        mReactRootView = new ReactRootView(this);
        mReactInstanceManager = ReactInstanceManager.builder()
                .setApplication(getApplication())
                .setBundleAssetName("index.android.bundle")
                .setJSMainModuleName("index.android")
                .addPackage(new MainReactPackage())
                .setUseDeveloperSupport(true)
                .setInitialLifecycleState(LifecycleState.RESUMED)
                .build();
        mReactRootView.startReactApplication(mReactInstanceManager, "rnandnative", null);

        setContentView(mReactRootView);
    }

    @Override
    protected void onResume() {
        super.onResume();

        if(mReactInstanceManager != null){
            mReactInstanceManager.onHostResume(this, this);
        }
    }

    @Override
    protected void onPause() {
        super.onPause();

        if(mReactInstanceManager != null){
            mReactInstanceManager.onHostPause(this);
        }
    }

    @Override
    protected void onDestroy() {
        super.onDestroy();

        if(mReactInstanceManager != null){
            mReactInstanceManager.onHostDestroy();
        }
    }

    @Override
    public void onBackPressed() {
        super.onBackPressed();

        if(mReactInstanceManager != null){
            mReactInstanceManager.onBackPressed();
        }else{
            super.onBackPressed();
        }
    }

    @Override
    public void invokeDefaultOnBackPressed() {
        super.onBackPressed();
    }
    //我们需要改动一下开发者菜单。
    //默认情况下,任何开发者菜单都可以通过摇晃或者设备类触发,不过这对模拟器不是很有用。
    //所以我们让它在按下Menu键的时候可以显示
    @Override
    public boolean onKeyUp(int keyCode, KeyEvent event) {
        if (keyCode == KeyEvent.KEYCODE_MENU && mReactInstanceManager != null) {
            mReactInstanceManager.showDevOptionsDialog();
            return true;
        }
        return super.onKeyUp(keyCode, event);
    }

}
5.运行
首先在项目根目录下执行:
npm start
保持packager的窗口运行不要关闭,然后像往常一样编译运行你的Android应用(在命令行中执行./gradlew installDebug或是在Android Studio中编译运行)。
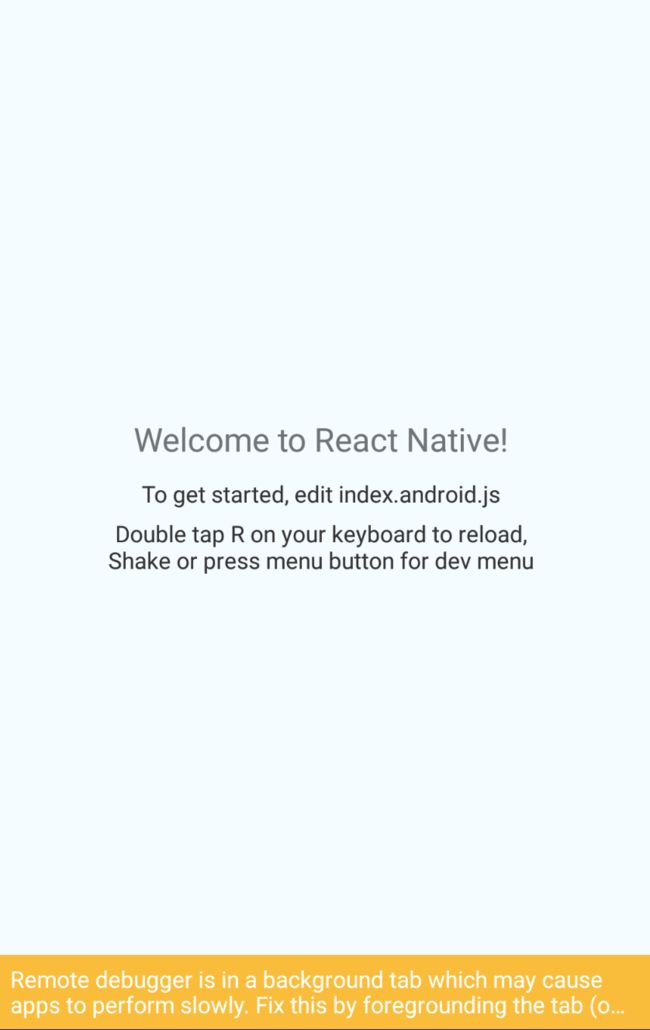
一切编译成功后,模拟器会打开app,顺利的话进入到MyRNActivity时应该就能立刻从packager中读取JavaScript代码并执行和显示:
6.打包
在根目录下执行:
react-native bundle --platform android --dev false --entry-file index.android.js
--bundle-output app/src/main/assets/index.android.bundle --assets-dest app/src/main/res/
如果assets目录不存在,需要提前自己创建一个。这样离线包就打好了,跑程序的时候会先判断assert目录下有没bundle,有的话就会用这个离线包。以后要扩展热更新,也就是替换这个文件夹下的bundle就行了。
7.遇到的问题:
1.Error:Conflict with dependency 'com.google.code.findbugs:jsr305'
解决:
在build.gradle中加入
android {
    configurations.all {
        resolutionStrategy.force 'com.google.code.findbugs:jsr305:1.3.9'
    }
}
2.找不到import com.facebook.react.LifecycleState;
解决:
这个包被移到了common下
import com.facebook.react.common.LifecycleState;
3.logcat没有crashlog
解决:
AS的logcat选择show only selected application
4.报错信息:E/AndroidRuntime: FATAL EXCEPTION: main
Process: com.example.vittorio.rninandroid, PID: 13885
android.view.WindowManager$BadTokenException: Unable to add window android.view.ViewRootImpl$W@d6bfdbd -- permission denied for window type 2003
at android.view.ViewRootImpl.setView(ViewRootImpl.java:702)
at android.view.WindowManagerGlobal.addView(WindowManagerGlobal.java:342)
at android.view.WindowManagerImpl.addView(WindowManagerImpl.java:93)
at android.app.Dialog.show(Dialog.java:316)
at com.facebook.react.devsupport.DevSupportManagerImpl.handleReloadJS(DevSupportManagerImpl.java:538)
at com.facebook.react.ReactInstanceManagerImpl$3$1.run(ReactInstanceManagerImpl.java:386)
at android.os.Handler.handleCallback(Handler.java:751)
at android.os.Handler.dispatchMessage(Handler.java:95)
at android.os.Looper.loop(Looper.java:154)
at android.app.ActivityThread.main(ActivityThread.java:6077)
at java.lang.reflect.Method.invoke(Native Method)
at com.android.internal.os.ZygoteInit$MethodAndArgsCaller.run(ZygoteInit.java:865)
at com.android.internal.os.ZygoteInit.main(ZygoteInit.java:755)
解决:
6.0及以上的系统出现的浮层权限的判断
                    if (Build.VERSION.SDK_INT >= 23) {
                        if(!Settings.canDrawOverlays(MainActivity.this)) {
                            Intent intent = new Intent(Settings.ACTION_MANAGE_OVERLAY_PERMISSION);
                            startActivity(intent);
                            return;
                        } else {
                            //绘ui代码, 这里说明6.0系统已经有权限了
                        }
                    } else {
                        //绘ui代码,这里android6.0以下的系统直接绘出即可
                    }
解决:
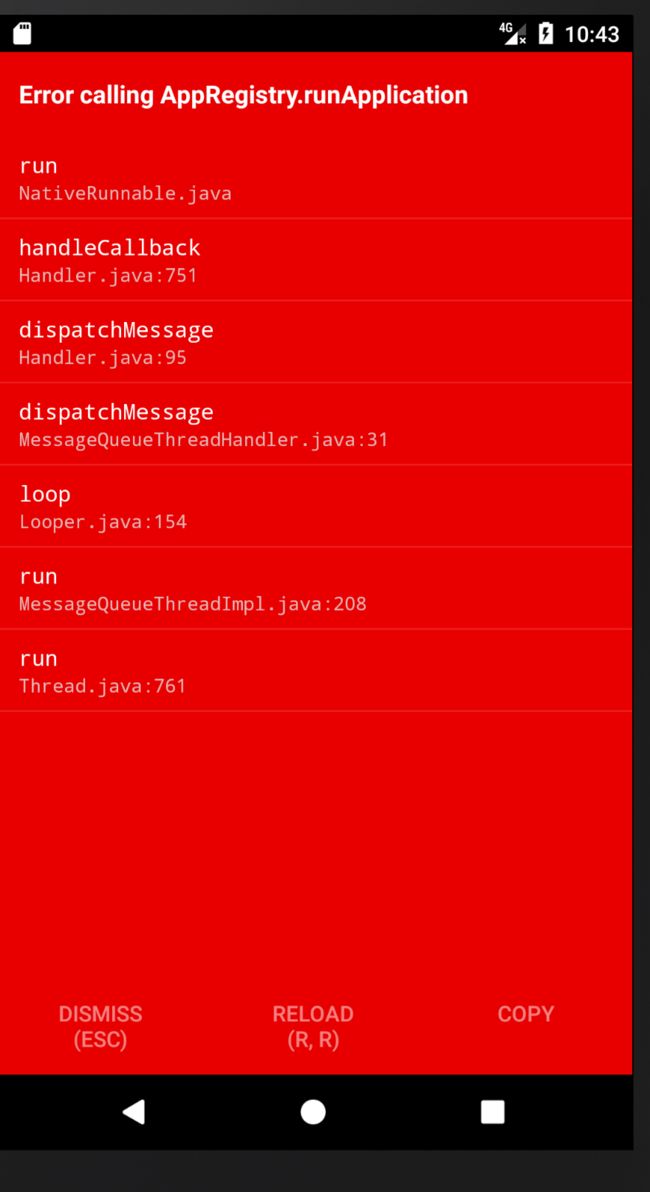
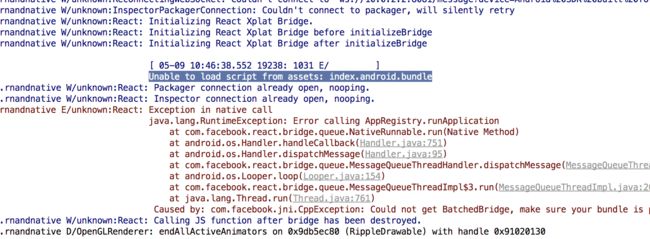
尝试用离线包的方式,是可以正常跑起来的,所以去掉调用离线文件夹的那句代码,再跑,发现下面错误:
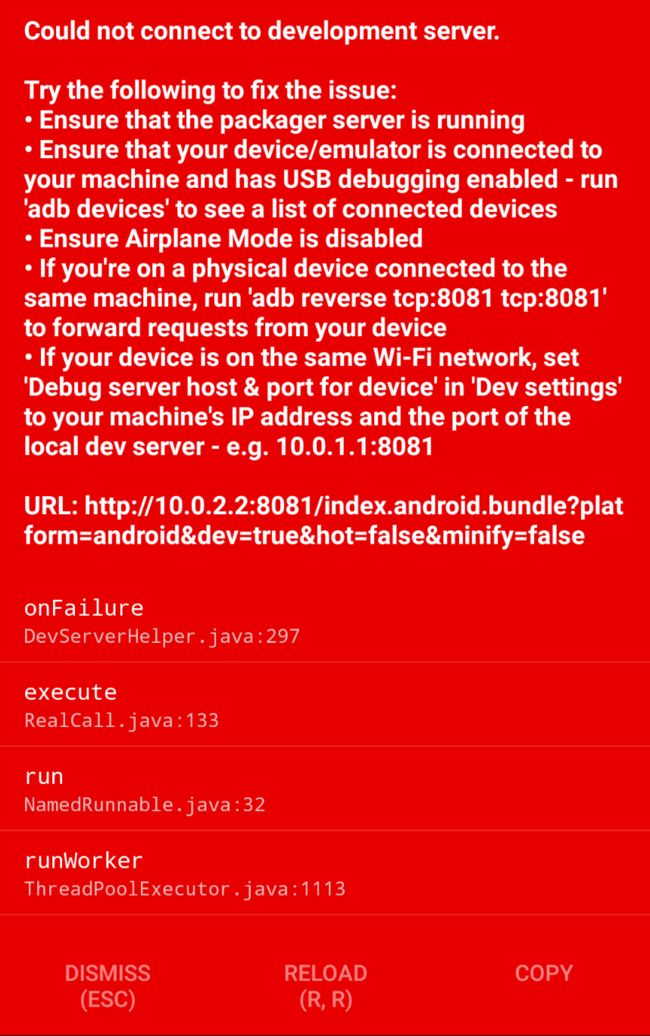
10.0.2.2是模拟器访问本机的ip,于是就去访问本机的
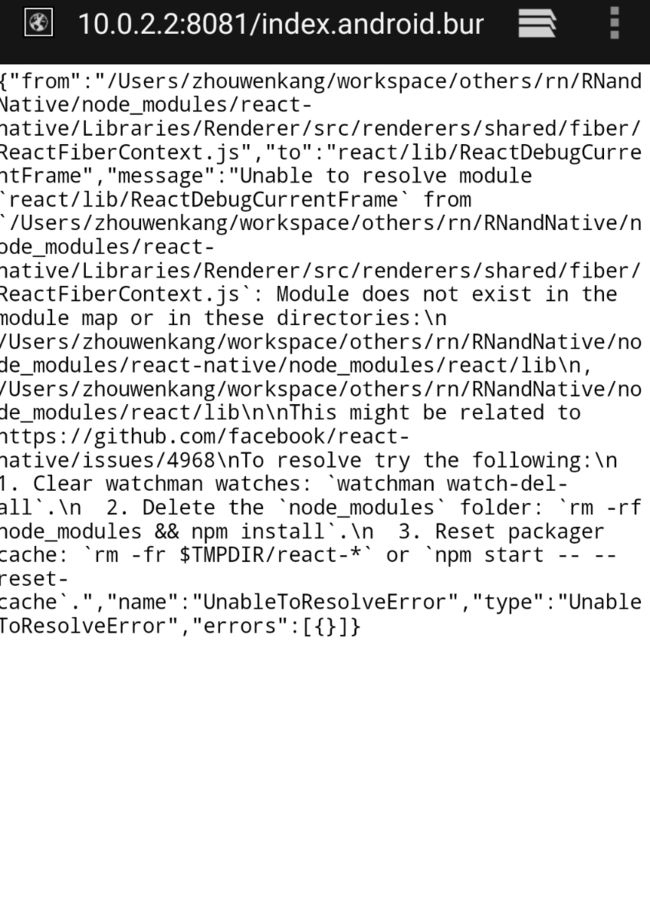
http://localhost:8081/index.android.bundle?platform=android&dev=true&hot=false&minify=false ,发现错误:
解决:
应该是由于react版本不对,在 https://github.com/react-community/react-navigation/issues/923 找到方式解决:
{
    "react": "16.0.0-alpha.6",
    "react-native": "0.43.3",
    "react-navigation": "git+https://github.com/react-community/react-navigation.git#7edd9a7"
}
再打开 http://localhost:8081/index.android.bundle?platform=android&dev=true&hot=false&minify=false ,发现bundle是正确的了,但在模拟器上还是一直的问题。猜想一定是网络的问题,于是发现自己犯可一个错误,把网络的权限写在了application下了,应该是同级:
改完重新build,打开,果然可以了,大功告成。
快捷键:
AS中补全库文件:option(alt)+enter
App中打开debug工具:command + M
