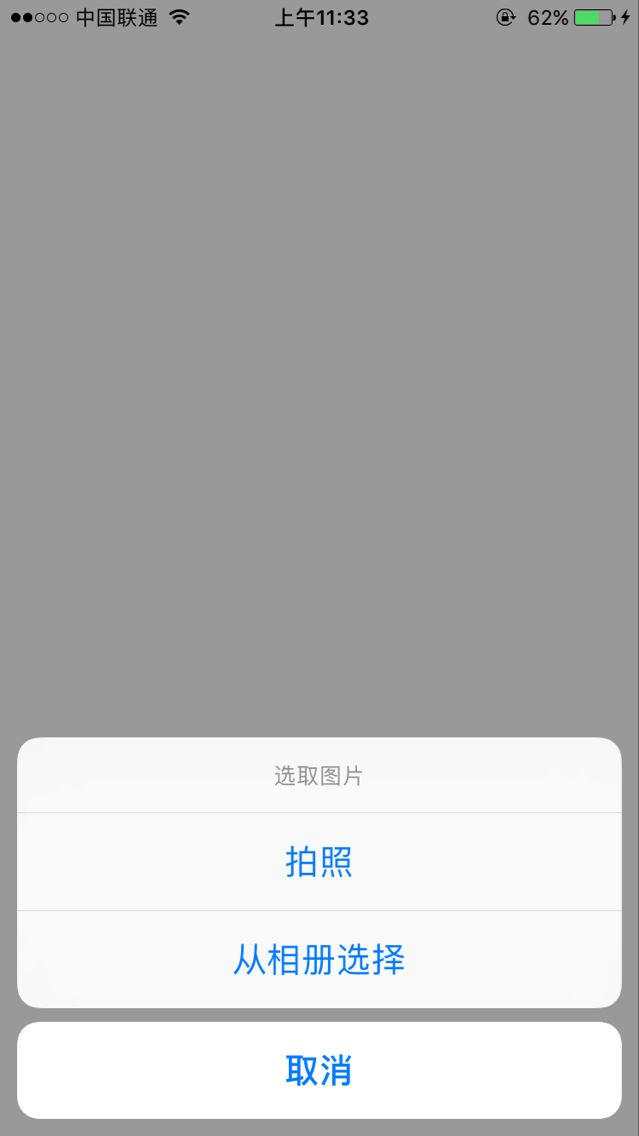
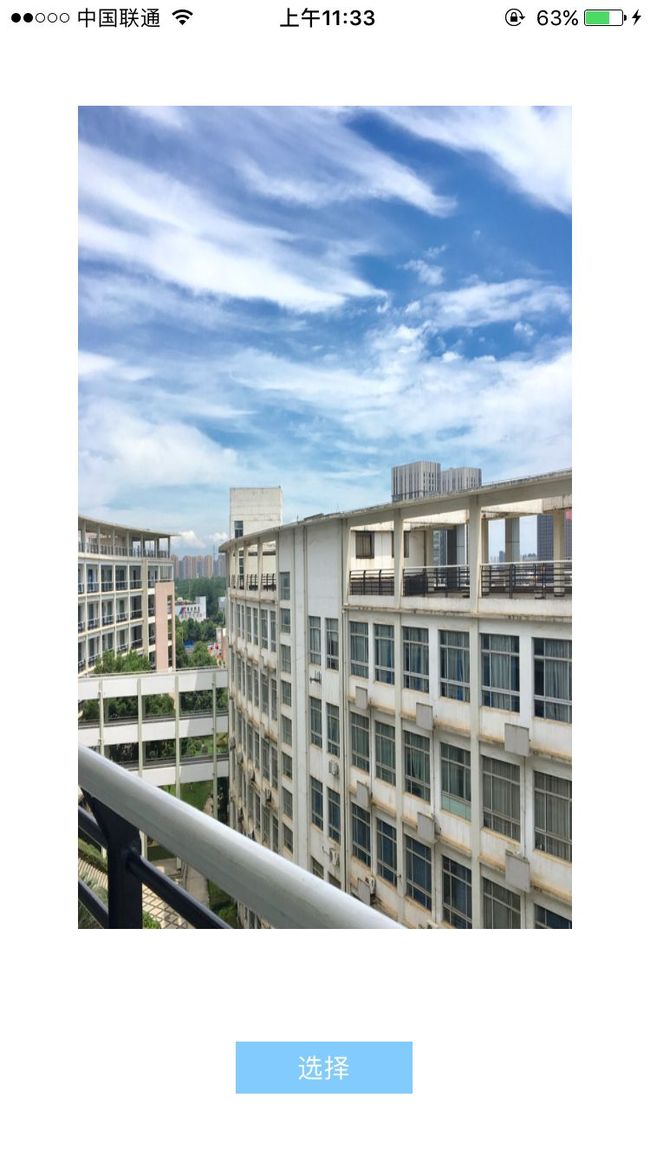
详细代码及注释见下
需要注意的几个点
一 访问相机,相册权限
二 在你的XCode工程中的AppDelegate.m文件中创建应用Key,填入申请的授权Key(SDK使用的是应用密钥里的Application ID)
- (IBAction)chooseImage:(id)sender {
//创建一个UIImagePickerController对象
UIImagePickerController *imagePickerController=[[UIImagePickerController alloc]init];
// 设置代理
imagePickerController.delegate=self;
// 设置可编辑
imagePickerController.allowsEditing=YES;
// 创建提示框,提示选择照相机还是系统相册
UIAlertController *alert=[UIAlertController alertControllerWithTitle:@"选取图片" message:nil preferredStyle:UIAlertControllerStyleActionSheet];
UIAlertAction *camerAction=[UIAlertAction actionWithTitle:@"拍照" style:UIAlertActionStyleDefault handler:^(UIAlertAction *action){
// 选择相机时设置UIImagePickerController对象相关属性
imagePickerController.sourceType=UIImagePickerControllerSourceTypeCamera;//照相机
imagePickerController.cameraDevice=UIImagePickerControllerCameraDeviceRear;//后置摄像头
// UIImagePickerControllerCameraDeviceFront 前置摄像头
// 跳转到 UIImagePickerController控制器弹出相机
[self presentViewController:imagePickerController animated:YES completion: ^{}];
}];
UIAlertAction *photoAction=[UIAlertAction actionWithTitle:@"从相册选择" style:UIAlertActionStyleDefault handler:^(UIAlertAction *action){
// 选择相册时设置UIImagePickerController对象相关属性
imagePickerController.sourceType=UIImagePickerControllerSourceTypePhotoLibrary;//相册
//跳转到UIImagePickerController控制器弹出相册
[self presentViewController:imagePickerController animated:YES completion:^{}];
}];
// 取消按钮
UIAlertAction *cancelAction=[UIAlertAction actionWithTitle:@"取消" style:UIAlertActionStyleCancel handler:^(UIAlertAction *action){
}];
if ([UIImagePickerController isSourceTypeAvailable:UIImagePickerControllerSourceTypeCamera]) {
// 添加各个按钮事件
[alert addAction:camerAction];
[alert addAction:photoAction];
[alert addAction:cancelAction];
// 弹出提示框
[self presentViewController:alert animated:YES completion:nil];
}
}
-(void)imagePickerController:(UIImagePickerController *)picker didFinishPickingMediaWithInfo:(NSDictionary*)info
{
//获取到的图片
UIImage *image=[info objectForKey:UIImagePickerControllerEditedImage];
// UIImagePickerControllerOriginalImage 原始图片
// UIImagePickerControllerEditedImage 修改后的图片
self.imageView.image = image;
//self.imageView.image=image;
// 关闭模态视图
[picker dismissViewControllerAnimated:YES completion:^{
}];
// 调用上传方法
[self uploadImage:image];
// SEL selectorToCall=@selector(image:didFinishSavingWithError:contextInfo:);
// UIImageWriteToSavedPhotosAlbum(image, self, selectorToCall, NULL);
}
-(void)imagePickerControllerDidCancel:(UIImagePickerController *)picker
{
//关闭模态视图
[self dismissViewControllerAnimated:YES completion:nil];
}
-(void)uploadImage:(UIImage *)image{
//图片按1的质量压缩,转换成NSData
// UIImageJPEGRepresentation 方法在耗时上比较少 而 UIImagePNGRepresentation 耗时操作时间比较长,如果没有对图片质量要求太高,建议优先使用UIImageJPEGRepresentation
NSData *imageData=UIImageJPEGRepresentation(image, 1);
//图片保存至沙盒
// NSArray *paths=NSSearchPathForDirectoriesInDomains(NSDocumentDirectory, NSUserDomainMask, YES);
// NSString *doucument=paths[0];
// NSString *fullpath=[doucument stringByAppendingPathComponent:@"photo.jpg"];
// [imageData writeToFile:fullpath atomically:YES];
// 添加一个名为Notes的表
BmobObject *notes=[BmobObject objectWithClassName:@"Notes"];
//创建Bmob文件夹把图片数据保存进去
BmobFile *file = [[BmobFile alloc]initWithFileName:@"photo.jpg" withFileData:imageData];
// 上传
[file saveInBackground:^(BOOL isSuccessful,NSError *error){
//如果文件保存成功,则把文件添加到photo列
if (isSuccessful) {
[notes setObject:file forKey:@"photo"];
[notes saveInBackground];
NSLog(@"file url %@",file.url);
}
else{
NSLog(@"%@",error);
}
}];
}
-(void)image:(UIImage *)image didFinishSavingWithError:(NSError *)error contextInfo:(void *)contextInfo{
//是否将图片保存至相册
if (error==nil) {
NSLog(@"successfully");
}
else{
NSLog(@"Error=%@",error);
}
}
部分效果截图如下


