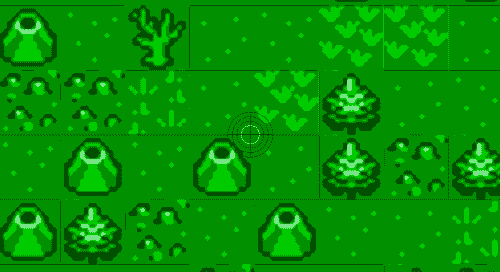
最近在使用 Unity 开发一个独立游戏,游戏里用到了 Tilemap。但却遇到一个让人很郁闷的问题,就是拼接的地图总是有随机出现的缝隙。
经过网络搜索和自己摸索,总结了几条解决此问题的技巧。
这里有一点要提醒:因为我的游戏是像素风,所以修改下面两项设置可以获得很好的效果。如果是非像素风的游戏,那不应该修改下面两项设置,而是应该直接按照本文最后的方法对图片进行边缘扩展。
首先,确保你的图片宽度和高度是偶数。然后对 Unity 进行如下设置:
- 选中图片,将图片的 Filter Mode 指定为 Point (no filter)
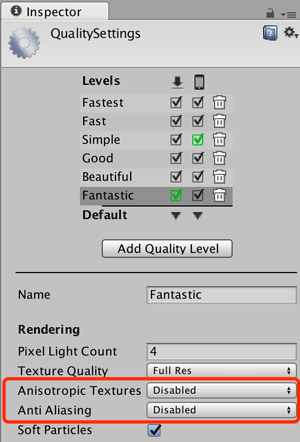
- 选择菜单 Edit -> Project Settings -> Quality,打开 QualitySettings 设置。在这里选中每一个级别,将其中的 Anisotropic Textures 和 Anti Aliasing 都指定为 Disabled。
经过上述设置后,对于不改变位置和缩放的 Tilemap 来说,已经可以做到清晰显示了,连接处也不会有缝隙。
但如果是需要移动或者缩放的地图,那么还是会出现缝隙,这就需要作进一步的处理。
设置 1 Pixel / 1 Unit
要在移动时消除缝隙,应该将图片的 Pixels per Unit 指定为 1。也就是一个像素对应场景里一个度量单位。
这样我们在代码里通过对 x/y 取整,就可以很容易实现 Pixel Perfect 的显示。
示例代码:
transform.position = new Vector3 (Mathf.Round (x), Mathf.Round (y), 0);
扩展图像边缘
如果对 Tilemap 进行缩放,哪怕 x/y 已经取整,显示时还是可能出现缝隙,此时就必须对图片进行处理了。
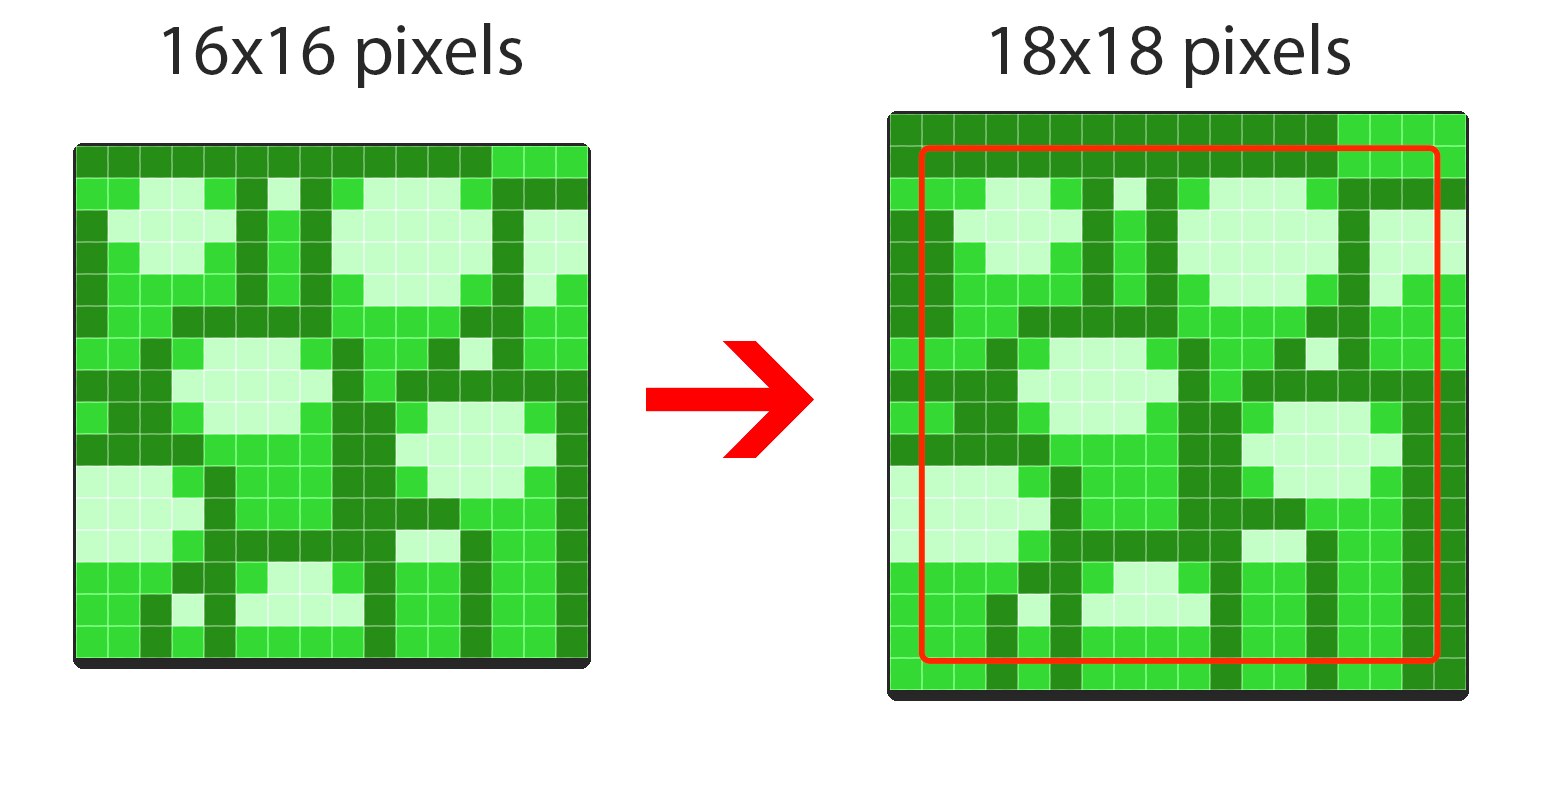
我们将原始的图片边缘进行扩展,这样在多个 Sprite 拼接为 Tilemap 时,由于有互相重叠的像素,就不会再有缝隙了。
这个事情当然可以让美术在制作图片时就考虑好此问题。如果是已经做好的图片,可以用简单的 Python 脚本来扩展:
from PIL import Image as PIL_Image

extrude_width = 1

# open origin image
image = PIL_Image.open('origin.png')
w = image.size[0]
h = image.size[1]

# left_top
left_top_point = image.crop((0, 0, 1, 1))
# right_top
right_top_point = image.crop((w - 1, 0, w, 1))
# right_bottom
right_bottom_point = image.crop((w - 1, h - 1, w, h))
# left_bottom
left_bottom_point = image.crop((0, h - 1, 1, h))
# top
top_edge = image.crop((0, 0, w, 1))
# bottom
bottom_edge = image.crop((0, h - 1, w, h))
# left
left_edge = image.crop((0, 0, 1, h))
# right
right_edge = image.crop((w - 1, 0, w, h))

# new image
nw = w + extrude_width * 2
nh = h + extrude_width * 2
newsize = (nw, nh)
newimage = PIL_Image.new("RGBA", newsize)


for i in range(0, extrude_width):
    newimage.paste(top_edge, (extrude_width, i))
    newimage.paste(left_edge, (i, extrude_width))
    newimage.paste(right_edge, (nw - i - 1, extrude_width))
    newimage.paste(bottom_edge, (extrude_width, nh - i - 1))
    for j in range(0, extrude_width):
        newimage.paste(left_top_point, (i, j))
        newimage.paste(right_top_point, (nw - i - 1, j))
        newimage.paste(right_bottom_point, (nw - i - 1, nh - j - 1))
        newimage.paste(left_bottom_point, (i, nh - j - 1))

# copy center
newimage.paste(image, (extrude_width, extrude_width))

# save new image
newimage.save('newimage.png')
这个脚本里改变 extrude_width 就可以指定要扩展多少个像素,通常四周各扩展一个像素就够用了。
这个脚本依赖 Pillow 库,所以先得用
easy_setup或者pip把 Pillow 库装上。
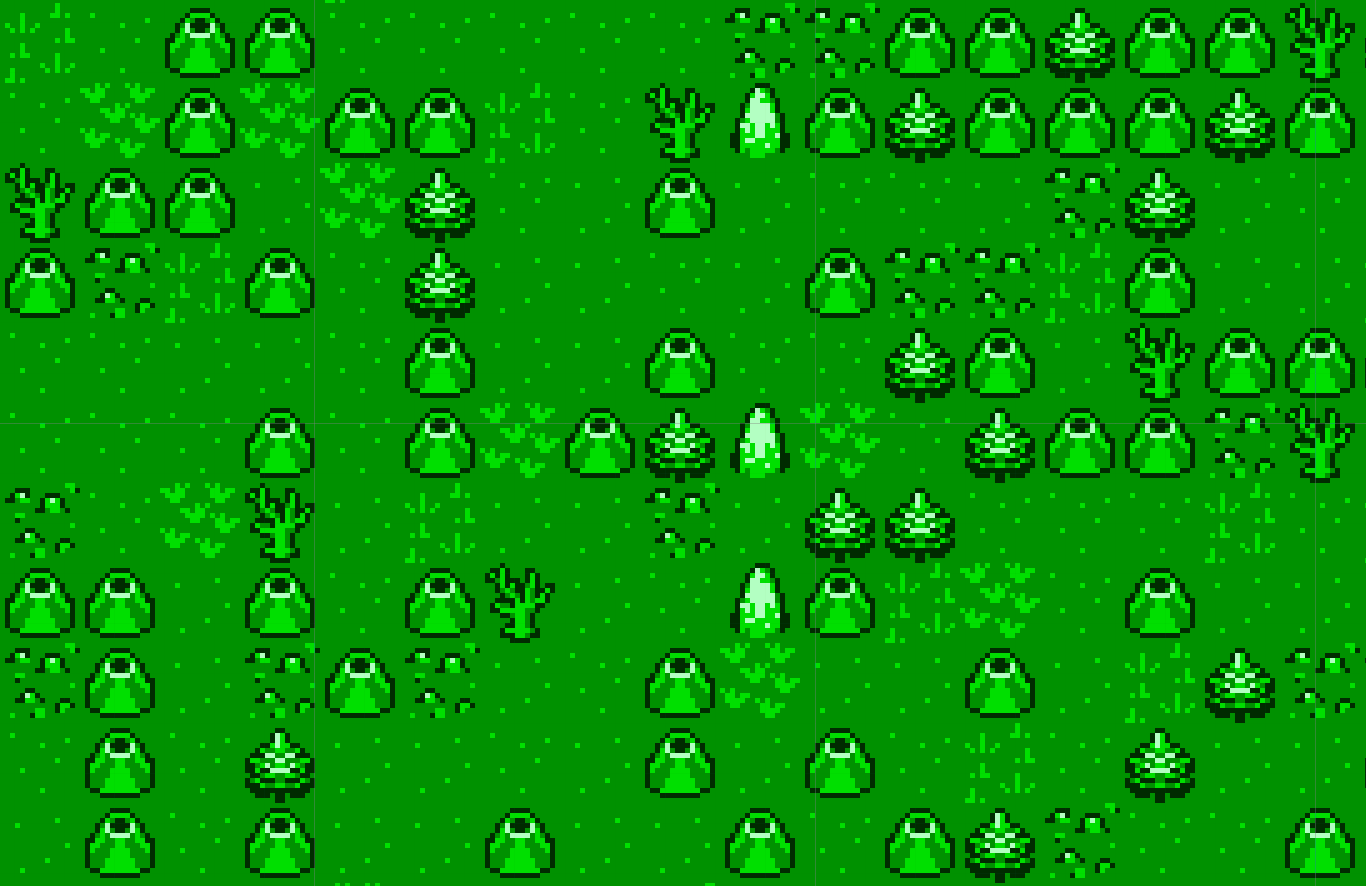
经过上述处理,Tilemap 看上去就没有任何缝隙了。
-EOF-


