[TOC]
Introducing Jest
Delightful JavaScript Testing.
简单说Jest就是一个 JS 测试框架
项目主页
http://facebook.github.io/jest/
为什么选择 Jest
Jest 是 Facebook 出品的一个测试框架,相对其他测试框架,其一大特点就是就是内置了常用的测试工具,比如自带断言、测试覆盖率工具,实现了开箱即用。
而作为一个面向前端的测试框架, Jest 可以利用其特有的快照测试功能,通过比对 UI 代码生成的快照文件,实现对 React 等常见框架的自动测试。
此外, Jest 的测试用例是并行执行的,而且只执行发生改变的文件所对应的测试,提升了测试速度。目前在 Github 上其 star 数已经破万;而除了 Facebook 外,业内其他公司也开始从其它测试框架转向 Jest ,比如 Airbnb 的尝试 ,相信未来 Jest 的发展趋势仍会比较迅猛。
适用范围
不仅能测试RN,甚至能测试Vue:http://facebook.github.io/jest/docs/en/testing-frameworks.html
Although Jest may be considered a React-specific test runner, in fact it is a universal testing platform, with the ability to adapt to any JavaScript library or framework.
特性
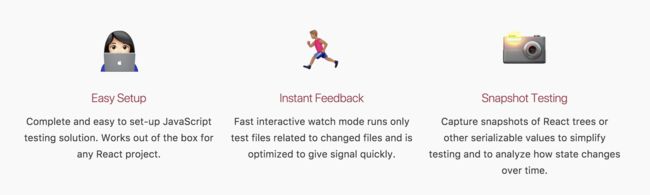
Easy Setup
完整又轻松的JS测试方案,安装、设置简单,与工程代码隔离。
Instant Feedback
多线程测试,即刻的测试结果反馈。只运行那些和更改了的文件有关的测试,提高测试速度。
Snapshot
还有一个奇妙的功能叫snapshot:对React trees(VDOM) 进行检测,比对UI代码分析改动。
安装
Install Jest using npm:
npm install --save-dev jest
Or via yarn:
yarn add --dev jest
使用
Jest 内部使用了 Jasmine 2 来进行测试,故其用例语法与 Jasmine 相同。
First, create a sum.js file:
function sum(a, b) {
  return a + b;
}
module.exports = sum;
Then, create a file named sum.test.js. This will contain our actual test:
const sum = require('./sum');

test('adds 1 + 2 to equal 3', () => {
  expect(sum(1, 2)).toBe(3);
});
Add the following section to your package.json:
{
  "scripts": {
    "test": "jest"
  }
}
Finally, run npm test and Jest will print this message:
PASS  ./sum.test.js
✓ adds 1 + 2 to equal 3 (5ms)
You just successfully wrote your first test using Jest!
在上述代码中,expect(sum(1, 2))返回一个“期望”对象,通常我们不会对这个期望对象进行匹配,而是由matchers完成,在这里.toBe(3)便是这个matchers,当Jest运行时,它会跟踪所有失败的matchers以便打印正确的错误信息给我们。
toBe使用 === 来测试全等于,如果我们想检查一个对象object中的值,使用toEqual来替代,toEqual递归遍历检查对象或数组里的每一个领域。
To learn about the other things that Jest can test, seeUsing Matchers.
测试覆盖率
Jest 内置了测试覆盖率工具 istanbul,要开启,可以直接在命令中添加 --coverage 参数,或者在 package.json 文件进行更详细的配置。
运行 istanbul 除了会再终端展示测试覆盖率情况,还会在项目下生产一个 coverage 目录,内附一个测试覆盖率的报告,让我们可以清晰看到分支的代码的测试情况。
Snapshot Test
针对前端框架的测试, Jest 的一大特色就是提供了快照测试功能。首次运行快照测试,会让 UI 框架生产一个可读的快照,再次测试时便会通过比对快照文件和新 UI 框架产生的快照判断测试是否通过。
import 'react-native';
import React from 'react';
import App from '../App';
// Note: test renderer must be required after react-native.
import renderer from 'react-test-renderer';
it('renders correctly', () => {
const tree = renderer.create(
运行测试即可生成一个快照文件。这个文件以可读的形式展示出了React渲染出的DOM结构。相比于肉眼观察效果,快照测试直接由Jest进行比对、速度更快。
在你下一次run tests的时候,rendered output 会和先前生成的快照文件进行对比。因此快照文件应该被包含于git追踪。
当快照测试失败时,你需要去判定这是你需要的修改还是无意中改动的。若是你需要的修改,调用 jest -u 去更新快照。
参考资料
- https://juejin.im/post/597aa518f265da3e345f3262
- https://segmentfault.com/a/1190000008628067
- http://facebook.github.io/jest/docs/en/tutorial-react-native.html