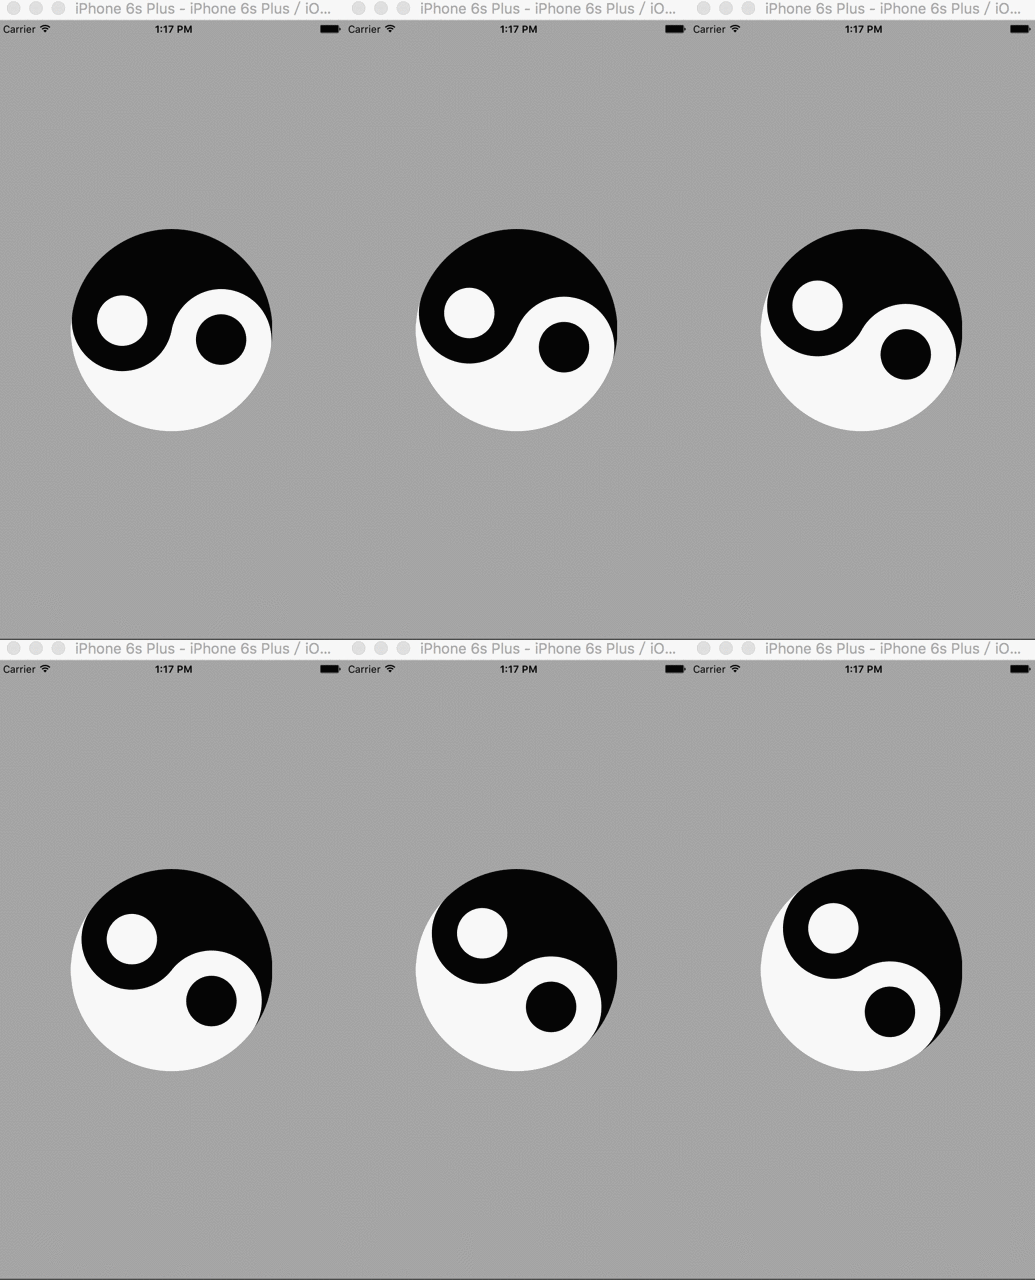
以小 Demo 形式继续学习动画,同时再次发现我们中国文化的强大啊,国外有好多词根本没有,像太极通常的翻译的就是
Tai Ji,哈哈
#import "TaiJiView.h"

@implementation TaiJiView {
    NSTimer *_timer;
    CGFloat _currentRotate; // 当前旋转偏移
}

- (instancetype)initWithFrame:(CGRect)frame {

    self = [super initWithFrame:frame];
    if (self) {
        _currentRotate = 0.0;
        self.backgroundColor = [UIColor clearColor];
        _timer = [NSTimer scheduledTimerWithTimeInterval:0.05f target:self selector:@selector(updateRotate) userInfo:nil repeats:YES];
    }
    return self;
}

- (void)dealloc {
    [_timer invalidate];
    _timer = nil;
}

- (void)updateRotate {
    _currentRotate += 0.01;
    // setNeedsDisplay会调用自动调用drawRect方法
    [self setNeedsDisplay];
}

- (void)drawRect:(CGRect)rect {

    // 获取中心点
    CGFloat x = self.frame.size.width/2;
    CGFloat y = self.frame.size.height/2;
    // 获取真正的半径
    CGFloat radius = MIN(x, y);
    // 设置当前的偏移量
    CGFloat runAngle = M_PI*_currentRotate;
    if (runAngle >= 2*M_PI) {
        runAngle -= 2*M_PI;
    }
    // 开始画
    CGContextRef context = UIGraphicsGetCurrentContext();
    // 经典的黑白颜色
    CGColorRef  whiteColor =[[UIColor colorWithRed:1.0f green:1.0f blue:1.0f alpha:1.0f] CGColor];
    CGColorRef  blackColor =[[UIColor colorWithRed:0.0f green:0.0f blue:0.0f alpha:1.0f] CGColor];
    /*
     CGContextAddArc(CGContextRef __nullable c, CGFloat x, CGFloat y,
     CGFloat radius, CGFloat startAngle, CGFloat endAngle, int clockwise)
     注意: startAngle: 开始角度
           endAngle :结束角度
           clockwise: 0 为顺时针,1 逆时针
     **/

    // 获取下部分白色的半圆(假设第一次时)
    CGContextSetFillColor(context, CGColorGetComponents(whiteColor));
    CGContextAddArc(context, x, y, radius, 0+runAngle, M_PI+runAngle, 0);
    CGContextClosePath(context);
    CGContextFillPath(context);

    // 获取上部分黑色的半圆
    CGContextSetFillColor(context, CGColorGetComponents( blackColor));
    CGContextAddArc(context, x, y, radius, M_PI+runAngle, M_PI*2+runAngle, 0);
    CGContextClosePath(context);
    CGContextFillPath(context);

    //再画右边上部分白色的半圆
    CGContextSetFillColor(context, CGColorGetComponents( whiteColor));
    CGContextAddArc(context, x+radius/2*cos(runAngle), y+radius/2*sin(runAngle), radius/2, M_PI+runAngle, M_PI*2+runAngle, 0);
    CGContextClosePath(context);
    CGContextFillPath(context);

    // 再画左边下部分黑色的半圆
    CGContextSetFillColor(context, CGColorGetComponents(blackColor));
    CGContextAddArc(context, x-radius/2*cos(runAngle), y-radius/2*sin(runAngle), radius/2, 0+runAngle, M_PI+runAngle, 0);
    CGContextClosePath(context);
    CGContextFillPath(context);

    // 再画两条半径,相当于分割线
    CGContextSetStrokeColorWithColor(context, whiteColor);
    CGContextMoveToPoint(context, x+radius*cos(runAngle), y+radius*sin(runAngle));
    CGContextAddLineToPoint(context, x, y);
    CGContextStrokePath(context);

    CGContextSetStrokeColorWithColor(context, blackColor);
    CGContextMoveToPoint(context, x-radius*cos(runAngle), y-radius*sin(runAngle));
    CGContextAddLineToPoint(context, x, y);
    CGContextStrokePath(context);

    // 再下面就是两个小圆啦
    CGContextSetFillColor(context, CGColorGetComponents( whiteColor));
    CGContextAddArc(context, x-radius/2*cos(runAngle), y-radius/2*sin(runAngle), radius/4, 0, M_PI*2, 0);
    CGContextClosePath(context);
    CGContextFillPath(context);

    CGContextSetFillColor(context, CGColorGetComponents( blackColor));
    CGContextAddArc(context, x+radius/2*cos(runAngle), y+radius/2*sin(runAngle), radius/4, 0, M_PI*2, 0);
    CGContextClosePath(context);
    CGContextFillPath(context);
}

@end
注意一:标颜色时,上面一种获取颜色在此处是无效的
 CGColorRef  blackColor = [UIColor blackColor].CGColor;
 CGColorRef  blackColor =[[UIColor colorWithRed:0.0f green:0.0f blue:0.0f alpha:1.0f] CGColor];
通过下面这些注释,我们可以理解类似[UIColor blackColor]获取颜色值,实际上相当是相当获取缓存下来的。
// Some convenience methods to create colors.
// These colors will be as calibrated as possible.
// These colors are cached.
而上述第一种情况的时候,可能并没能拿到缓存的颜色值,或者说此处是初始化CGColorRef ,并不是简单的获取颜色值 ,所以无效。
注意二: setNeedsDisplay
异步执行的方法
一旦调用setNeedsDisplay就会调用自动调用drawRect方法
而setNeedsLayout会默认调  用layoutSubViews,就可以处理子视图中的一些数据。
可以说,setNeedsDisplay方便绘图,而layoutSubViews方便更新数据。
注意三: CGContextAddArc 方法
CGContextAddArc(CGContextRef __nullable c, CGFloat x, CGFloat y,
CGFloat radius, CGFloat startAngle, CGFloat endAngle, int clockwise)
    注意: startAngle: 开始角度
           endAngle :结束角度
           clockwise: 0 为顺时针,1 为逆时针
PS:场景来自【iOS开发范例实战宝典.进阶篇】。
