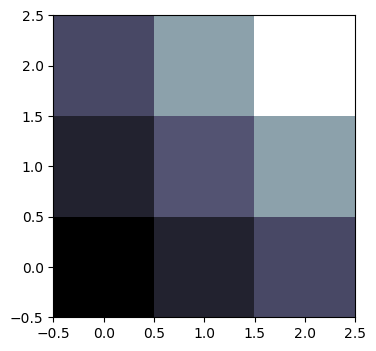
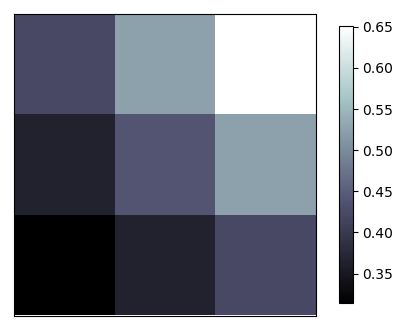
本文介绍如何在matplotlib中打印出图像。这里我们打印出的是纯粹的数字,而非自然图像。 我们今天用这样 3x3 的 2D-array 来表示点的颜色,每一个点就是一个pixel。
interpolation='nearest',修改interpolation的值可以得到不同的图形表示方法,matplotlib官网上对于内插法的不同方法的描述。下图是一个示例:
Demo.py
import matplotlib.pyplot as plt
import numpy as np

a = np.array([0.313660827978, 0.365348418405, 0.423733120134,
              0.365348418405, 0.439599930621, 0.525083754405,
              0.423733120134, 0.525083754405, 0.651536351379]).reshape(3,3)

plt.imshow(a, interpolation='nearest', cmap='bone', origin='lower')
#origin='lower'代表的就是选择的原点的位置
#interpolation='nearest',这里我们使用的是内插法中的 Nearest-neighbor 的方法,其他的方式也都可以随意取选
#下面我们添加一个colorbar ,其中我们添加一个shrink参数,使colorbar的长度变短为原来的92%
plt.colorbar(shrink=.92)
plt.xticks(())
plt.yticks(())
plt.show()
结果:


