1) 本地的ubuntu ,网上的github 都先设好
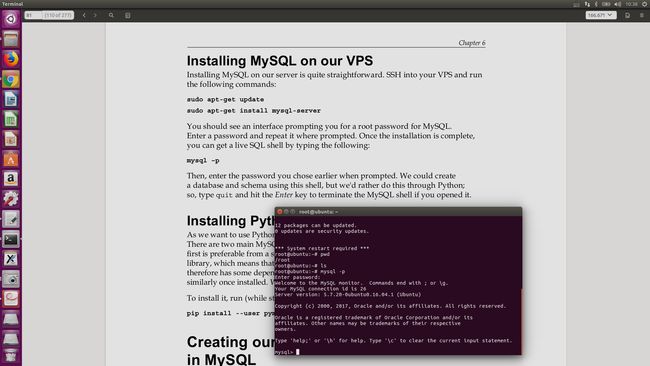
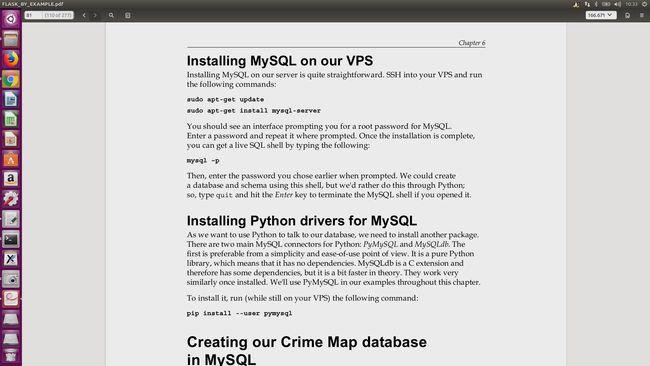
2) VPS的ubuntu 安装 mysql --
//注意(方便 接下对本地的数据库的CRUD操作的测试,==本地要先验证通过,我也在本地的ubuntu上安装了 mysql-server 和Python模块)
//注意 : 当输入 mysql -p 的时候 ,pwd 是tester common code
// 从mysql 里面 退出的时候 ,是 用quit 即可。
// 注意 ,当我本地也安装好了 mysql-server 后,直接 敲 mysql -p (VPS 可以这么输入),但本地会报错
要改成 mysql -u root -p (why: 因为 本地 你不是以 root 客户的身份进入,你现在是yangli身份
此处参考网页:
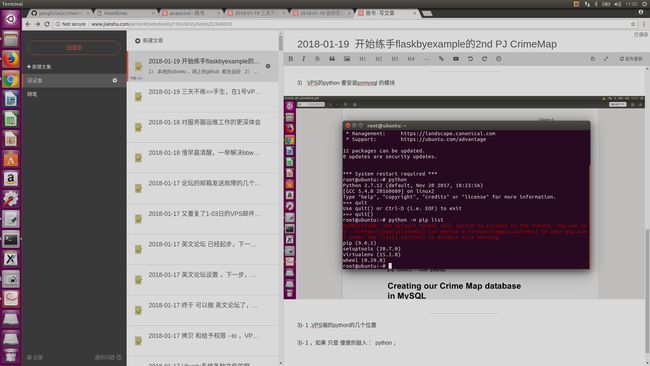
3) VPS的python 要安装pymysql 的模块
3)- 1 ,VPS端的python的几个位置
3)- 1 ,第1个位置 : == 如果 只是 傻傻的敲入 : python ,
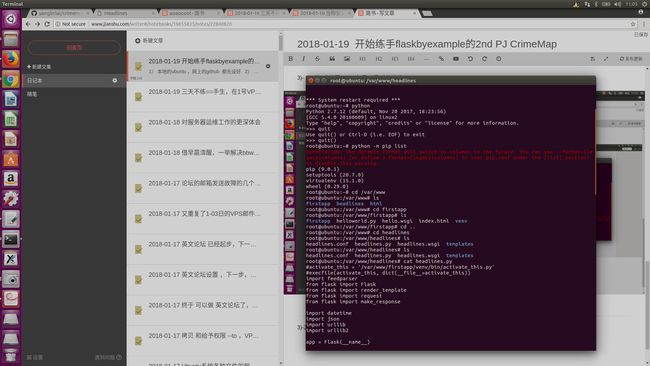
3)-2 , 第1个位置 : == 下面的/var/www/firstapp/venv 可以是作为主力的位置,存放着最新的 pip module
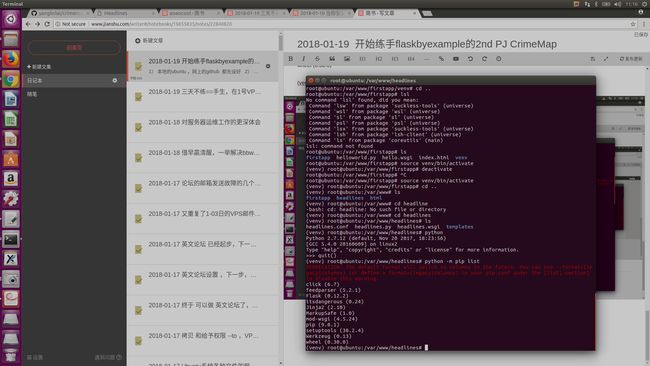
root@ubuntu:/var/www/firstapp# ls
firstapp helloworld.py hello.wsgi index.html venv
启动方式: root@ubuntu:/var/www/firstapp# source venv/bin/activate
(venv) root@ubuntu:/var/www/firstapp#
退出方式: root@ubuntu:/var/www/firstapp# source venv/bin/activate
(venv) root@ubuntu:/var/www/firstapp#
改到别的文件夹 ,运行新的*.py文件的方式:
(venv) root@ubuntu:/var/www/firstapp# cd ..
(venv) root@ubuntu:/var/www# ls
firstapp headlines html
(venv) root@ubuntu:/var/www# cd headline
-bash: cd: headline: No such file or directory
(venv) root@ubuntu:/var/www# cd headlines
(venv) root@ubuntu:/var/www/headlines# ls
headlines.conf headlines.py headlines.wsgi templates
(venv) root@ubuntu:/var/www/headlines# python headlines.py
虚拟环境里 检测,新的pip module 是否已经安装? :
(venv) root@ubuntu:/var/www/headlines# python -m pip list
DEPRECATION: The default format will switch to columns in the future. You can use --format=(legacy|columns) (or define a format=(legacy|columns) in your pip.conf under the [list] section) to disable this warning.
click (6.7)
feedparser (5.2.1)
Flask (0.12.2)
itsdangerous (0.24)
Jinja2 (2.10)
MarkupSafe (1.0)
mod-wsgi (4.5.24)
pip (9.0.1)
setuptools (38.2.4)
Werkzeug (0.13)
wheel (0.30.0)
(venv) root@ubuntu:/var/www/headlines#
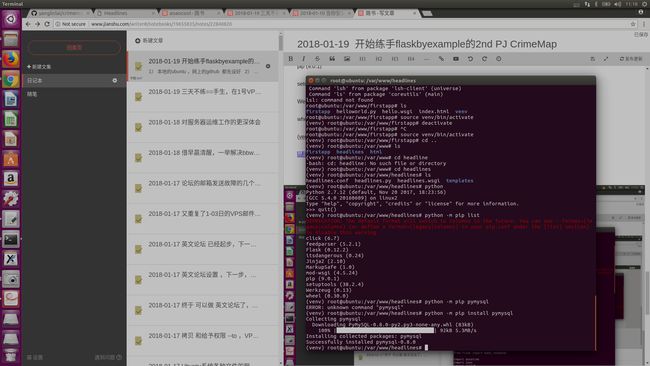
然后, 在这个本地 ubuntu的 python虚拟环境了,安装 pymysql module !! :
