经过2天折腾,终于把
API全面切换到GitHub,总结一下经验:
-
redux精简代码 - 使用
redux-persist持久化数据
redux如何减少样板代码#####
通过之前的代码不难看出redux系统里的ActionType、Action、Reducer都有一定的共性,小项目无所谓,这样写更清晰,但是一旦组件以及业务增多,开发效率就不是很高了。本来是打算使用第三方组件的,比如redux-actions(https://github.com/acdlite/redux-actions)等,但是实验了一下,功力不足反而没有成功,然后自己照抄官方说明写了一下,发现代码出乎意料的简单,核心代码直接照抄的官方文档,看官嫌我啰嗦可以直接跳过本文去原文档,中文、英文。下面就我自己的理解在此记录一下。
通过改造,下面是一个请求GitHub Search Repositories API的action的最终代码:
export function searchRepos(q = 'react-native', page = 1, per_page = 15) {
    return {
        // Types of actions to emit before and after
        types: [SEARCH_REPOS_REQUEST, SEARCH_REPOS_SUCCESS, SEARCH_REPOS_FAILURE],
        // Perform the fetching:
        callAPI: () => Util.get(Api.search_repos, {
            q,
            page,
            per_page,
        }),
        // Arguments to inject in begin/end actions
        payload: {
            q,
            page,
            per_page,
        }
    }
}
API 请看 GitHub V3,
GET /search/repositories
因为每个fetch api的过程都是request、success、failure,redux的action返回的对象必须是这样的{type: ...},那么这样的action如何解析呢,这就要使用中间件了,前文说了,redux里都是函数式的,这就可以让我们在传递过程中做处理了,其实可以理解为类似java spring中的AOP,servlet中的拦截器,nodejs express中的koa,具体代码照文档,几乎一字未改:
app/callAPIMiddleware.js
export default function callAPIMiddleware({ dispatch }) {
  return next => action => {
    const {
      types,
      callAPI,
      payload = {}
    } = action

    if (!types) {
      // Normal action: pass it on
      return next(action)
    }

    if (
      !Array.isArray(types) ||
      types.length !== 3 ||
      !types.every(type => typeof type === 'string')
    ) {
      throw new Error('Expected an array of three string types.')
    }

    if (typeof callAPI !== 'function') {
      throw new Error('Expected callAPI to be a function.')
    }

    const [ requestType, successType, failureType ] = types

    dispatch(Object.assign({}, payload, {
      type: requestType
    }))

    return callAPI().then(
      response => dispatch(Object.assign({}, payload, {
        response,
        type: successType
      })),
      error => dispatch(Object.assign({}, payload, {
        error,
        type: failureType
      }))
    )
  }
}
可以看到最后的return和以前的action是一模一样的。
在创建store的时候链接我们自己的中间件,修改app/store.js如下
applyMiddleware(thunk, logger, callAPIMiddleware)
最后reducer我没有更改,标准FLUX流程是需要改的,套用文档中一句话解释原因:
switch语句 不是 真正的模版。真正的 Flux 模版是概念性的:发送更新的需求,用 Dispatcher 注册 Store 的需求,Store 是对象的需求 (当你想要一个哪都能跑的 App 的时候复杂度会提升)。不幸的是很多人仍然靠文档里用没用 switch 来选择 Flux 框架。
这里是因为我以前的代码不够规范,在reducer里处理了分页数据,无论是本着单一职责或是其他的设计原则来讲,这都是不好的,在此特别提出请勿模仿。
在组件内部调用的的方式没有任何改变,这也是redux的强大之处。
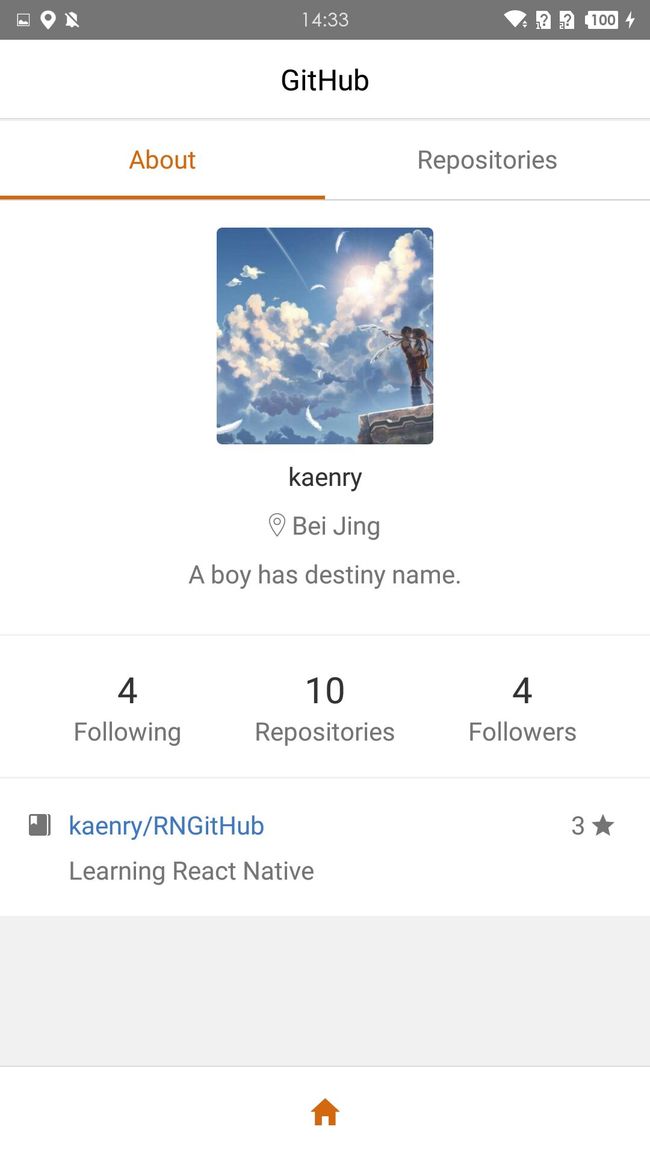
给个效果图
持久化数据#####
手机端肯定需要考虑离线的情况发生,有了redux,这件事情就简单了,只需要把store这个state树持久化就OK了,官方持久化接口使用的是AsyncStorage,这里为了简化操作,使用第三方组件redux-persist项目地址,代码很简单,修改app/store.js如下:
import {autoRehydrate, persistStore} from 'redux-persist';
...
function configureStore(onComplete: ? () => void) {
     const store = autoRehydrate()(createStoreWithMiddleware)(appReducers);
     persistStore(store, {
         storage: AsyncStorage
     }, onComplete);
     if (isDebugInChrome) {
         window.store = store
     }
     return store;
 }
README文档很详细,就不赘述了,完整代码地址。

