URL 对象代表统一资源定位器,它是这指向互联网“资源”的指针。这里面的“资源”可以是简单的文件和目录,也可以是对更复杂的对象的引用,例如:对数据库或者搜索引擎的查询。就通常情况而言,URL 可以由协议、名主机、端口和资源组成,即满足如下格式:
protocol://host:port/resourceName
例如如下的URL地址:
http://www.baidu.com/index.php
一、使用 URL 读取网络资源
URL类提供了多个构造器,用于创建 URL 对象,一旦获得 URL 对象之后,就可以调用如下常用的方法来访问 URL 所对应的资源了:
- String getFile():获取url的资源名。
- String getHost():获取url的主机名。
- String getPath():获取url的路径部分。
- int getPort():获取url的端口号。
- String getProtocol():获取url的协议名称。
- String getQuery():获取url的查询字符串部分。
- URLConnection openConnection():返回一个 URLConnection 对象,它表示到 URL 所引用的远程对象的连接。
- InputStream openStream():打开与此 URL 的链接,并返回一个用于读取该 URL 资源的 InputStream。
1、使用 URL 读取网络资源
URL 对象中前面几个方法都非常容易理解,而该对象提供的 openStream() 可以读取该资源的 InputStream,通过该方法可以非常方便的读取远程资源。
首先我们修改 activity_main ,代码如下:
很简单,这里面我们只放了一个图片控件ImageView,用于展示接下来 URL 在网上请求到的图片。
接下来修改 MainActivity 中的代码如下:
public class MainActivity extends AppCompatActivity {

    ImageView mImageView;
    // 代表从网络下载得到的图片
    Bitmap mBitmap;
    Handler mHandler = new Handler() {
        @Override
        public void handleMessage(Message msg) {
            if (msg.what == 0) {
                // 使用ImageView显示该图片
                mImageView.setImageBitmap(mBitmap);
            }
        }
    };

    @Override
    protected void onCreate(Bundle savedInstanceState) {
        super.onCreate(savedInstanceState);
        setContentView(R.layout.activity_main);

        mImageView = (ImageView) findViewById(R.id.action_image);
        mImageView.setOnClickListener(new View.OnClickListener() {
            @Override
            public void onClick(View view) {
                getImageFromURL();
            }
        });
    }

    private void getImageFromURL() {
        new Thread() {
            public void run() {
                try {
                    // 定义一个URL对象
                    URL url = new URL("http://www.touxiang.cn/uploads/20131011/11-084718_797.jpg");
                    // 打开该URL对应的资源的输入流
                    InputStream inputStream = url.openStream();
                    // 从InputStream中解析出图片
                    mBitmap = BitmapFactory.decodeStream(inputStream);
                    // 发送消息、通知UI组件显示该图片
                    mHandler.sendEmptyMessage(0);
                    inputStream.close();
                    // 再次打开URL对应的资源的输入流
                    inputStream = url.openStream();
                    // 打开手机文件对应的输出流
                    OutputStream outputStream = openFileOutput("flower.png", MODE_PRIVATE);
                    byte[] buff = new byte[1024];
                    int hasRead = 0;
                    // 将URL对应的资源下载到本地
                    while ((hasRead = inputStream.read(buff)) > 0) {
                        outputStream.write(buff, 0, hasRead);
                    }
                    inputStream.close();
                    outputStream.close();
                } catch (Exception e) {
                    e.printStackTrace();
                }
            }
        }.start();
    }
}
首先,我们找到将XML文件中定义的图片控件,然后给他添加点击监听器。在点击事件里我们调用 getImageFromURL() 方法,以此来获取网络资源。在这个方法中,我们首先定义一个URL对象,然后打开该URL对应的资源的输入流,接着发送消息、通知UI组件显示该图片,最后将URL对应的资源下载到本地。
最后,我们在清单文件中加入以下网络申请权限:
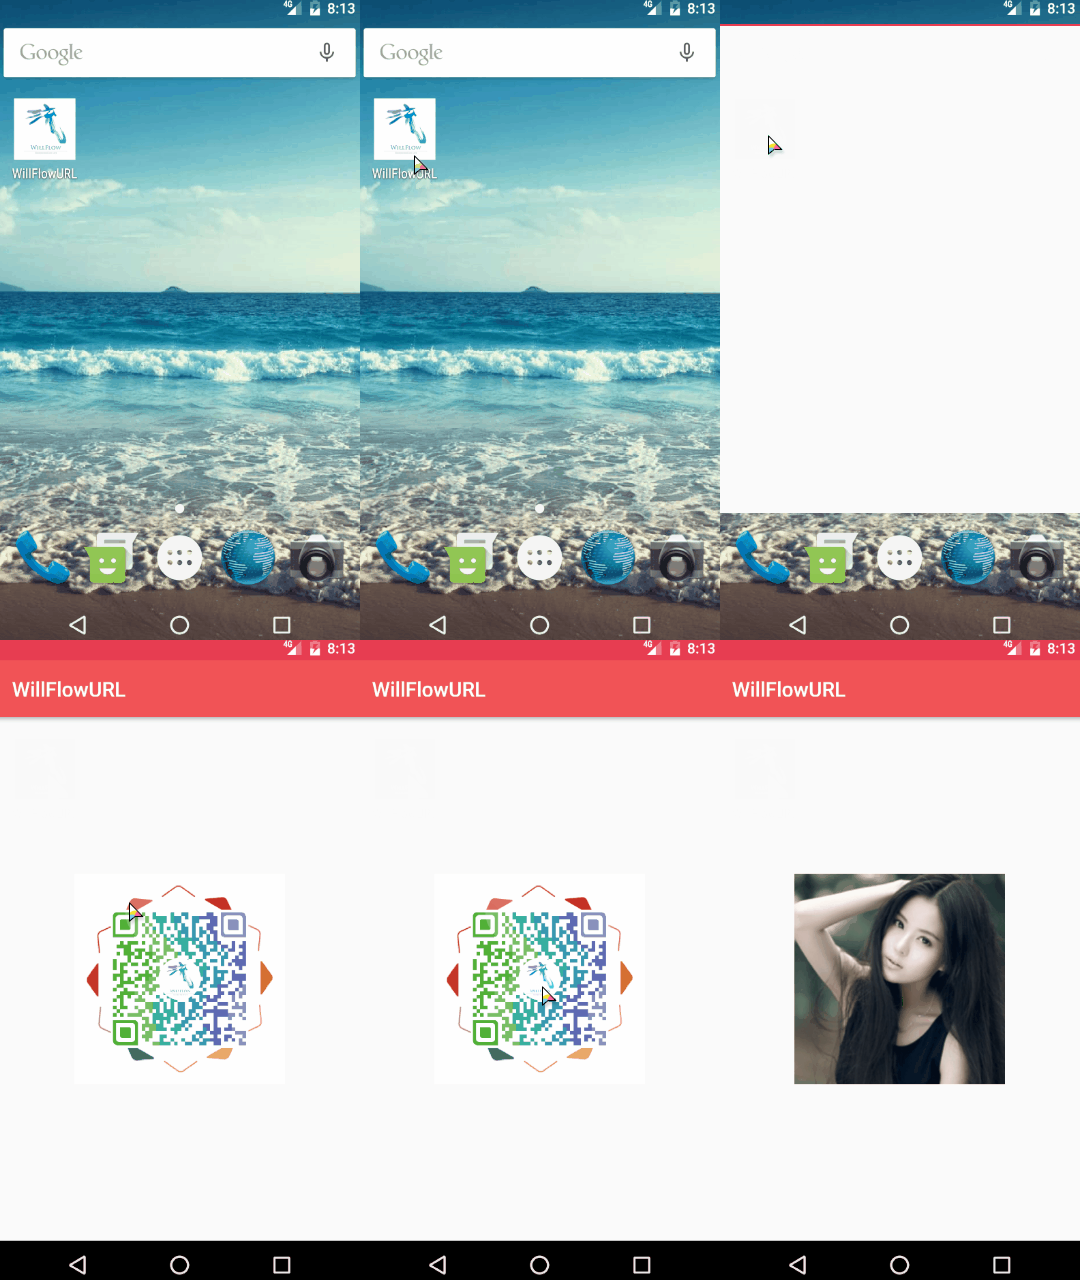
编译运行看效果:
二、使用 URLConnection 提交请求
URL 的 openConnection() 方法将返回一个 URLConnection 对象,该对象表示应用程序和 URL 之间的通信连接。我们的程序可以通过 URLConnection 向该 URL 发送请求,读取他的引用资源。
读取 URL 引用资源的步骤:
1、设置 URL 对象的 openConnection() 方法来创建 URLConnection 这个对象。
2、设置 URLConnection 的参数和普通请求属性。
3、如果只是发送 GET 的方式的请求,那么使用 connect 方法建立和远程资源之间的实际连接即可;如果是发送 POST 的方式的请求,那么使用 URLConnection 实例对应的输出流来发送请求参数。
4、远程资源变为可用,这时程序可以访问远程资源的头字段或通过输入流读取远程资源的数据。
设置请求字段的常用方法:
- setAllowUserInteraction():设置该 URLConnection 的 allowUserInteraction 请求字段的值。
- setDoInput():设置 URLConnection 的 DoInput 请求字段的值。
- setDoOutput():设置 URLConnection 的 DoOutput 请求字段的值。
- setIfModifiedSince():设置 URLConnection 的 IfModifiedSince 请求字段的值。
- setUseCaches():设置 URLConnection 的 UseCaches 请求字段的值。
- getInputStream():返回 URLConnection 的输入流,用于获取响应内容。
- getOutputStream():返回 URLConnection 的输出流,用于向 URLConnection 发送请求参数。
- getContentEncoding():获取 URLConnection 的 ContentEncoding 请求字段的值。
- getContentLength():获取 URLConnection 的 Length 请求字段的值。
- getContentType():获取 URLConnection 的 Type 请求字段的值。
- getDate():获取 URLConnection 的 Date 请求字段的值。
- getExpiration():获取 URLConnection 的 Expiration 请求字段的值。
- getLastModified():获取 URLConnection 的 LastModified 请求字段的值。
下面我们就通过一个例子来展示如何向站点发送请求,并从站点取得响应。
首先,我们创建一个工具类,代码如下:
/**
 * Created by   : WGH.
 */
public class GetPostUtil {
    /**
     * 向指定URL发送GET方法的请求
     *
     * @param url    发送请求的URL
     * @param params 请求参数,请求参数应该是name1=value1&name2=value2的形式。
     * @return URL所代表远程资源的响应
     */
    public static String sendGet(String url, String params) {
        String result = "";
        BufferedReader bufferedReader = null;
        try {
            String urlName = url + "?" + params;
            URL realUrl = new URL(urlName);
            // 打开和URL之间的连接
            URLConnection conn = realUrl.openConnection();
            // 设置通用的请求属性
            conn.setRequestProperty("accept", "*/*");
            conn.setRequestProperty("connection", "Keep-Alive");
            conn.setRequestProperty("user-agent", "Mozilla/4.0 (compatible; MSIE 6.0; Windows NT 5.1; SV1)");
            // 建立实际的连接
            conn.connect();
            // 获取所有响应头字段
            Map> map = conn.getHeaderFields();
            // 遍历所有的响应头字段
            for (String key : map.keySet()) {
                Log.i(TAG, "key : " + key + " --> " + map.get(key));
            }
            // 定义BufferedReader输入流来读取URL的响应
            bufferedReader = new BufferedReader(new InputStreamReader(conn.getInputStream()));
            String line;
            while ((line = bufferedReader.readLine()) != null) {
                result += "\n" + line;
            }
        } catch (Exception e) {
            Log.e(TAG, "发送GET请求出现异常!" + e);
            e.printStackTrace();
        }
        // 使用finally块来关闭输入流
        finally {
            try {
                if (bufferedReader != null) {
                    bufferedReader.close();
                }
            } catch (IOException ex) {
                ex.printStackTrace();
            }
        }
        return result;
    }

    /**
     * 向指定URL发送POST方法的请求
     *
     * @param url    发送请求的URL
     * @param params 请求参数,请求参数应该是name1=value1&name2=value2的形式。
     * @return URL所代表远程资源的响应
     */
    public static String sendPost(String url, String params) {
        PrintWriter printWriter = null;
        BufferedReader bufferedReader = null;
        String result = "";
        try {
            URL realUrl = new URL(url);
            // 打开和URL之间的连接
            URLConnection conn = realUrl.openConnection();
            // 设置通用的请求属性
            conn.setRequestProperty("accept", "*/*");
            conn.setRequestProperty("connection", "Keep-Alive");
            conn.setRequestProperty("user-agent", "Mozilla/4.0 (compatible; MSIE 6.0; Windows NT 5.1; SV1)");
            // 发送POST请求必须设置如下两行
            conn.setDoOutput(true);
            conn.setDoInput(true);
            // 获取URLConnection对象对应的输出流
            printWriter = new PrintWriter(conn.getOutputStream());
            // 发送请求参数
            printWriter.print(params);  // ②
            // flush输出流的缓冲
            printWriter.flush();
            // 定义BufferedReader输入流来读取URL的响应
            bufferedReader = new BufferedReader(new InputStreamReader(conn.getInputStream()));
            String line;
            while ((line = bufferedReader.readLine()) != null) {
                result += "\n" + line;
            }
        } catch (Exception e) {
            Log.e(TAG, "发送POST请求出现异常!" + e);
            e.printStackTrace();
        }
        // 使用finally块来关闭输出流、输入流
        finally {
            try {
                if (printWriter != null) {
                    printWriter.close();
                }
                if (bufferedReader != null) {
                    bufferedReader.close();
                }
            } catch (IOException ex) {
                ex.printStackTrace();
            }
        }
        return result;
    }
}
从上面的程序我们可以看出,如果需要发送GET请求的话,只需要调用URLConnection的connect()这个方法就可以建立实际的连接,而如果需要发送POST请求的话,则需要获取URLConnection的输出流,然后在向网络中的输出流写入请求参数。
提供了这个工具类之后,接下来就可以在MainActivity当中进行使用了,使用的方法也很简单,就是调用这个类当中相应的请求方法并输入对应格式的请求参数即可,比如GET请求可以这样输入:
response = GetPostUtil.sendGet("http://192.168.1.88:6666/abc/a.jsp", null);
而POST请求可以这样输入:
response = GetPostUtil.sendPost("http://192.168.1.88:6666/abc/login.jsp", "name=willflow.org&pass=123456");
这样我们就可以拿到响应的字符串 response 来做之后的操作,比如UI显示等,而显示所用到的方法和上一个例子是一样的,我们这里就不过多做赘述了。
点此进入:GitHub开源项目“爱阅”。
感谢优秀的你跋山涉水看到了这里,欢迎关注下让我们永远在一起!

