docker 安装分布式elk
#1安装docker elk:
pull elk镜像:
docker pull sebp/elk
#2
docker run -p 5601:5601 -p 9200:9200 -p 5044:5044 -e ES_MIN_MEM=128m -e ES_MAX_MEM=2048m -it --name elk sebp/elk

我们使用的是sebp/elk这个现成的镜像,里面包含了整个ELK stack(这是我见过的层次最多的镜像)。容器启动后ELK各个组件将分别监听如下端口:
5601:kibana web接口
9200:elasticsearch JSON接口
5044:logstash 日志接受接口
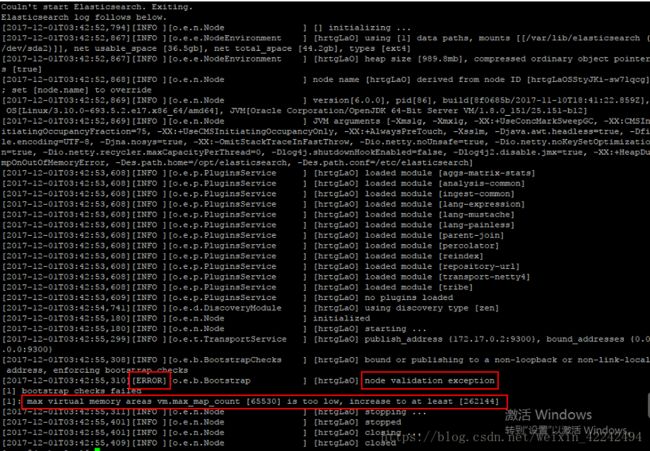
在启动容器的时候出现以下错误:
[ERROR][o.e.b.Bootstrap ] [hrtgLaO] node validation exception
[1] bootstrap checks failed
[1]: max virtual memory areas vm.max_map_count [65530] is too low, increase to at least [262144]

解决办法:
在/etc/sysctl.conf下添加
vm.max_map_count=655360
保存退出后,执行一下命令
sysctl -p
#3
打开浏览器,输入:http://你的ip:5601,看到如下界面说明安装成功
当前kibana没有可显示的数据,因为elasticsearch还没有任何日志数据
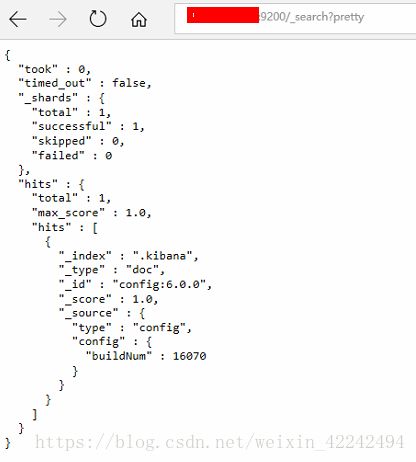
访问一下elasticsearch的JSON接口:http://ip:9200/_search?pretty
1)使用命令以下进入容器内:
docker exec -it elk /bin/bash
/opt/logstash/bin/logstash -e 'input { stdin { } } output { elasticsearch { hosts => ["你的ip"] } }'
注意:如果看到这样的报错信息 Logstash could not be started because there is already another instance using the configured data directory. If you wish to run multiple instances, you must change the “path.data” setting. 请执行命令:service logstash stop 然后在执行就可以了。
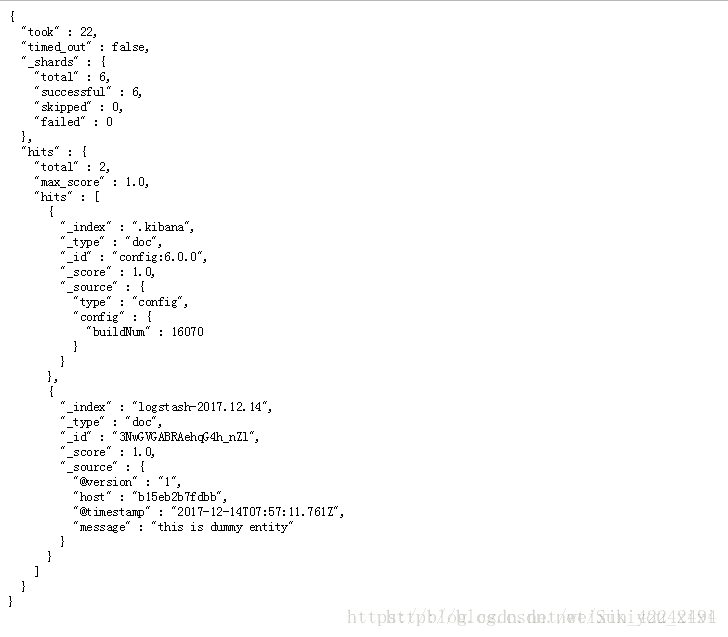
3)当命令成功被执行后,看到:Successfully started Logstash API endpoint {:port=>9600} 信息后,输入:this is a dummy entry 然后回车,模拟一条日志进行测试,如下图所示

4)打开浏览器,输入:http://你的ip:9200/_search?pretty 如图,就会看到我们刚刚输入的日志内容:

5)再次打开
http://你的ip:5601就可以使用了。

docker-compose.yml
version: "3.1"
services:
  elk:
   container_name: elk
   image: sebp/elk
   ports:
    - "5044:5044"
    - "9200:9200"
    - "5601:5601"
docker exec -it elk /bin/bash
/opt/logstash/bin/logstash -e 'input {tcp { port => 5044 codec => json_lines}} output { elasticsearch { action=>"index" hosts => "192.168.0.86:9400" index => "log" document_id=>"ignore"} stdout{codec=>rubydebug} }'
或
/opt/logstash/config     vi  logstash-sample.conf
input {
  tcp {
    port => 5044
	codec => json_lines
  }
}
output {
  elasticsearch {
    action=>"index"
    hosts  => "192.168.0.86:9400"
    index  => "log"
	document_id=>"ignore"
	}
    stdout{
	  codec=>rubydebug
  }

}

./bin/logstash -f ../config/logstash-sample.conf
            net.logstash.logback
            logstash-logback-encoder
            4.9
logback-spring.xml
192.168.0.86:5044
src下新建test
package com.example.demo;

import org.junit.Test;
import org.junit.runner.RunWith;
import org.slf4j.Logger;
import org.slf4j.LoggerFactory;
import org.springframework.boot.test.context.SpringBootTest;
import org.springframework.test.context.junit4.SpringRunner;


@RunWith(SpringRunner.class)
@SpringBootTest
public class DemoApplicationTests {


	private final Logger logger = LoggerFactory.getLogger(getClass());

	@Test
	public void test() throws Exception {


		logger.info("你好啊e");
		logger.warn("This is a warn message!");
		logger.error("This is error message!");


	}
}
es查询正在运行的进程
ps aux|grep logstash
杀死进程
kill -9 xxx
同步MySQL到es
input {
  jdbc {
    jdbc_driver_library => "/usr/local/docker/logstash/logstash-5.6.9/mysqletc/mysql-connector-java-5.1.44-bin.jar"
    jdbc_driver_class => "com.mysql.jdbc.Driver"
    jdbc_connection_string => "jdbc:mysql://192.168.0.38:3306/cbj-service-admin?characterEncoding=UTF-8&useSSL=false"
    jdbc_user => "root"
    jdbc_password => "123456"
    statement => "SELECT id,username  FROM ut_users"
    jdbc_paging_enabled => "true"
    jdbc_page_size => "50000"
    schedule => "* * * * *"
  }
}
output {
    elasticsearch {
        hosts => "192.168.0.86:9200"
        # port => "9200"
        # protocol => "http"
        index => "mysql"
        document_id => "%{id}"
        # cluster => "fulltext-application"
    }
    stdout {
        codec => json_lines
    }
}


