【Vue笔记三】 Vue-cli(脚手架)、webpack(打包管理工具)、vue-router(路由)
需要本地nodejs环境,安装教程参考其他博主:https://blog.csdn.net/cai454692590/article/details/86093297
一:第一个Vue-cli程序
- 安装完成后安装一下淘宝镜像加速:
npm install cnpm -g
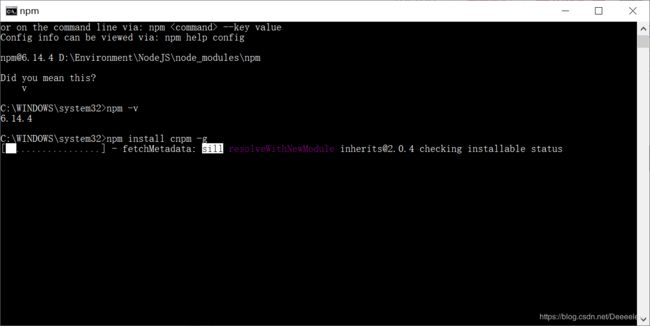 因为外网速度感人,这边下了将近半个小时,中途如果报错中断下载了继续头铁重下即可。

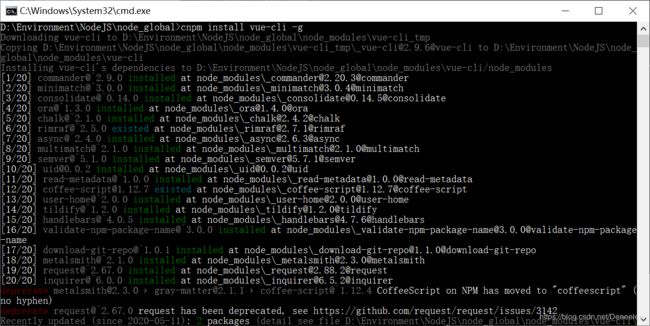
- 安装vue-cli
cnpm install vue-cli -g
注意,这里要在node的global目录下执行cnpm命令。
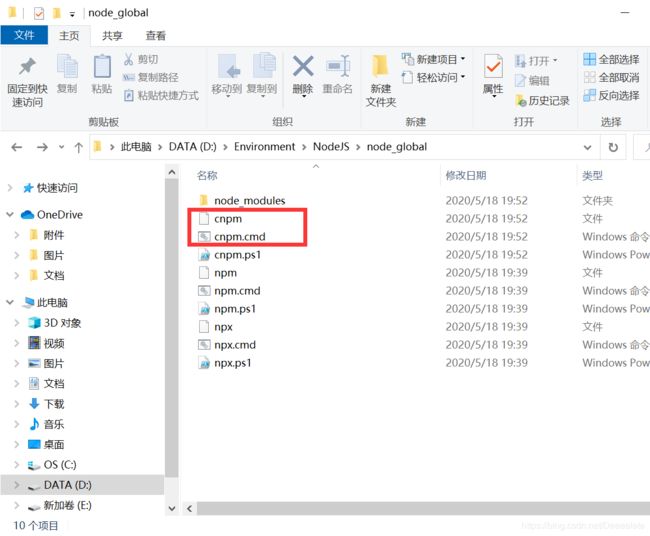
- 管理员权限下的cmd进入目录初始化项目(此处的myvue是项目名)
vue init webpack myvue
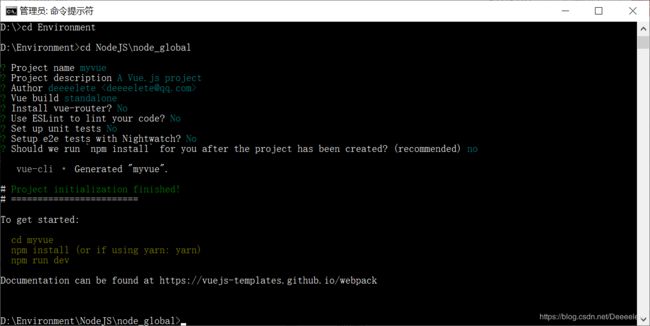
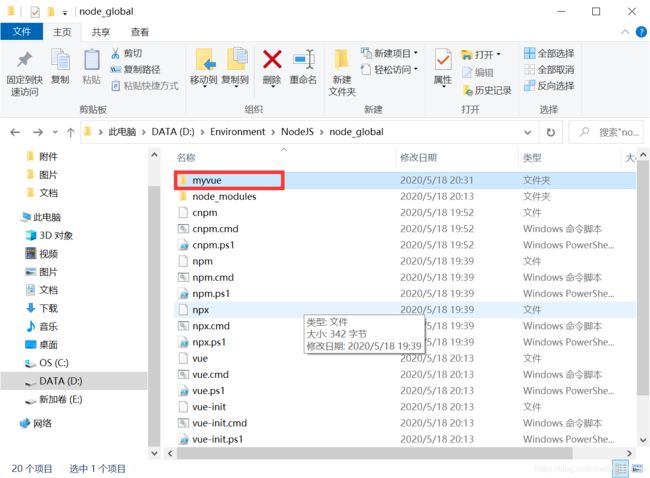 因为开启了手动模式,所以cd进入项目路径,npm install
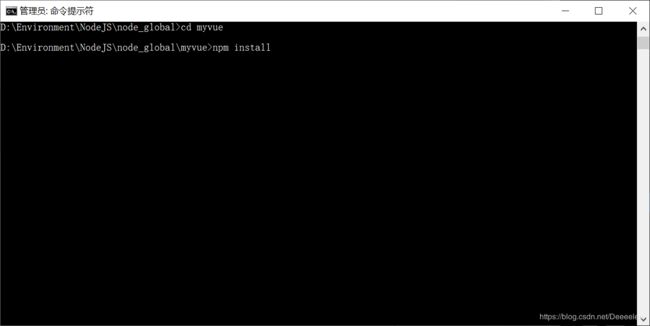 等待其缓慢的安装,遇到错误按照提示修复即可:


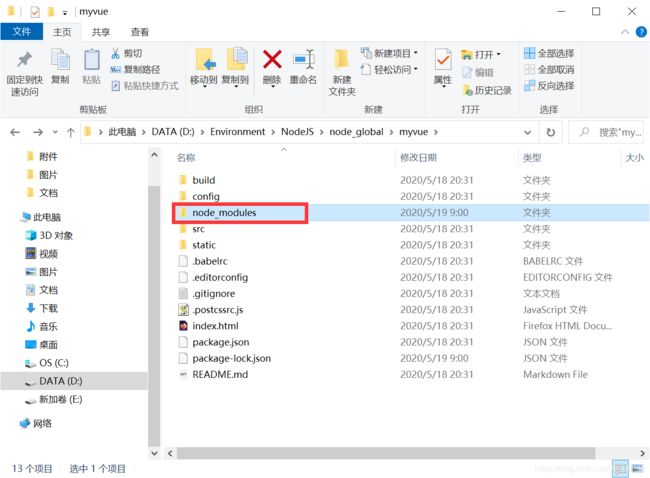
下载的上万个文件就在该路径下了
npm run dev进行启动
 启动在8080
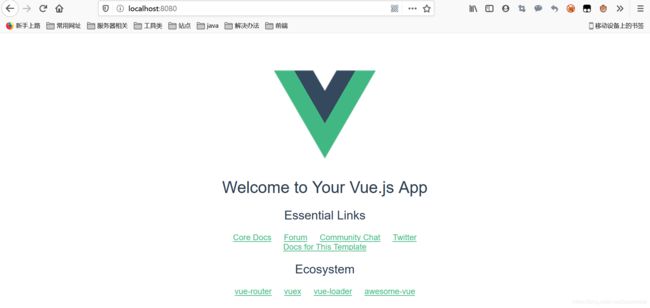
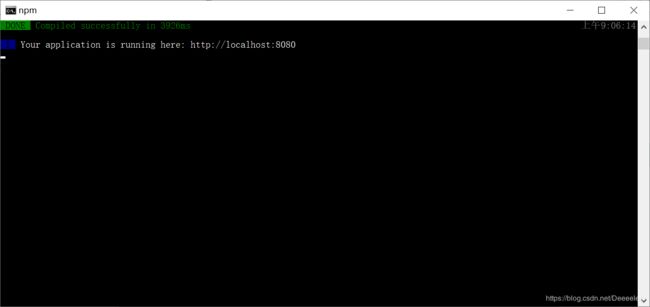 于是我们浏览器访问一下8080端口,出现内容说明启动成功。
 用自己的编译器打开对应的myvue文件夹可以观察期目录结构
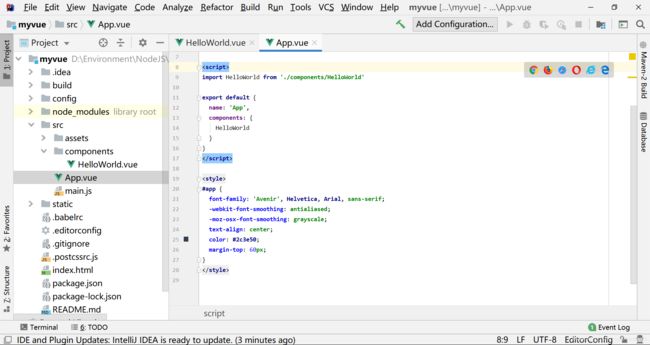
其中bulid是构造目录,一些webpack的打包文件也在其中;
config是配置目录,里面可以更改vue运行的端口号等;
note_modules相当于java的lib目录,存放了众多环境依赖;
src是开发目录,编写组件的地方;
static是静态资源目录,存放图片或者css之类的;
二:webpack使用
前端的maven,模块资源打包器,因为依赖牵扯之繁琐而产生的一种用于解放生产力的管理工具。
- 安装webpack
 npm install webpack -g
 npm install webpack-cli -g
安装webpack
 查看webpack版本

安装webpack-cli
 查看webpack-cli -v

- 在自己整理的路径下新建一个文件夹webpacktest

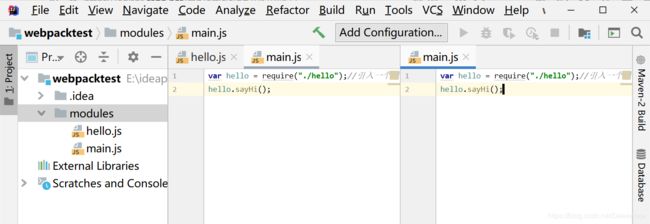
 用编译器打开,然后顺便创建一个modules文件夹用于存放js资源
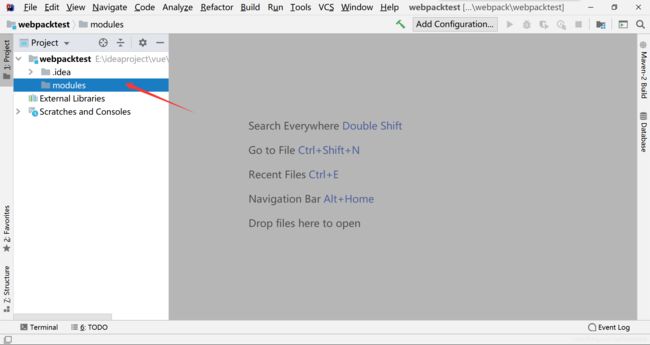 modules下编写两个文件,一个main.js主入口,一个自定义的文件hello.js,这里的main主类就好比springmvc中的前端控制器,不管后面的处理器映射器里有多少执行链,也就是说不管你自定义的js里有多少个方法,最终调用的时候还是得去main里面调用。
hello.js
//暴露出一个方法
exports.sayHi = function () {
    console.log("hello");
}
main.js
var hello = require("./hello");//引入一个模块
hello.sayHi();
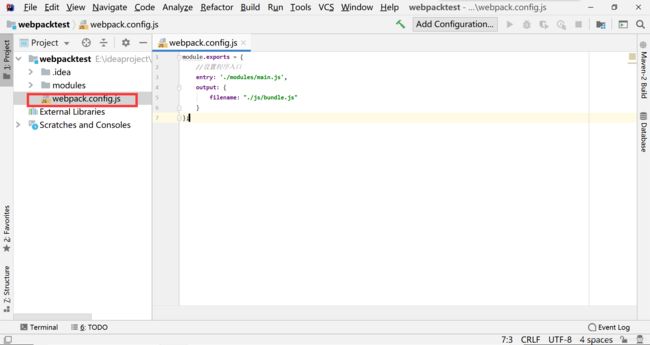
- 创建webpack-config.js文件
 module.exports = {
    //设置程序入口
    entry: './modules/main.js',
    output: {
        filename: "./js/bundle.js"
    }
};
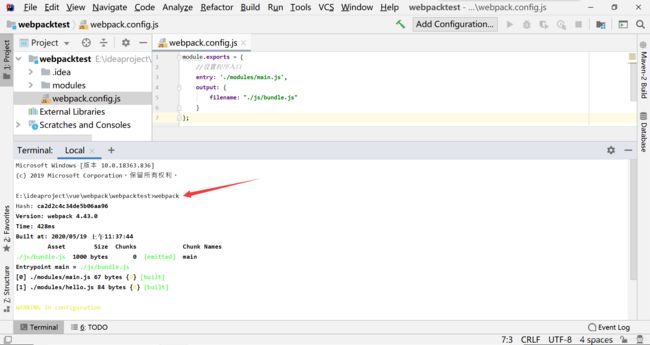
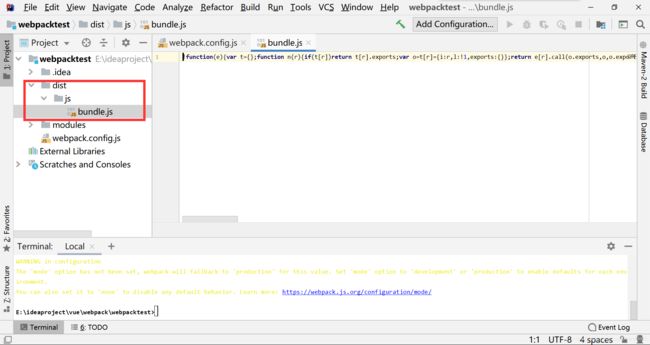
- 使用webpack命令打包
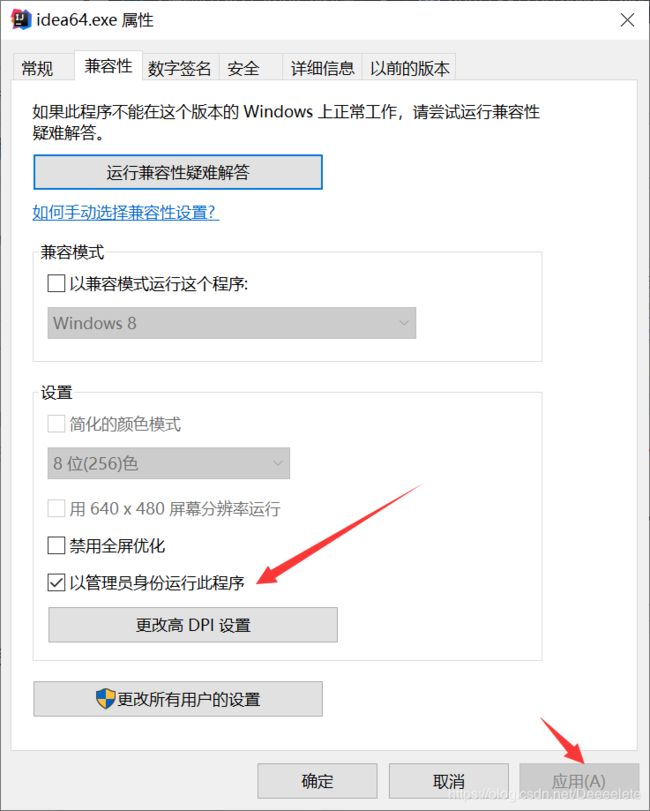
当然也可以实现将IDEA的打开方式更改为以管理员权限的方式开启,防止某些命令直接在控制台输入无效,改权限后要重启。
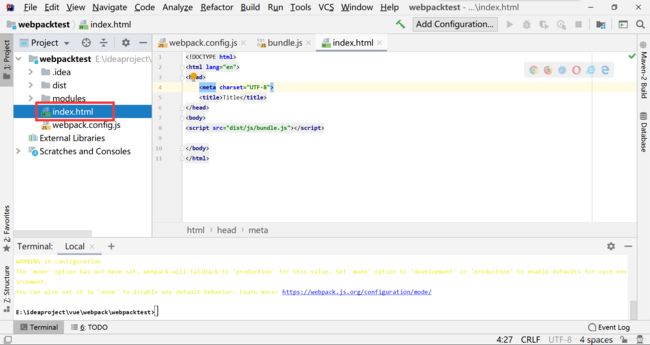
<!DOCTYPE html>
<html lang="en">
<head>
    <meta charset="UTF-8">
    <title>Title</title>
</head>
<body>
<script src="dist/js/bundle.js"></script>

</body>
</html>
访问:
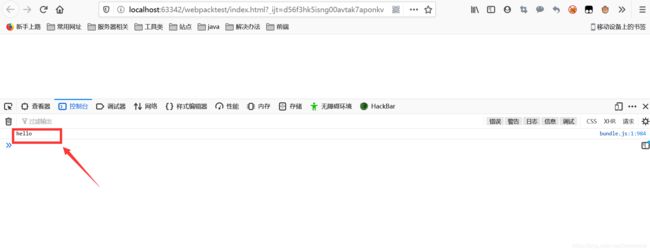
如此一来即形成了一种前端模块化开发的格局,主入口已经不再需要庞大的html代码来填充,而只是单纯的预留一个模块的骨架,必要的零件由一个个的js模块来处理然后引入。
三:vue-router
因为vue专注于视图分离了,因此像路由这样的东西自然是交给插件来做。
- 在当前项目下下载vue-router:
npm install vue-router --save dev
 如果这里下载不下来的话可以用cnpm下载,完成后可以在项目的lib中搜索到vue-router。
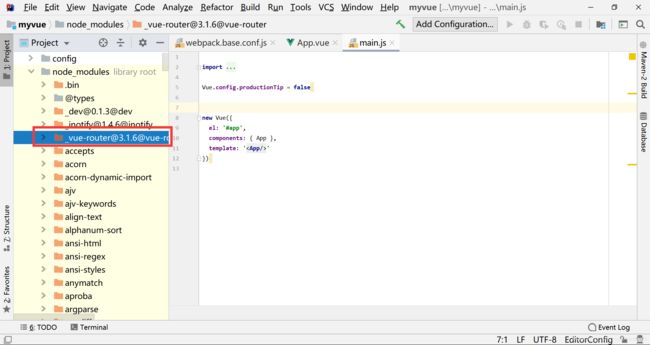
- 下载完成后清理项目,因为原先配置的vue项目里有一个样例模板,把这些不需要的内容删除一下,要删除的东西基本都在src下,将assets和components文件夹清空,将App.vue和main.js里的不再需要的内容删除。
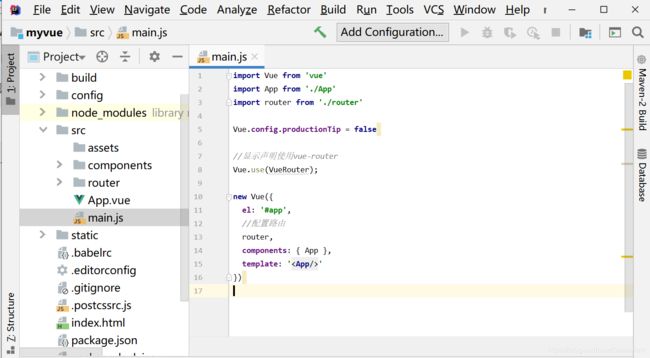
 接着在main.js里导入下载的vuerouter。
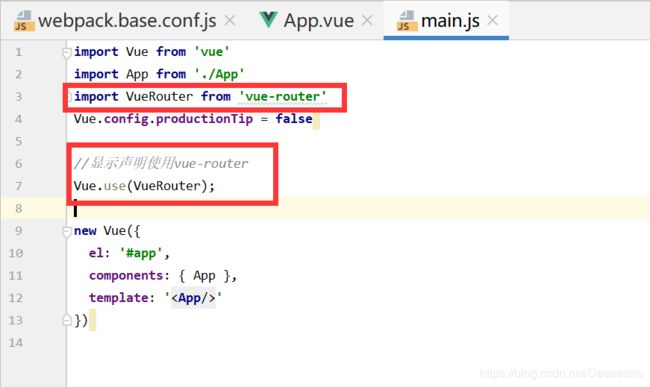 同时vue-router下面会报波浪线,鼠标悬停加入到相关json文件下即可。然后在控制台
npm run dev运行,因为这里我修改过端口所以跑在了8089,修改端口的文件在项目config/index.js中。
 访问端口发现空白,因为没有加内容,在App.vue文件中随便写几个东西。
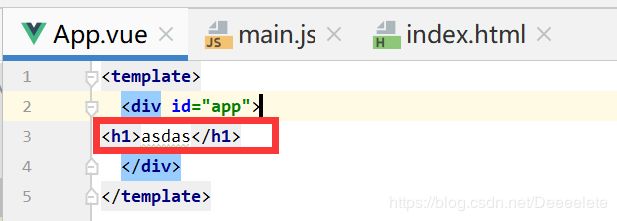 回页面,内容已经自动刷新:
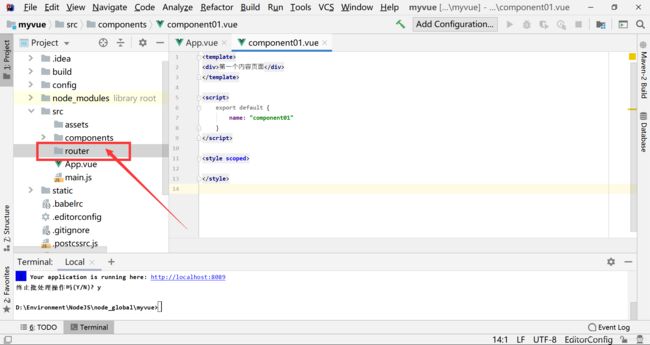
 3.开始编写组件,在components文件夹下new Vue组件
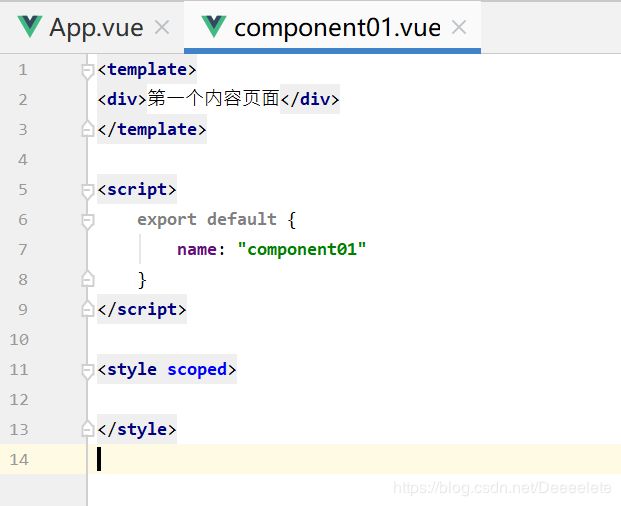
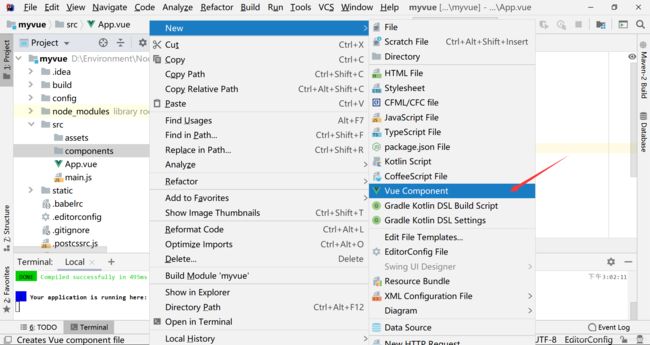 里面随便写点内容用于演示:
 <template>
<div>第一个内容页面</div>
</template>

<script>
    export default {
        name: "component01"
    }
</script>

<style scoped>

</style>
 import Vue from 'vue'
import VueRouter from 'vue-router'
import component01 from "../components/component01";
//安装路由
Vue.use(VueRouter);


//配置导出路由
export  default  new VueRouter({
  routes:[{
      //路由路径
      path: "/component01",
      //名称
      name: "component01",
      //跳转的组件
       component:component01
  }]
});
且考虑到我们的main主页面也需要跳转,所以也搞一个main组件,在components文件夹下建立对应Vue模板
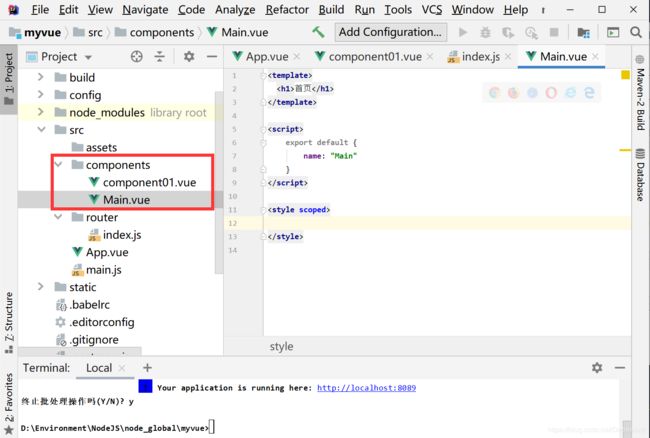 然后去index.js里修改,把首页也导入
import Vue from 'vue'
import VueRouter from 'vue-router'
import component01 from "../components/component01";
import Main from "../components/Main";

//安装路由
Vue.use(VueRouter);


//配置导出路由
export  default  new Router({
  routes:[
    {
      //路由路径
      path: "/component01",
      name: "component01",
      //跳转的组件
       component:component01
    },
    {
      //路由路径
      path: "/Main",
      name: "Main",
      //跳转的组件
      component:Main
    }

  ]
});
- 回到main.js,既然我们的路由已经定义具体的文件了,所以main.js里也不需要直接硬生生导入vue-router了,而是导入我们设置的配置文件,并进一步配置路由。
import Vue from 'vue'
import App from './App'
import router from './router'
Vue.config.productionTip = false
//显示声明使用vue-router
Vue.use(router);
new Vue({
el: '#app',
//配置路由
router,
components: { App },
template: '- 到App.vue中定义一个跳转查看路由是否成功。
<h1>首页</h1>
    <router-link to="/Main">首页</router-link>
    <router-link to="/component01">内容页</router-link>
    <router-view></router-view>
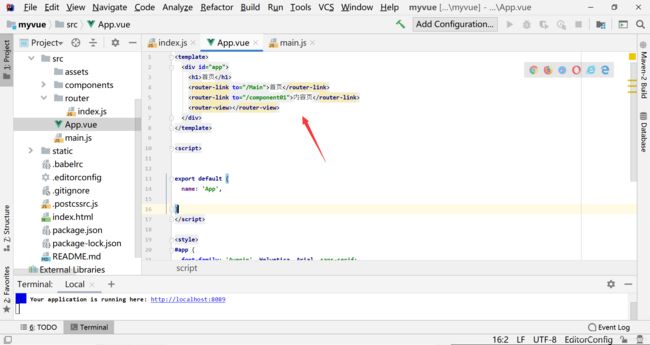 访问:
访问:

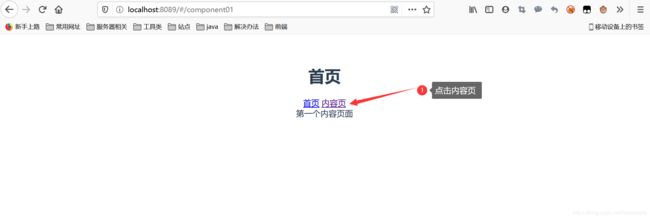
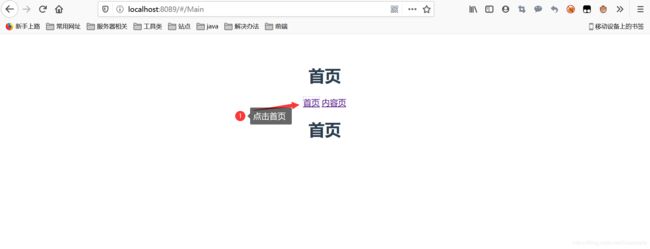 因此,如果后续还需要添加组件,那就只需要从components文件夹下建立相应的vue文件,然后去router下的index文件中导入路由,接着去App.vue声明router-link即可。
参考资料:
https://www.bilibili.com/video/BV18E411a7mC
https://cn.vuejs.org/
