Samba4集成LDAP详细安装及配置
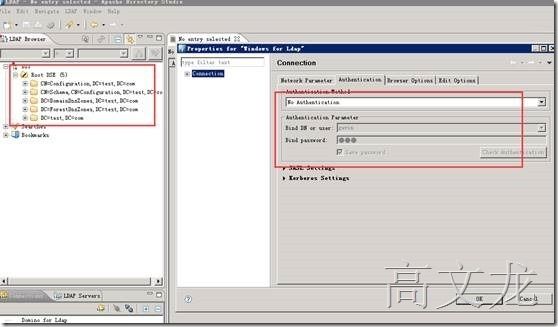
近期公司的项目组给我们提需求,让我们搭建几套打印机测试环境,测试打印机的bug,环境分别为:1.windows2012 LDAP的匿名、SSL(636)、kerbors。2.Samba4集成的LDAP服务的匿名、SSL(636)、kerbors。3domino9.0.1FP3的LDAP服务的匿名、SSL(636)、kerbors服务。花了一些时间搭建完成了,所以分享给有需求的参考。其实对于以上提到的服务相信大家都已经很熟悉了。大概思路讲解:windows LDAP顾名思义就是Microsoft的Active Directory服务,安装完除了匿名其他服务均可以默认访问的,如果需要开启匿名,需要通过Adsiedit编辑配置AD配置来完成。SSL(636的话,我们可以安装CA服务器来提供证书的申请及办法)。Domino服务跟windows LDAP、SAMBA4其实跟windows的操作大同小异,具体见下:
我们首先说说Samba4集成的LDAP服务吧。说到samba大家应该都很熟悉,最早是实现windows和linux之间的文件共享。自升级到4.0版本就集成了LDAP协议。
参考链接:https://wiki.samba.org/index.php/Samba_AD_DC_HOWTO ;
https://wiki.samba.org/index.php/Main_Page
介绍完后,我们就可以开始部署了
Server Information
Below, we will be using the following configuration/settings:
Installation Directory: /usr/local/samba/
AD DC Hostname: Samba4
AD DNS Domain Name: Samba4.iternalsoft.com
Kerberos Realm: Samba4.iternalsoft.com
NT4 Domain Name/NetBIOS Name: Samba4
IP Address: 192.168.6.163
Server Role: Domain Controller (DC)
Domain Admin Password: 123456
Forwarder DNS Server: 192.168.6.163
Os: Centos6.4
再次我们准备在线下载安装包,在线下载的话,我们需要用到wget组件进行在线下载。
所以我们需要安装wget组件。
下载地址:开始下载安装
https://wiki.samba.org/index.php/Binary_Distribution_Packages#CentOS_6
Yum install –y wget
然后使用wget downloadlinks下载即可
Wget https://download.samba.org/pub/samba/stable/samba-4.2.1.tar.gz
Ls 查看下载的文件
Samba4下载成功后,我们在安装samba4前需要做一些准备工作。比如安装依赖包及卸载系统自带的低版本。在此我们先通过rpm来查看系统再带的低版本samba
Rpm -qa | grep samba
我们需要通过以下命令来卸载系统自带的低版本samba程序
yum remove samba-winbind-client samba-common samba-client
卸载后,可以通过 rpm -qa | grep samba进行确认
接下来安装samba4依赖包,不然samba4无法编译通过安装
yum install perl gcc libacl-devel libblkid-devel gnutls-devel \
readline-devel python-devel gdb pkgconfig krb5-workstation \
zlib-devel setroubleshoot-server libaio-devel \
setroubleshoot-plugins policycoreutils-python \
libsemanage-python setools-libs-python setools-libs \
popt-devel libpcap-devel sqlite-devel libidn-devel \
libxml2-devel libsepol-devel libattr-devel \
keyutils-libs-devel cyrus-sasl-devel cups-devel bind-utils \
libxslt docbook-style-xsl openldap-devel
依赖包安装完成
接下来就是开始编译安装了。我们首先查看下载的文件。
ls
然后解压,编译安装
Tar zxvf samba-4.2.1.tar.gz
然后ls进入解压目录,进行编译安装
./configure
make
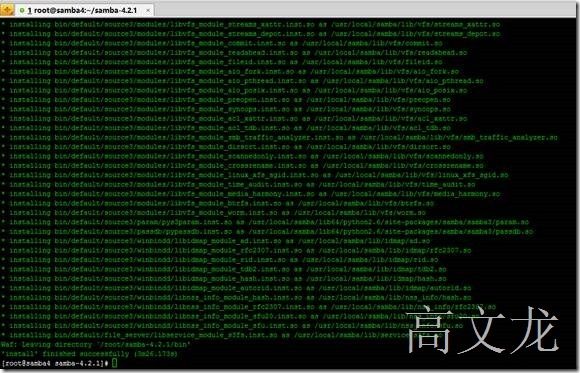
Make install
# vim ~/.bash_profile 添加环境变量
在PATH 后边添加:/usr/local/samba/bin:/usr/local/samba/sbin
#source ~/.bash_profile
# echo $PATH 查看是否添加成功。
设置hosts
https://wiki.samba.org/index.php/Samba_AD_DC_HOWTO
Cd /usr/local/samba/etc
samba-tool domain provision --use-rfc2307 –interactive
按照提示完成操作
如果测试不成功,vim /etc/reslov.conf 添加以下格式的域名解析即可
Domain test.com
最后运行samba启动samba服务就可以了
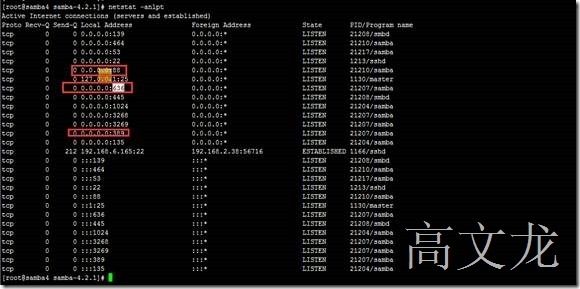
最后netstat -anlpt
服务启动了,怎么测试呢?
smbclient -L localhost -U%
smbclient //localhost/netlogon -UAdministrator -c 'ls'
我们最后需要通过真实的client加域进行测试
最后我们需要将client加域然后测试
使用域用户登陆
然后我们为了方便管理该域,安装ADDS管理工具
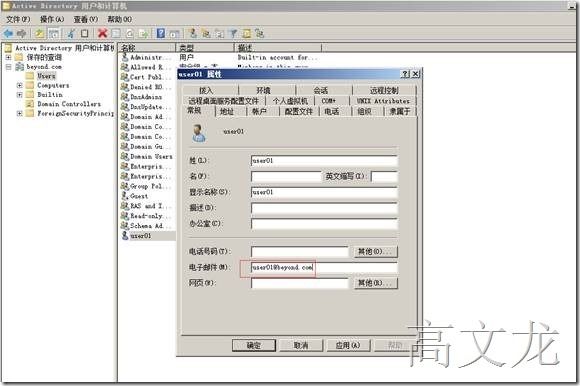
然后我们连接域控制器,新建用户
添加邮件地址
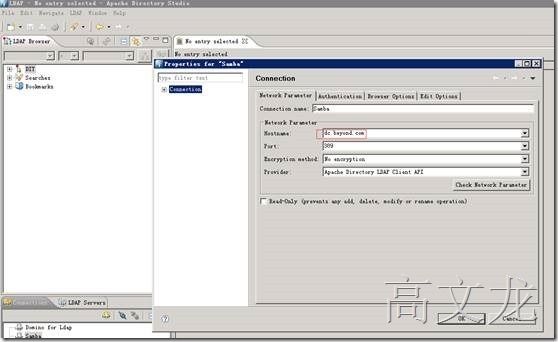
通过测试工具测试 simple
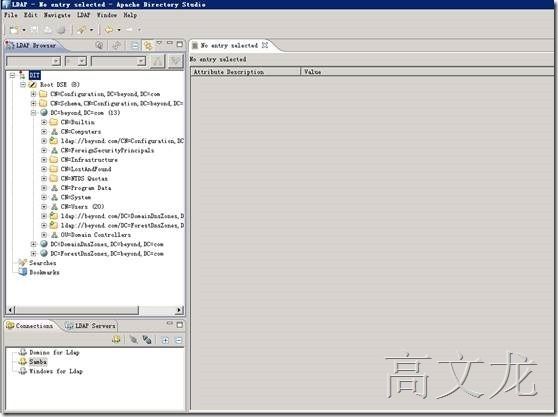
然后单击ok即可进行连接测试,最后的结果是连接失败,如果我们新建一个测试账户就可以连接,使用系统自带的administrator就无法正常连接。那如果新建测试账户呢,在此我们需要应用到windows 管理工具进行连接。通过新创建的账户进行测试完成。
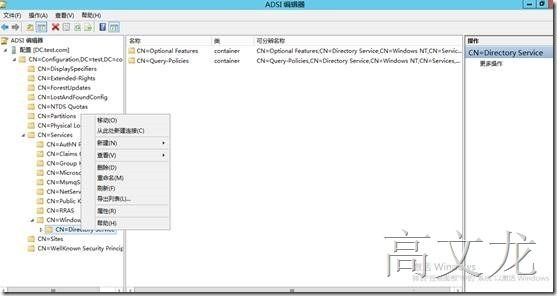
接下来我们需要为samba4的LDAP服务配置匿名,默认SAMBA4的LDAP匿名是关闭的,我们可以通过以下方法开启匿名,我们通过windows 系统自带组件的ADSI工具连接进行编辑配置。
https://technet.microsoft.com/zh-cn/library/cc816788(WS.10).aspx
Click Start, point to Administrative Tools, and then click ADSI Edit.
选择-----配置
In the console tree, double-click the configuration directory partition (CN=Configuration,CN={GUID}), double-click the services container (CN=Services), double-click the Windows NT container (CN=Windows NT), right-click the directory service container (CN=Directory Service), and then click Properties.
1.In Attributes, click dsHeuristics, and then click Edit.
2.In Value, modify the value of the seventh character in the attribute (counting from the left) to 2, as follows:
0000002001001
dsHeuristics===0000002001001
最后单击确认即可。然后我们通过测试工具进行测试
接下来我们要配置samba4的kerbors服务
In CentOS 6.3 or 6.4, kerberos is handled by the '/etc/krb5.conf' file. Make a backup copy of this original file, and then replace the existing file, if any, with the sample from /usr/local/samba/share/setup/krb5.conf.
# cp /usr/local/samba/share/setup/krb5.conf /etc/krb5.confEdit the file and replace ${REALM} with the value you chose for the '--realm' parameter of the provision command earlier, make sure to enter the realm in uppercase letters. It should look something like this:
# cat /etc/krb5.conf
[libdefaults]
default_realm = MYDOMAIN.COM
dns_lookup_realm = false
dns_lookup_kdc = true
首先备份
cp /usr/local/samba/share/setup/krb5.conf /etc/krb5.conf
然后vim /etc/krb5.conf 确认一下三行就可以了
nslookup
Set type=srv
> _ldap._tcp.beyond.com
Server: 192.168.6.165
Address: 192.168.6.165#53
_ldap._tcp.beyond.com service = 0 100 389 dc.beyond.com.
我们通过kinit工具测试kerbors是否运行正常,通过以下结果看出就是正常的
Kinit [email protected]
最后我们进行测试
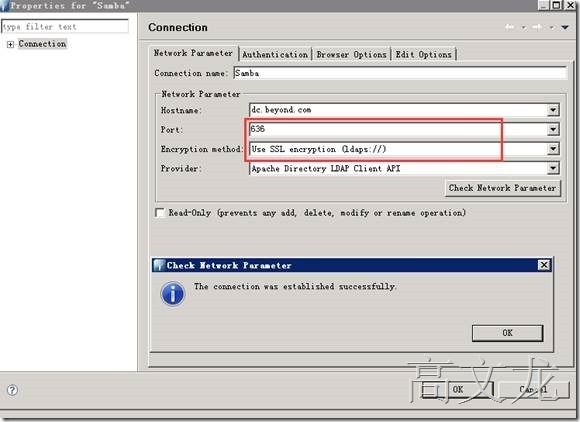
最后我们要说说samba4的LDAP服务的SSL,在window上我们需要安装一个ca服务器,再次我们也是一样
http://wenku.baidu.com/link?url=b0cXa89f_beZeZkluX7k17utIoja1wR2L3sC2tmKE5Wl09VXnDFo89yUvN4rQKY1zQ3wxwmzO42gVRpvZ0bNN4xQNDL1RrJtnOO0b1IE-ZC
Mkdir certs
Cd certs
/etc/pki/tls/misc/CA -newca
Cd /etc/pki/CA/
Openssl x509 -in cacert.pem -days 3650 -out cacert.pem -signkey ./private/cakey.pem
Cd /root/certs/
/etc/pki/tls/misc/CA -newreq
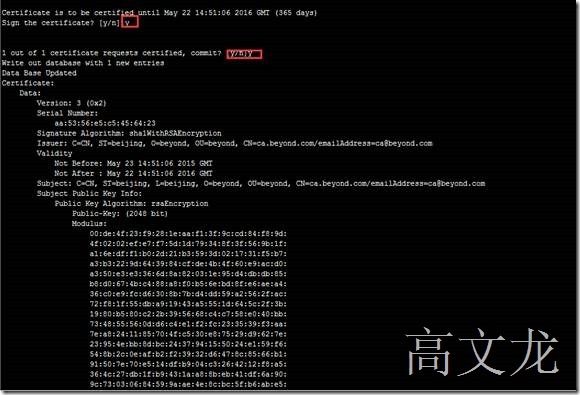
/etc/pki/tls/misc/CA -sign
Newcert.pem 位证书文件
Newkey.pem为证书秘钥文件
/etc/pki/CA/目录下的cacert.pem为CA证书
https://wiki.samba.org/index.php/Setup_LDAPS_on_a_DC
http://blogs.msdn.com/b/alextch/archive/2012/04/25/configuring-openldap-pass-through-authentication-to-active-directory.aspx
Cd /usr/local/samba/private/tls/
Cd ..
Cd /usr/local/samba/etc
Vim smb.conf
tls enabled = yes
tls keyfile = tls/key.pem
tls certfile = tls/cert.pem
tls cafile = tls/ca.pem


