Angular4学习笔记(六):解耦
代码已提交至GitHub
就目前为止,demo的结构已经被拆的很细很细。组件、服务、model之间已经分割开来,下一步的目标就是把界面做的好看一点。
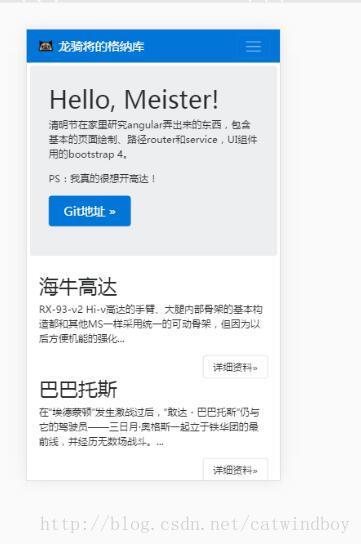
目前界面看上去还是太简单,在这个看脸的世界里,完全活不下去。

至少做成这个样子:
在这之前,还可以做一些细微的拆分。
分离V和C
这是目前的主页组件gundam-host.component.ts,通过注解Component里的template和导出的的GundamHostComponent共同组成了MVC里的V和C。

在目前的写法里是没问题的,因为界面比较简单。
但是如果界面很复杂,VC挤在一起就又会变的很臃肿。所以在调整界面之前,先把V和C分开。
注解@Component里除了提供了template属性外,还提供了temlateUrl属性。前者通过`(反单引号)包裹html代码来标示View,后者直接将指向的html文件导入进来成为View。
修改主页组件步骤:
- 在host包下,新建html文件夹,文件夹内新建gundam-host.component.html文件。

- 将gundam-host.component.ts中component属性里的html代码整个剪切进来。

- 修改template属性为templateUrl,使其指向刚才新建的文件:
@Component({
  templateUrl: './html/gundam-host.component.html',
})
同理,分离detail页面和app.component.ts组件。


把V和C彻底的分离,以后在V上搞事情就方便多了。
组件嵌套
gundam-host.component.html文件中的代码,看起来有点不妥。虽然就目前而言只是简单的用一个div包裹了span标签进行数据展示,但是保不齐就span标签就会被其他复杂的界面所替代。而主页本身如果再复杂化(事实上 后期确实变的更复杂了),那么页面还是会变的臃肿不堪。
安全起见,先趁着界面简单的时候把功能单一重复的界面抽提出来,形成另一个组件。这样host组件最终会被拆分为大大小小的组件,而每一个组件之间相互独立,以打倒更大程度上的解耦。
angular有自己的一套方法,来解决组件嵌套组件和组件抽提的问题。
这个方法就是Compoent注解中的selector属性。
其实有关selector,在app.component.ts里也是有的。
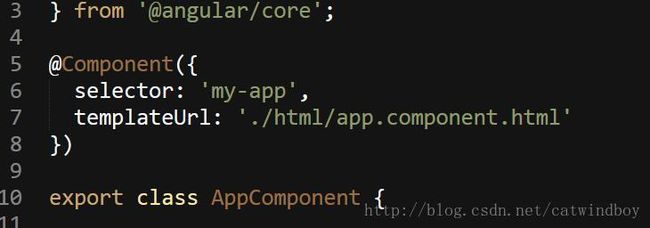
通过在app.component.ts里声明selector属性,在public/index.html里进行使用,把整个angular的界面给装了进去。

所以现在觉得angular真的好省心啊,给了一堆积木想怎么拼就怎么拼。
下面开始抽提主页中的列表项,使其成为一个独立的组件。
新建host-item文件夹,在其下新建gundam-host-item.component.ts文件,用单独的html文件和templateUrl属性进行VC分离。
import { Component } from '@angular/core';

@Component({
    templateUrl: './html/gundam-host-item.component.html'
})

export class GundamHostItemComponent {

}
将原本gundam-host-item.component.ts中的html代码块复制到gundam-host-item.component.html中去。
新建的类需要在在app.module.ts文件里注册才能使用。(说起来angular也是Googler写的,我说写起来怎么和Android的节奏那么像似….)

修改gundam-host-item.component.ts中的@Component,增加selector属性,属性值设定为my-host-item
@Component({
    selector: 'my-host-item',
    templateUrl: './html/gundam-host-item.component.html'
})
在html中用
<my-host-item>my-host-item>代替
    <div *ngFor="let gundam of gundams"  [routerLink]="['/detail', gundam.id]">
      <span>
        {{gundam.name}}
      span>
    div>
但是是这样又带来一个问题,如何把数据传进去呢?
还是绑定
angular数据倒来倒去,都是通过绑定的方式。既然host-item里没有值,那就传一个进去。
<my-host-item *ngFor="let gundam of gundams" [routerLink]="['/detail', gundam.id]" [gundam]="gundam">my-host-item>[gundam]=”gundam”即是绑定声明,声明该组件中有一个名为gundam的属性,然后将拆解gundams数组得到的gundam作为值传递给my-host-item中的gundam属性。
现在值已经从页面里传进去了,但是在组件中还是要接收一下,否则会报错。
具体来说,要把外界的值传递给Controller。
在gundam-host-item.component.ts中的inport里增加input 类,用来进行数据的接收。
import { Component, Input } from '@angular/core';gundam: Gundam;定义完毕后,在旁边增加上@input的注解。
import { Component, Input } from '@angular/core';
import { Gundam } from './../../model/gundam';

@Component({
    selector: 'my-host-item',
    templateUrl: './html/gundam-host-item.component.html'
})

export class GundamHostItemComponent {
    @Input() gundam: Gundam;
}
再进入item的html页面,删去多余*ngfor
<div>
  <span>
    {{gundam.name}}
  span>
div>
刷新页面,可以正常显示咯。

又是一顿神拆,先把v和c分离,又进一步把主页拆成2个组件。这样就不怕产品经理跳出来说,“我觉得这个主页的item需要换一下了。”~(当然,其实拿把菜刀放在旁边是更好的选择)~
现在,可以使用bootstrap了。