实验要求
1.找一个系统调用,系统调用号为学号最后2位相同的系统调用
2.通过汇编指令触发该系统调用
3.通过gdb跟踪该系统调用的内核处理过程
4.重点阅读分析系统调用入口的保存现场、恢复现场和系统调用返回,以及重点关注系统调用过程中内核堆栈状态的变化
系统调用示例
我的学号后两位值为46,查询linux-5.4.34/arch/x86/entry/syscalls/syscall_64.tbl可知,所对应的系统调用为sendmsg。
sendmsg是高级套接口,该接口支持一般数据的发送,还支持多缓冲区的报文发送,还可以在报文中带辅助数据。
以下为功能演示代码:
1 //clientMsg.c 客户端代码 2 #include3 #include in.h> 4 #include 5 #include <string.h> 6 #include 7 #include 8 #include 9 #include in.h> 10 11 #define PORT 1234 12 #define BUFSIZE 512 13 #define SERVER_IP "127.0.0.1" 14 15 16 int main(int argc, char**argv) 17 { 18 int sockfd=socket(AF_INET,SOCK_DGRAM,IPPROTO_UDP); 19 20 struct sockaddr_in servaddr; 21 bzero(&servaddr,sizeof(servaddr)); 22 servaddr.sin_family = AF_INET; 23 servaddr.sin_addr.s_addr=inet_addr(SERVER_IP); 24 servaddr.sin_port=htons(PORT); 25 26 struct iovec io; 27 char sendline[BUFSIZE]; 28 29 struct msghdr header; 30 memset (&header, '\0', sizeof (header)); 31 header.msg_name = &servaddr; 32 header.msg_namelen = sizeof (struct sockaddr_in); 33 header.msg_iov = &io; 34 header.msg_iov->iov_base= sendline; 35 header.msg_iov->iov_len = BUFSIZE; 36 header.msg_iovlen = 1; 37 while (1){ 38 printf("Enter the string to be sent:"); 39 if ((fgets(sendline, 100, stdin)) == NULL){ 40 printf("error in reading from stdin\n\n"); 41 }else{ 42 header.msg_iov->iov_len = strlen(sendline) - 1; 43 if ((sendmsg(sockfd, &header, 0)) == -1){ 44 printf("Error in sendmsg,\t [errno = %d]\n", errno); 45 } 46 } 47 } 48 return 0; 49 }
1 //serverMsg.c 服务端代码 2 #include3 #include 4 #include 5 #include 6 #include in.h> 7 #include <string.h> 8 #include 9 10 #define PORT 1234 11 #define BUFSIZE 8192 12 #define SERVER_IP "127.0.0.1" 13 14 int main() 15 { 16 int sockfd,n; 17 struct sockaddr_in servaddr,cliaddr; 18 socklen_t len; 19 char mesg[1000]; 20 char message_control_array[BUFSIZE]; 21 int count = 1; 22 struct iovec io; 23 int ret = 0; 24 int ttlval = 255; 25 26 /* Messageheader structure to pass to recvmsg call*/ 27 struct msghdr header; 28 memset (&header, '\0', sizeof (header)); 29 30 /* This structure will contain the individual ancillary messages*/ 31 struct cmsghdr *cmsg; 32 33 /* Filling up the control data related variables.*/ 34 header.msg_name = &servaddr; 35 header.msg_namelen = sizeof (struct sockaddr_in); 36 header.msg_control = message_control_array; 37 header.msg_controllen = BUFSIZE; 38 header.msg_iov = &io; 39 header.msg_iov->iov_base= mesg; 40 header.msg_iov->iov_len = 1000; 41 header.msg_iovlen = 1; 42 43 /*create UDP socket*/ 44 if ((sockfd=socket(AF_INET,SOCK_DGRAM,IPPROTO_UDP)) < 0) 45 { 46 printf("Error 1: Socket\n"); 47 exit(1); 48 } 49 50 ret = setsockopt (sockfd, IPPROTO_IP, IP_TTL, &ttlval, sizeof(ttlval)); 51 if ( ret == -1) 52 { 53 printf("setsockopt failing for IP_TTL, errno %d\n", errno); 54 } 55 56 bzero(&servaddr,sizeof(servaddr)); 57 servaddr.sin_family = AF_INET; 58 servaddr.sin_addr.s_addr=htonl(INADDR_ANY); 59 servaddr.sin_port=htons(PORT); 60 61 if ((bind(sockfd,(struct sockaddr *)&servaddr,sizeof(servaddr))) == -1) 62 { 63 printf("Error 2:bind\n"); 64 exit(1); 65 } 66 while (1) 67 { 68 69 if ((n = recvmsg(sockfd,&header, 0)) == -1) 70 { 71 printf("recvmsg error!!!!!!!!!!!!!\n\n"); 72 } 73 74 mesg[n] = 0; 75 printf("Received the following:%s\n",mesg); 76 } 77 return 0; 78 }
客户端与服务端通信过程如下图:
实验环境准备
1.下载Linux内核源码并配置QMenu虚拟环境(可参考上次实验)
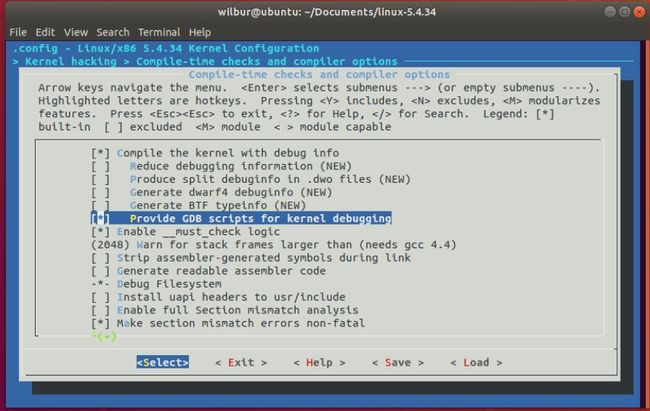
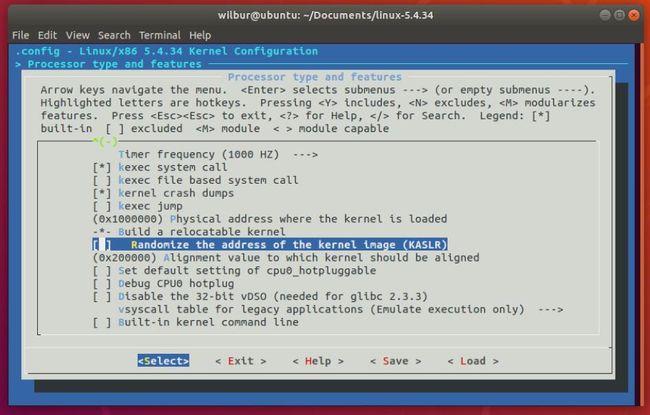
2.配置内核选项编译,配置选项如下图所示
make defconfig # Default configuration is based on 'x86_64_defconfig'
make menuconfig
# 打开debug相关选项
Kernel hacking  --->
    Compile-time checks and compiler options  --->
       [*] Compile the kernel with debug info
       [*]   Provide GDB scripts for kernel debugging
 [*] Kernel debugging
# 关闭KASLR,否则会导致打断点失败
Processor type and features ---->
   [] Randomize the address of the kernel image (KASLR)
# 配置完成后进行编译
make -j$(nproc) # nproc gives the number of CPU cores/threads available
# 测试一下内核能不能正常加载运行,因为没有文件系统最终会kernel panic
qemu-system-x86_64 -kernel arch/x86/boot/bzImage
3.制作根文件系统
#下载
axel -n 20 https://busybox.net/downloads/busybox-1.31.1.tar.bz2
tar -jxvf busybox-1.31.1.tar.bz2
cd busybox-1.31.1
#制作根文件系统
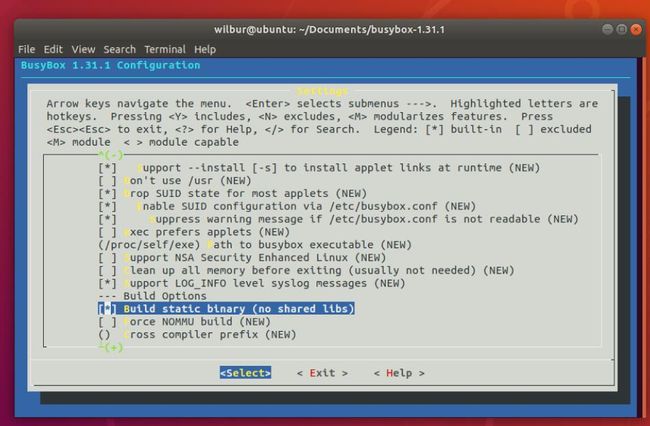
make menuconfig
#记得要编译成静态链接,不⽤动态链接库。
Settings  --->
    [*] Build static binary (no shared libs)
#然后编译安装,默认会安装到源码⽬录下的 _install ⽬录中。
make -j$(nproc) && make install
配置root根目录
mkdir rootfs
cd rootfs
cp ../busybox-1.31.1/_install/* ./ -rf
mkdir dev proc sys home
sudo cp -a /dev/{null,console,tty,tty1,tty2,tty3,tty4} dev/
4.准备初始化脚本
在rootfs目录下创建init文件,内容为
#!/bin/sh
mount -t proc none /proc
mount -t sysfs none /sys
echo "Wellcome TestOS!"
echo "--------------------"
cd home
/bin/sh
为init脚本添加可执行权限
chmod +x init
打包成内存根文件系统镜像
find . -print0 | cpio --null -ov --format=newc | gzip -9 > ../rootfs.cpio.gz
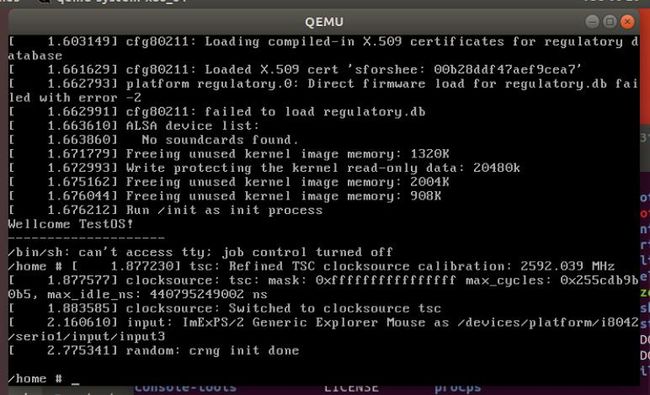
启动测试是否执行成功
qemu-system-x86_64 -kernel linux-5.4.34/arch/x86/boot/bzImage -initrd rootfs.cpio.gz
系统调用调试
调试过程
1.编写汇编调用sendmsg
1 int main(int argc, char**argv)
2 {
3     asm volatile(
4     "movl $0x2E,%eax\n\t" //使⽤EAX传递系统调⽤号46
5     "syscall\n\t" //触发系统调⽤
6     );
7     return 0;
8 }
2.编译打包
gcc sendMsg.c -o sendMsg -static
使用如上指令进行编译,并将编译的可执行文件拷贝到rootfs/home目录下,并重新生成根文件系统
find . -print0 | cpio --null -ov --format=newc | gzip -9 > ../rootfs.cpio.gz
3.调试模式启动
使用如下指令启动调试模式qemu,
qemu-system-x86_64 -kernel linux-5.4.34/arch/x86/boot/bzImage -initrd rootfs.cpio.gz -S -s -nographic -append "console=ttyS0"
可以看到此时系统处于等待状态。
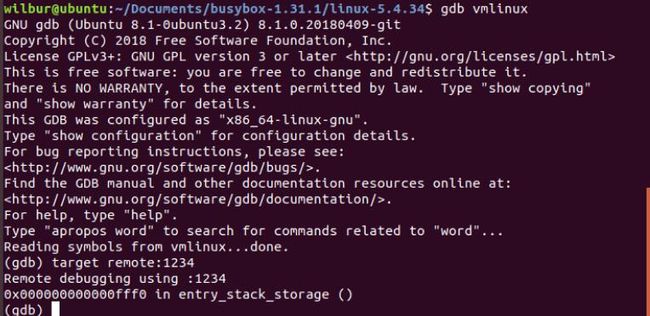
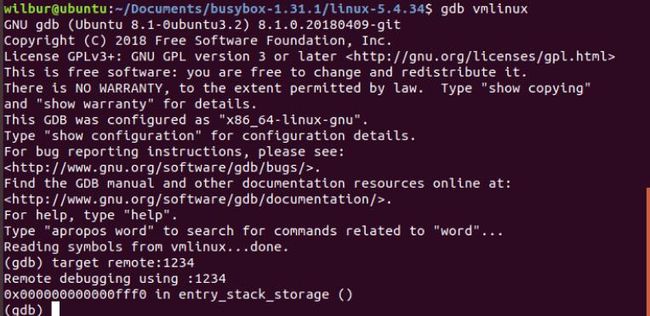
启动另一个终端,进入linux-4-34目录,并启动gdb,并通过remote建立连接
__x64_sys_sendmsg函数处打断点
执行到断点处,并查看调用栈信息
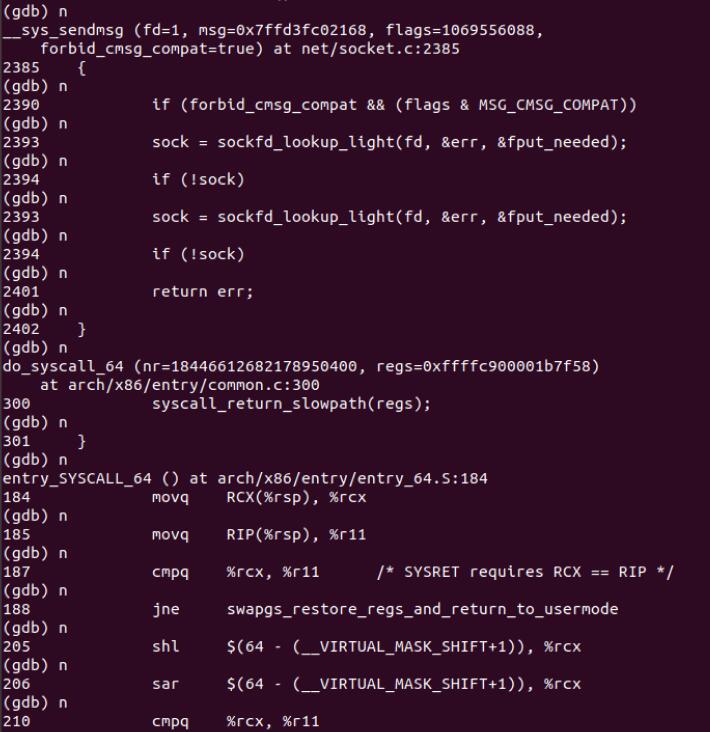
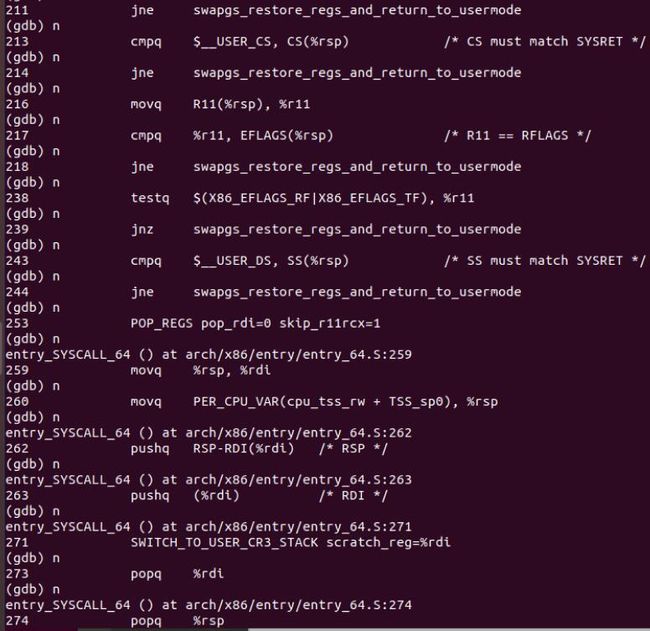
继续单步调试可以看到
调试分析
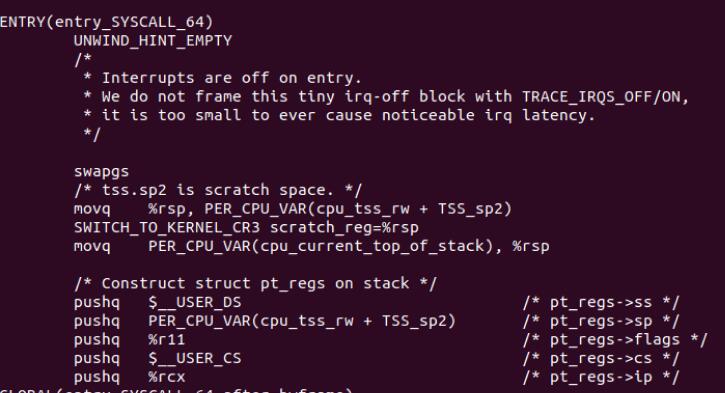
在调用栈那张截图中,我们可以看到系统调用的入口是在 arch/x86/entry/entry_64.S中的entry_SYSCALL_64()函数,代码如下所示,
可以看到,此处使用了swapgs指令,来快照式地保存现场,加快了系统调用的速度。之后将pt_regs中的相关字段保存到内核栈中。然后在entry_SYSCALL_64_after_hwframe中调用了do_syscall_64
do_syscall_64具体代码如下,
在do_syscall_64执行过程当中,首先通过传入的系统调用号nr找到相应的系统调用,并将返回值保存在regs的ax中,然后执行该系统调用。
调用系统调用结束后,执行syscall_return_slowpath,为恢复现场做准备。
然后之前的gdb单步调试中,我们可以看到从syscall_return_slowpath返回后,开始恢复现场。主要是将之前保存在栈中的寄存器的值,重新恢复到原来的寄存器中。


