react-native配置路由导航、传参示例,标题样式配置
一.关于项目环境配置
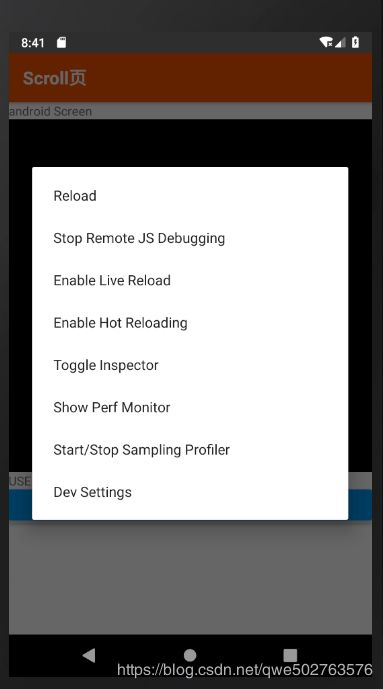
我就是跟着react native中文网一步步来的,模拟器就用的android studio 的原生模拟器,这个模拟器可能跟其他大多数模拟器调出开发菜单的快捷键不一样,我是找了N久才发现快捷键是Ctrl+M打开开发菜单,差点都准备换模拟器了,因为只有打开开发菜单的JS Debugging才能调试,开发菜单如下图:
二.页面导航、路由配置
1.装react-navigation、react-native-gesture-handler
2.执行react-native link react-native-gesture-handler
3.为了完成 react-native-gesture-handler在 Android 上的安装,请确保在 MainActivity.java 上完成如下修改:
package com.reactnavigation.example;

import com.facebook.react.ReactActivity;
+ import com.facebook.react.ReactActivityDelegate;
+ import com.facebook.react.ReactRootView;
+ import com.swmansion.gesturehandler.react.RNGestureHandlerEnabledRootView;

public class MainActivity extends ReactActivity {

  @Override
  protected String getMainComponentName() {
    return "Example";
  }

+  @Override
+  protected ReactActivityDelegate createReactActivityDelegate() {
+    return new ReactActivityDelegate(this, getMainComponentName()) {
+      @Override
+      protected ReactRootView createRootView() {
+       return new RNGestureHandlerEnabledRootView(MainActivity.this);
+      }
+    };
+  }
}
关于react-navigation更多详细配置和使用方式,参考官网:React Navigation(中英双语支持)
三、demo代码
项目根目录新建src目录,src下新建pages目录,创建两个页面组件scroll.js,testpage.js
scroll.js:
import React, {Component} from 'react';
import {Platform, StyleSheet, Text, View, Button, Image} from 'react-native';
const instructions = Platform.select({
ios: 'ios',
android: 'android'
});
export default class Scroll extends Component {
render() {
params = this.props.navigation.state.params
return (
{instructions} Screen
{params && params.text?params.text:null}
);
}
}
const styles = StyleSheet.create({
});
testpage.js:
import React, {Component} from 'react';
import {Platform, StyleSheet, Text, View, Button, TextInput} from 'react-native';
export default class Testpage extends Component {
// static navigationOptions = ({navigation }) =>{
// return {
// title:navigation.getParam('name', 'A Nested Details Screen'),//第一个参数是传过来的参数字段名,第二个是没有找到该字段就显示的内容
// }
// }
static navigationOptions = ({ navigation, navigationOptions }) => {
const { params } = navigation.state;
console.log(navigationOptions)
return {
title: params ? params.name : 'A Nested Details Screen',
/* 覆盖全局配置! */
headerStyle: {
backgroundColor: 'pink',
},
headerTintColor: 'green',
}
}
state = {
text: ''
}
componentDidMount(){
console.log(this.props.navigation.state.params)
}
render() {
return (
Testpage
this.setState({text})}
value={this.state.text}
placeholder="this is placeholder"
/>
);
}
}
const styles = StyleSheet.create({
});
在src下再建一个AppContainer.js:
import { createStackNavigator, createAppContainer } from "react-navigation";
import Scroll from "./pages/scroll"
import Testpage from "./pages/testpage"

const AppNavigator = createStackNavigator({
    Scroll: {
        screen: Scroll,
        navigationOptions:{
            title:'Scroll页',
        },
    },
    Testpage: {
        screen: Testpage,
    }
},{
    initialRouteName: "Scroll",
    defaultNavigationOptions:{//配置全局标题样式
        headerStyle: {
            backgroundColor: '#f4511e',//标题背景颜色
        },
        headerTintColor: '#fff',//标题文字颜色
        headerTitleStyle: {
            fontWeight: 'bold',
            alignSelf:'center'
        },
    }
});
export default  createAppContainer(AppNavigator);
修改App.js:
import React, {Component} from 'react';
import AppContainer from "./src/AppContainer"
export default class App extends Component {
componentDidMount(){
console.log(__DEV__)//开发环境得到true
}
render() {
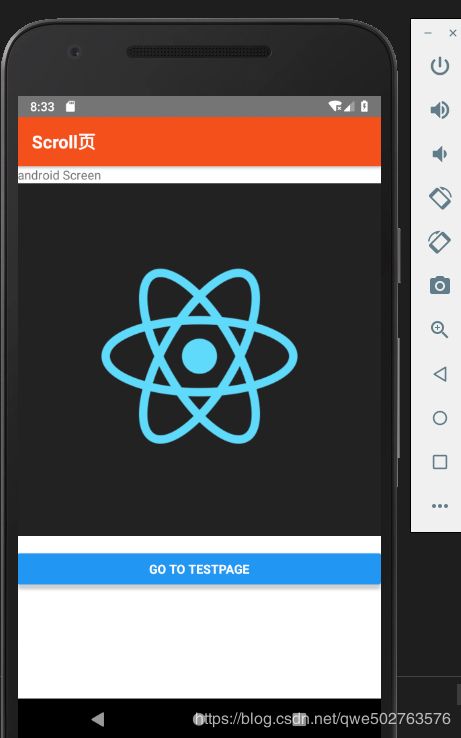
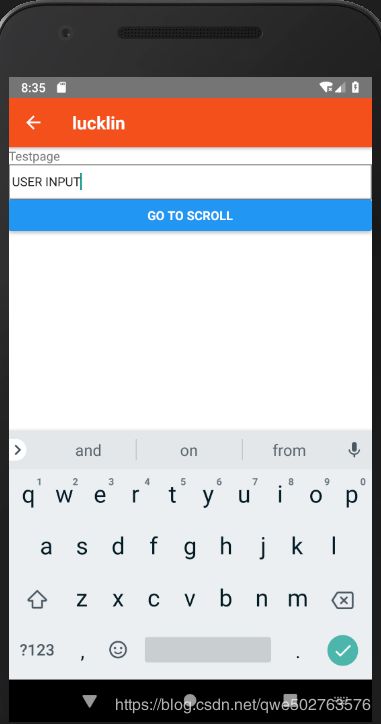
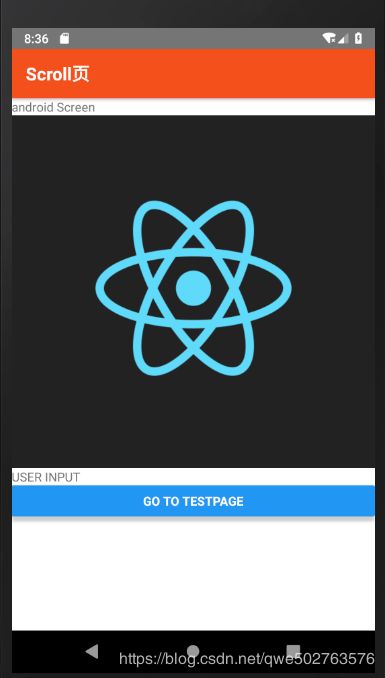
return 然后执行编译预览:


