ElasticSearch数据导入
作者:dominating
本文将介绍通过logstash收集.csv文件,oracle数据库数据再导入到ElasticSearch中,以及SuperMap iClient for JavaScript 9D与ElasticSearch的结合使用。
###安装logstash
1、官网下载logstash-6.1.2.tar.gz,https://www.elastic.co/downloads/logstash
解压到/opt下
2、测试
运行logstash
bin/logstash -e 'input { stdin { } } output { stdout {} }'
输入hello world,logstash将会输出内容到控制台
2018-01-29T16 :36:49,507 +0000 0.0.0.0 hello world
###导入.csv文件
编写配置文件
收集和导入数据需要借助logstash的input,filter,output插件来编写配置文件:
input {
  file {
    path => ["/opt/flights2.csv"]
    start_position => "beginning"
  }
}
filter {
  csv {
    separator => ","
    columns => ["ident","lon","lat","temp","origin","destination"]
  }
}
output {
  elasticsearch {
        hosts => ["192.168.255.143:9200"]
        index => "flight"
  }
}
参数说明:
input插件
file:数据来源为文件型
path:#必选项,配置文件路径.如我使用的以下.csv文件

start_position:logstash从哪个位置读取文件数据,默认从尾部,值为:end,如果要导入历史数据则设置成:beginning
filter插件
csv:csv文件过滤器
separator:定义列分割符值。默认为逗号’,’
columns:定义一个列名称列表,按照在CSV中出现的顺序
output插件
elasticsearch输出目标为elasticsearch,配置host和index索引名
运行logstash
/opt/logstash-6.1.2/bin/logstash -f /opt/test.conf
"took": 9,
	"timed_out": false,
	"_shards": {
		"total": 5,
		"successful": 5,
		"skipped": 0,
		"failed": 0
	},
	"hits": {
		"total": 100,
		"max_score": 1.0,
		"hits": [{
			"_index": "flight",
			"_type": "doc",
			"_id": "9pMPQWEBy48LTNYe0eDu",
			"_score": 1.0,
			"_source": {
				"temp": "1.49E+12",
				"@timestamp": "2018-01-29T08:36:50.287Z",
				"host": "ubuntu-node3",
				"lat": "29.824944",
				"ident": "T0000",
				"origin": "Lishe",
				"destination": "Jiangbei",
				"message": "T0000,121.465069,29.824944,1.49E+12,Lishe,Jiangbei\r",
				"@version": "1",
				"path": "/opt/flights2.csv",
				"lon": "121.465069"
			}
		}]
	}
可以看到导入了100条数据,并且能够被查询到。
###导入oracle数据
需要在logstash所在机器上提前安装oracle客户端,并且配置好oracle的环境变量
测试oracle数据库是否能正常通讯

编写logstash配置文件
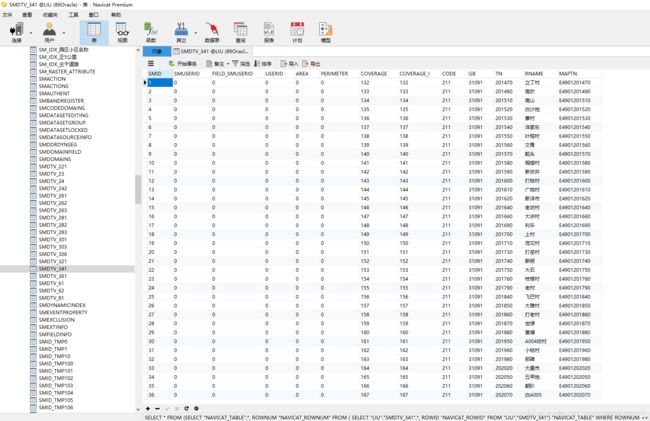
需要导入的oracle数据

input {
  jdbc {
    jdbc_driver_library => "/opt/ojdbc6.jar"
    jdbc_driver_class => "Java::oracle.jdbc.driver.OracleDriver"
    jdbc_connection_string => "jdbc:oracle:thin:@//192.168.15.89:1521/supermap"
    jdbc_user => "liu"
    jdbc_password => "supermap"
    schedule => "* * * * *"
    statement => "select * from SMDTV_341"
    type => "jdbc"
    last_run_metadata_path => "/home/elsearch/logstash-oradb.lastrun"
  }
}
filter {

}
output {
  elasticsearch {
        hosts => ["192.168.255.143:9200"]
        index => "test"
  }
}
参数说明:
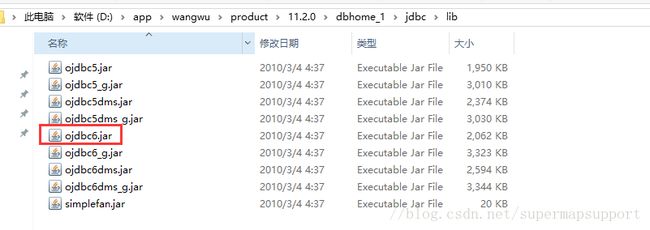
jdbc_driver_library:在oracle目录下,如我的在D:\app\wangwu\product\11.2.0\dbhome_1\jdbc\lib下面,复制到指定目录

schedule:查询间隔,"* * * * *"每分钟查询一次,不设置则只执行一次
last_run_metadata_path:最后更新时间文件位置
statement:SQL查询语句
index: 索引,可以先创建一个索引再导入
将文件保存为jdbc.conf放在logstash所在机器,运行
/opt/logstash-6.1.2/bin/logstash -f /opt/jdbc.conf

查看结果

说明数据已经导入成功,并且能够被查询到。
###导入地理坐标点数据
ElasticSearch提供了地理位置功能,并且能够把地理位置、全文搜索、结构化搜索和分析结合到一起。
ElasticSearch中存储地理坐标数据需要使用geo-point类型,并且必须提前显式声明
1、创建索引,并且声明location为geo-point类型
curl -XPUT '192.168.255.143:9200/test3?pretty' -H 'Content-Type: application/json' -d'
{
  "mappings": {
    "capital" : {
      "properties" : {
        "location" : {
          "type" :    "geo_point"
        }
      }
    }
  }
}
'
创建索引test3,映射字段location,并且声明为geo-point类型
2、编写配置文件
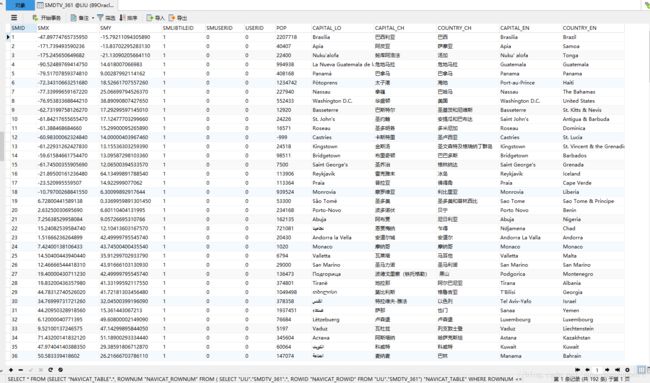
将带地理坐标的数据导入到ElasticSearch中

input {
  jdbc {
    jdbc_driver_library => "/opt/ojdbc6.jar"
    jdbc_driver_class => "Java::oracle.jdbc.driver.OracleDriver"
    jdbc_connection_string => "jdbc:oracle:thin:@//192.168.15.89:1521/supermap"
    jdbc_user => "liu"
    jdbc_password => "supermap"
    statement => "select * from SMDTV_361"
    type => "jdbc"
    last_run_metadata_path => "/home/elsearch/logstash-oradb.lastrun"
  }
}
filter {
    mutate {
        add_field => {"location" => "%{smy},%{smx}"}
    }
}
output {
  elasticsearch {
        hosts => ["192.168.255.143:9200"]
        index => "test3"
        document_type => "capital"
  }
}
由于原表中并没有location字段,所以filter中使用mutate插件给收集到的数据添加字段location
3、执行导入命令
/opt/logstash-6.1.2/bin/logstash -f /opt/jdbc.conf
4、网格聚合
将地理位置数据导入成功之后,我们就可以使用ElasticSearch提供的地理位置功能了,以下我们将执行Geohash网格聚合:
curl -XGET '192.168.255.143:9200/test3/capital/_search?pretty' -H 'Content-Type: application/json' -d'
{
  "query": {
    "constant_score": {
      "filter": {
        "geo_bounding_box": {
          "location": {
            "top_left": {
              "lat":  90,
              "lon": -180
            },
            "bottom_right": {
              "lat":  -90,
              "lon": 180
            }
          }
        }
      }
    }
  },
  "aggs": {
    "world": {
      "geohash_grid": {
        "field":     "location",
        "precision": 1
      }
    }
  }
}
'

如果对Geohash不太明白,可以参考官方的文档:https://www.elastic.co/guide/cn/elasticsearch/guide/current/geohash-grid-agg.html
###SuperMap iClient for JavaScript 9D和ElasticSearch的结合使用
SuperMap iClient for JavaScript 9D封装了ElasticSearch的JavaScript API,我们以for Leaflet为例查询之前导入的数据。
1、 定义服务
liveESService = new SuperMap.ElasticSearch("http://192.168.255.143:9200");
2、 传入查询条件,成功回调函数
function loadLiveData() {
        var liveParameters = [];
        liveParameters.push({index: "flight"});
        liveParameters.push({
            "query": {
                "match_all":{}
            },
            "from": 0,
            "size": 100
        });
        liveESService.msearch({body: liveParameters}, function (error, result) {
            if (error) {
                widgets.alert.showAlert(JSON.stringify(error), false);
                return;
            }
			renderLive(result.responses);
        });
    }
使用new SuperMap.ElasticSearch(url).msearch(params,callback)方法,传入查询参数,定义回调函数
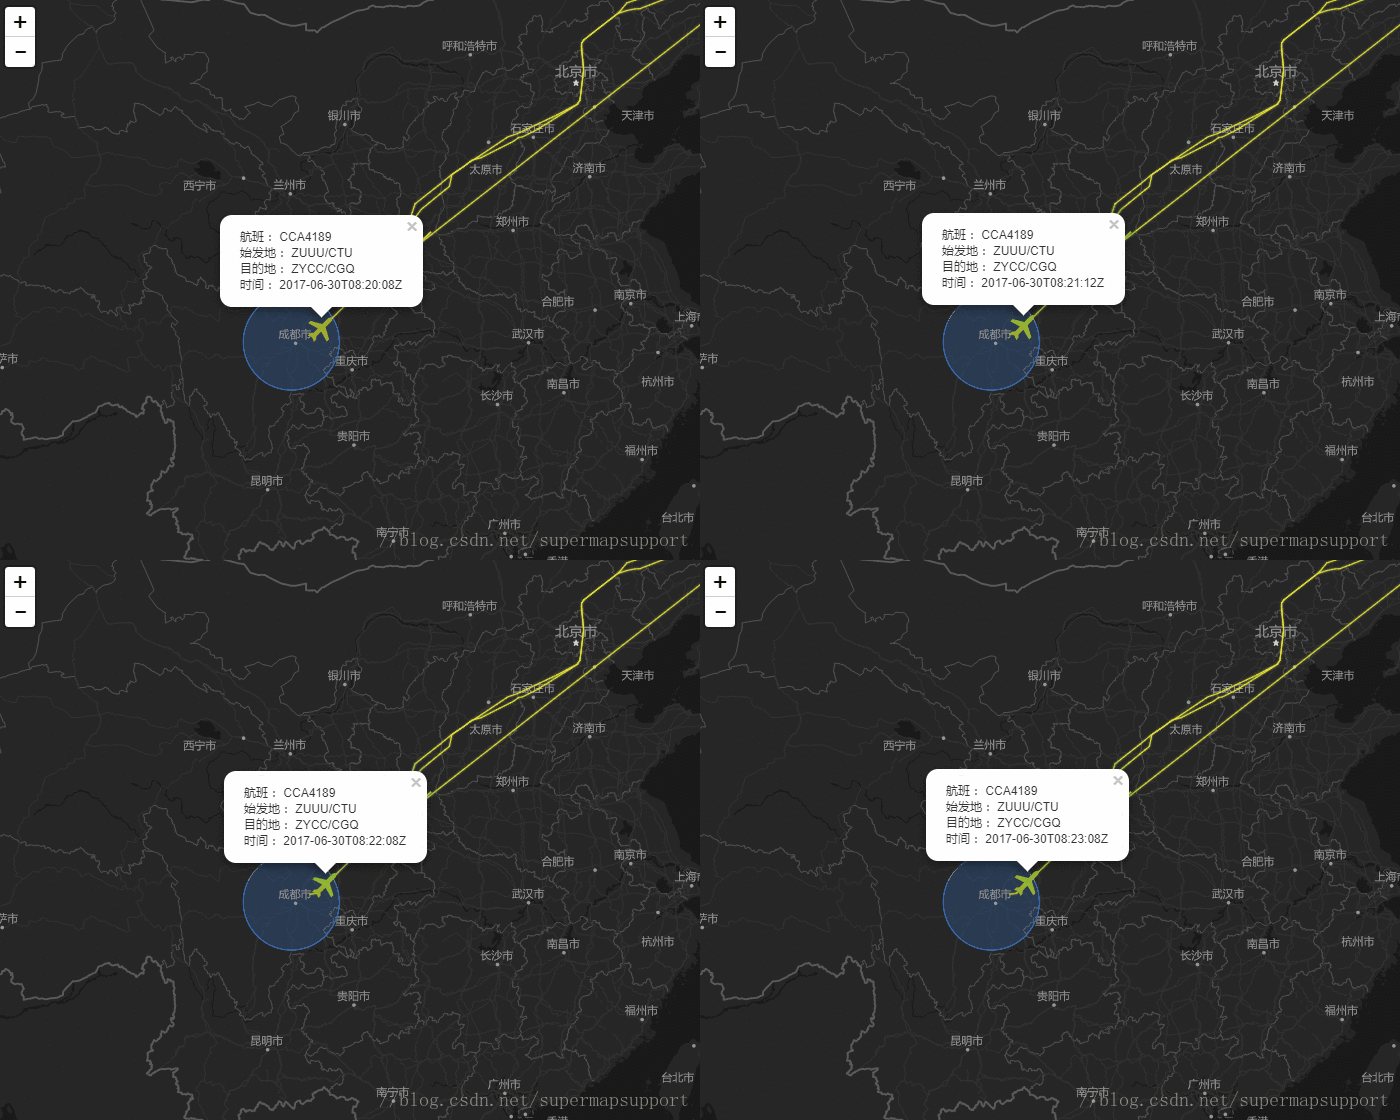
3、 处理数据添加到地图

4、更多关于SuperMap iClient for JavaScript 9D和ElasticSearch的结合使用的例子
http://iclient.supermap.io/examples/leaflet/examples.html#Elasticsearch
热力/网格图


