【WPF学习手记】绘制箭头
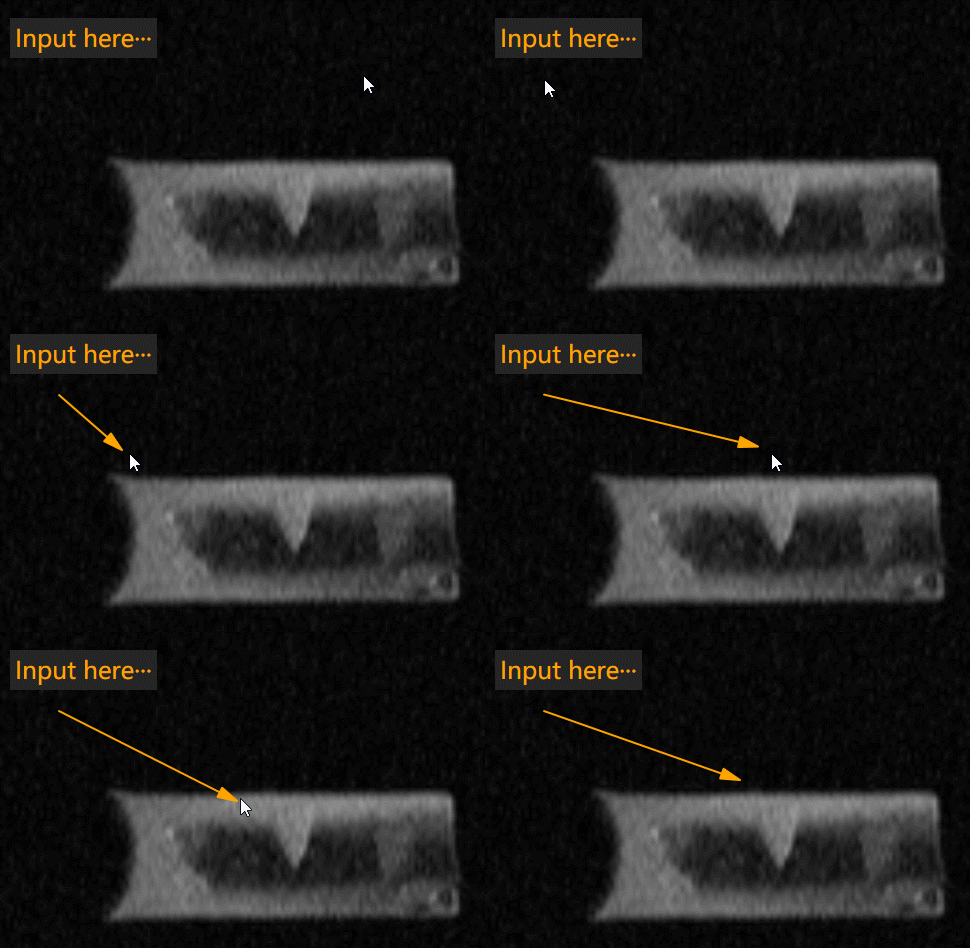
先看一下效果图:
思路:利用 Polygon 来绘制,整个polygon由5个点组成,按照:起点 --> 终点 --> 第三点 --> 第四点 --> 终点的顺序,最后填充颜色即可 。
核心代码如下:
public Polygon DrawArrow(double x1, double y1, double x2, double y2, double arrowAngle = Math.PI / 12, double arrowLength = 20)
{
    Point point1 = new Point(x1, y1);     // 箭头起点
    Point point2 = new Point(x2, y2);     // 箭头终点
    double angleOri = Math.Atan((y2 - y1) / (x2 - x1));      // 起始点线段夹角
    double angleDown = angleOri - arrowAngle;   // 箭头扩张角度
    double angleUp = angleOri + arrowAngle;     // 箭头扩张角度
    int directionFlag = (x2 > x1) ? -1 : 1;     // 方向标识
    double x3 = x2 + ((directionFlag * arrowLength) * Math.Cos(angleDown));   // 箭头第三个点的坐标
    double y3 = y2 + ((directionFlag * arrowLength) * Math.Sin(angleDown));
    double x4 = x2 + ((directionFlag * arrowLength) * Math.Cos(angleUp));     // 箭头第四个点的坐标
    double y4 = y2 + ((directionFlag * arrowLength) * Math.Sin(angleUp));
    Point point3 = new Point(x3, y3);   // 箭头第三个点
    Point point4 = new Point(x4, y4);   // 箭头第四个点
    Point[] points = new Point[] { point1, point2, point3, point4, point2 };   // 多边形,起点 --> 终点 --> 第三点 --> 第四点 --> 终点
    Polygon myPolygon = new Polygon
    {
        Stroke = new SolidColorBrush(Color.FromArgb(0xFF, 0xFF, 0xA5, 0x00)),
        StrokeThickness = 2,      // 多边形线宽
        StrokeLineJoin = PenLineJoin.Round,
        Fill = new SolidColorBrush(Color.FromArgb(0xFF, 0xFF, 0xA5, 0x00)),   // 填充
    };
    for (int i = 0; i < points.Length; i++)
    {
        myPolygon.Points.Add(points[i]);
    }
    return myPolygon;
}
鼠标移动过程中自动修改箭头长度和方向:在鼠标按下事件中添加一个polygon,并设置好属性,
startPoint = e.GetPosition(inkCanvas1);
curCanvas = new Canvas();
// 多边形,起点 --> 终点 --> 第三点 --> 第四点 --> 终点
Polygon myPolygon = new Polygon
{
    Stroke = new SolidColorBrush(Color.FromArgb(0xFF, 0xFF, 0xA5, 0x00)),
    StrokeThickness = 2,
    StrokeLineJoin = PenLineJoin.Round,
    Fill = new SolidColorBrush(Color.FromArgb(0xFF, 0xFF, 0xA5, 0x00)),
    Points = new PointCollection
    {
        startPoint,
        startPoint,
        startPoint,
        startPoint,
        startPoint,
    },
};
curCanvas.Children.Add(myPolygon);
inkCanvas1.Children.Add(curCanvas);
鼠标按下并移动,触发修改箭头长度和方向的事件:
Point curPoint = e.GetPosition(inkCanvas1);
// 鼠标处于按下状态
if (e.LeftButton == MouseButtonState.Pressed)
{
    DrawArrow(curPoint);
}
DrawArrow代码如下:
// 移动过程中修改绘制对象
public void DrawArrow(Point curPoint, double arrowAngle = Math.PI / 12, double arrowLength = 20)
{
    // 获取待操作的 Canvas
    Canvas myCanvas = (Canvas)inkCanvas1.Children[inkCanvas1.Children.Count - 1];
    if (myCanvas == null)
    {
        return;
    }
    // 修改多边形
    Polygon myPolygon = (Polygon)myCanvas.Children[0];
    double x1 = myPolygon.Points[0].X;
    double y1 = myPolygon.Points[0].Y;
    double x2 = curPoint.X;
    double y2 = curPoint.Y;
    Point point1 = new Point(x1, y1);     // 箭头起点
    Point point2 = new Point(x2, y2);     // 箭头终点
    double angleOri = Math.Atan((y2 - y1) / (x2 - x1));      // 起始点线段夹角
    double angleDown = angleOri - arrowAngle;   // 箭头扩张角度
    double angleUp = angleOri + arrowAngle;     // 箭头扩张角度
    int directionFlag = (x2 > x1) ? -1 : 1;     // 方向标识
    double x3 = x2 + ((directionFlag * arrowLength) * Math.Cos(angleDown));   // 箭头第三个点的坐标
    double y3 = y2 + ((directionFlag * arrowLength) * Math.Sin(angleDown));
    double x4 = x2 + ((directionFlag * arrowLength) * Math.Cos(angleUp));     // 箭头第四个点的坐标
    double y4 = y2 + ((directionFlag * arrowLength) * Math.Sin(angleUp));
    Point point3 = new Point(x3, y3);   // 箭头第三个点
    Point point4 = new Point(x4, y4);   // 箭头第四个点
    myPolygon.Points[0] = new Point(x1, y1);
    myPolygon.Points[1] = new Point(x2, y2);
    myPolygon.Points[2] = new Point(x3, y3);
    myPolygon.Points[3] = new Point(x4, y4);
    myPolygon.Points[4] = new Point(x2, y2);
}
