小程序云开发教程一: 新建一个云开发项目以及基本布局
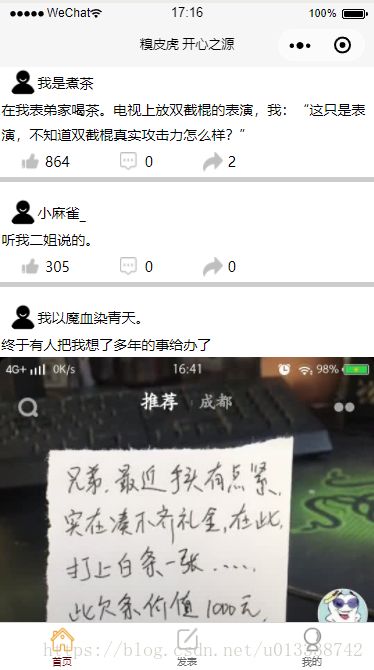
大家好,之前本人用业余时间(捣鼓了大概两三天),开发了一个小程序【糗皮虎】,里面包含了查看段子,点赞,分享,评论,发帖,登录等等功能,功能还是有待完善的,希望我的踩坑,可以为各位带来一些启示。
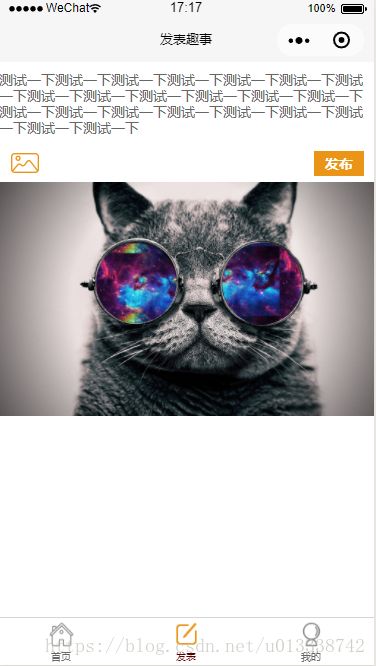
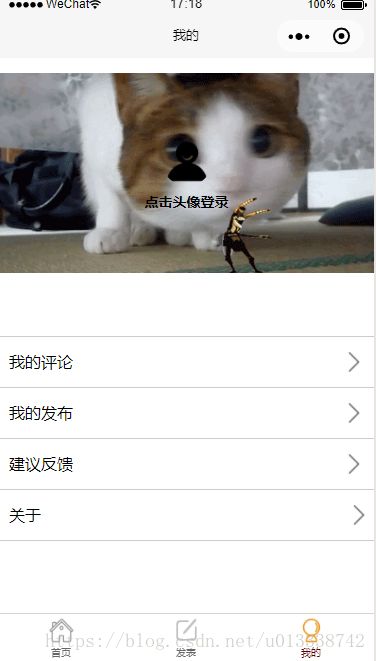
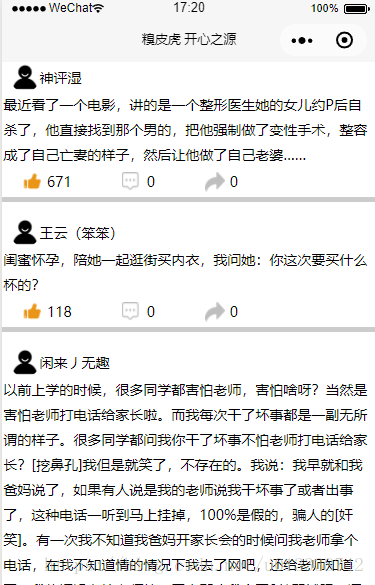
部分截图如下:
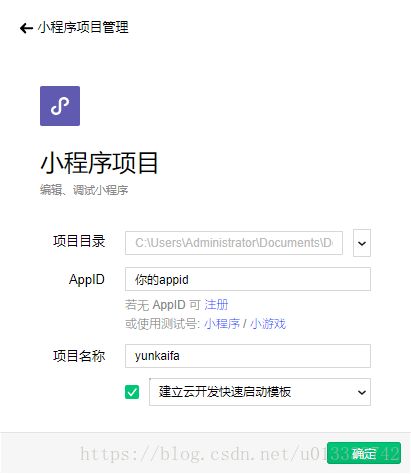
一,如何新建小程序云开发项目
-
首先,先去申请账号:https://developers.weixin.qq.com/miniprogram/dev/index.html?t=18090519
申请好账号,就有了appId, 如果没有appId,是不可以进行小程序云开发的; -
然后, 再去下载微信开发者工具 : https://developers.weixin.qq.com/miniprogram/dev/devtools/download.html?t=18092022
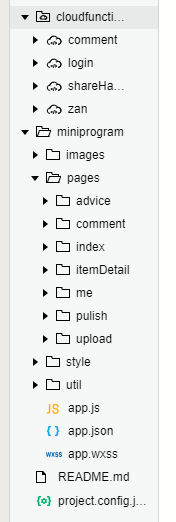
然后,大概的项目目录就只有默认的目录,包括数据库指导,上传图片以及云函数指导;这些目录先不要删,后面会有用到,可以参照;
然后新增一个栏,app.json里面的tabBar改变:
,
  "tabBar": {
    "color": "#666666",
    "selectedColor": "#580000",
    "borderStyle": "1px solid #f5f5f5",
    "backgroundColor": "#fff",
    "list": [
      {
        "pagePath": "pages/index/index",
        "text": "首页",
        "iconPath": "./images/index.png",
        "selectedIconPath": "./images/index1.png"
      },
      {
        "pagePath": "pages/pulish/pulish",
        "text": "发表",
        "iconPath": "./images/pulish.png",
        "selectedIconPath": "./images/pulish1.png"
      },
      {
        "pagePath": "pages/me/me",
        "text": "我的",
        "iconPath": "./images/me.png",
        "selectedIconPath": "./images/me1.png"
      }
    ]
  }
pages 改成如下:
 "pages": [
    "pages/index/index",
    "pages/advice/advice",
    "pages/comment/comment",
    "pages/me/me",
    "pages/upload/upload",
    "pages/itemDetail/itemDetail",
    "pages/pulish/pulish"


  ],
保存,就会发现开发工具自动帮你创建了pages里面的所有不存在的目录;
接着,改写我的页面:
布局如下:
      {{username}}


      我的评论


      我的发布


       建议反馈


       关于
可以发现,我们先把登录的文字默认设置为"点击头像登录",然后一旦用户登录了,就可以马上进行替换,我把用户的头像,名称,userId都变成在本地,使用wx.setStorageSync()保存, 其中,userId使用的是自己创建的一个唯一生成id(现在有一个问题没解决,就是一旦用户的信息过期了,就会再次生成一个userId,我想这个后期改成使用微信的openId会好一点);
在登录的时候,我们随机生成一个id,然后保存(但最主要的还是使用微信的openid, 这个是唯一不重复的,且不变的),获得openid的时候,把他设置在本地保存
登录的代码如下:
,

  getUserInfoHandler: function(e){

    console.log(e)
    let d = e.detail.userInfo
    this.setData({
      userTx: d.avatarUrl,
      username: d.nickName
    })
    wx.setStorageSync('username', d.nickName)
    wx.setStorageSync('avatar', d.avatarUrl)

    const db = wx.cloud.database()
    const _ = db.command
    var userId = wx.getStorageSync('userId')
    if (!userId) {
      userId = this.getUserId()
    }

    db.collection('users').where({
      _openid: d.openid
    }).get({
      success: res=>{
        console.log('查询用户:',res)
        if (res.data && res.data.length > 0){
          console.log('已存在')
          wx.setStorageSync('openId', res.data[0]._openid)
        }else{

          setTimeout(() => {
            db.collection('users').add({
              data: {
                userId: userId,
                iv: d.iv
              },
              success: function () {
                wx.showToast({
                  title: '用户登录成功',
                })
                console.log('用户id新增成功')
                db.collection('users').where({
                  userId: userId
                }).get({
                  success: res => {
                    wx.setStorageSync('openId', res.data[0]._openid)
                  },
                  fail: err=>{
                    console.log('用户_openid设置失败')
                  }
                })
              },
              fail: function (e) {
                console.log('用户id新增失败')
              }
            })
          }, 100)
        }
      },
      fail: err=>{

      }
    })


  },
生成唯一的id, 采用一个字母或数字+1970年到现在的毫秒数+10w的一个随机数组成,代码如下:
  getUserId: function () {
    var w = "abcdefghijklmnopqrstuvwxyz0123456789",
      firstW = w[parseInt(Math.random() * (w.length))];

    var userId = firstW + (Date.now()) + (Math.random() * 100000).toFixed(0)
    console.log(userId)
    wx.setStorageSync("userId", userId)

    return userId;
  },
然后,还有一个showInfo方法:(版权方面的免责声明)
  showInfo: function(){
    wx.showModal({
      title: '关于糗皮虎',
      content: '本小程序的内容来源于网上各大平台(如糗百等),如有侵权,请联系管理员***@gmail.com',
      showCancel: false
    })
  }
最后,在onLoad方法里面,增加如下代码:
   let username = wx.getStorageSync('username'),
      avatar = wx.getStorageSync('avatar');
    if (username){
      this.setData({
        username: username,
        defaultUrl: avatar
      })
    }
在onload方法上面的data数组,增加如下字段:
  data: {
    userTx: '',
    defaultUrl: '../../images/tx.png',
    username: '点击头像登录',
    userTx: ''

  },
那么,到此为止,我的页面功能就基本完成了, 详细代码请看:
https://github.com/LWJcoder/qiupihu
大家看在我码字那么辛苦的份上,顺手给github点一个小星星呗 ?
以上代码我会放在我的github上: LWJCoder
小程序云开发教程一: 新建一个云开发项目以及基本布局
小程序云开发教程二:数据的获取(爬虫)
小程序云开发教程三: 数据的布局以及展示
小程序云开发教程四:云函数的使用与点赞功能的实现
