自定义表格表头----element(疑难杂症一)
尽管element 表格有相关属性方法的说明,但是总有那么几个是难以理解的。这篇主要针对自定义表格表头的 render-header 方法。
例子:
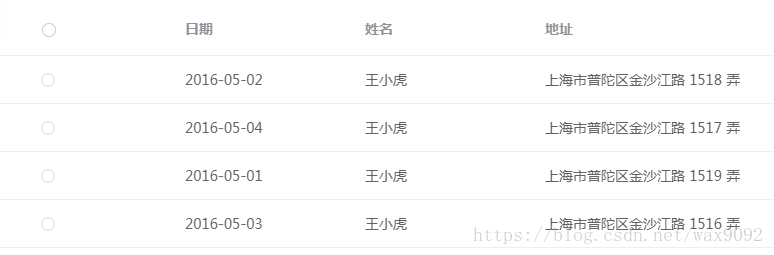
(1)基础表格
(2)添加单选列
效果

(3)表格之间的单选:
只要couponId == id ;就选中
selectChecked(index,row){
   this.couponId = row.id ;
}
到此,表格之间的单选已经实现
单选列表头是不是感觉选择有点不合时宜,更想要和下面的单选按钮一样那就OK了。没错,是时候大展身手了:render-header
(3)render-header 登场 在选择列添加以下方法
在methods:编写方法
modifiedCaption(h, { column, $index }){
		return h('span', [
		 h('span',column.label),
			h('div',
			 {
				 class:this.couponId==0?'red-star-icon':'red-star-icon-select',
				 on: {
				      click: this.change
				 }
			}),
		 ]);
},
css 是随便写的,仅供参考
.red-star-icon{
	position: relative;
	width:14px;
	height:14px;
	border:1px solid #ccc;
	border-radius:100%;
	padding-right:0;
	padding-left:0px !important;
	margin-top:8px;
	margin-left:-13px;
	background:#fff
}
.red-star-icon::after,.red-star-icon-select::after{
	width: 4px;
    height: 4px;
    border-radius: 100%;
    background-color: #fff;
    content: "";
    position: absolute;
    left: 50%;
    top: 50%;
    margin-top: -2px;
    margin-left: -2px;
}
.red-star-icon-select{
	position: relative;
	width:14px;
	height:14px;
	border:1px solid #ccc;
	border-radius:100%;
	padding-right:0;
	padding-left:0px !important;
	margin-top:8px;
	margin-left:-13px;
	background:red;
	border-color: #409EFF;
    background: #409EFF;
}
效果如下:
果真是想要的效果。但是希望只有选中,她也被选中,在class运用三元运算符即可,
(4) 点击头部按钮取消选中,只需要初始化就OK
change(val) {
 if(this.couponId !== '' || this.couponId != null){
	this.couponId = 0 ;
	}
},
想要的效果已经实现:附全码
html


js
var Main = {
      data() {
        return {
        couponId:0,
          tableData: [{
           id:1,
            date: '2016-05-02',
            name: '王小虎',
            address: '上海市普陀区金沙江路 1518 弄'
          }, {
          id:2,
            date: '2016-05-04',
            name: '王小虎',
            address: '上海市普陀区金沙江路 1517 弄'
          }, {
          id:3,
            date: '2016-05-01',
            name: '王小虎',
            address: '上海市普陀区金沙江路 1519 弄'
          }, {
          id:4,
            date: '2016-05-03',
            name: '王小虎',
            address: '上海市普陀区金沙江路 1516 弄'
          }]
        }
      },
      methods:{
      change(val) {
			    if(this.couponId !== '' || this.couponId != null){
			    	this.couponId = 0 ;
			    }
			},
      	modifiedCaption(h, { column, $index }){
          return h('span', [
                  h('span',column.label),
                  h('div',
                      {
                          class:this.couponId==0?'red-star-icon':'red-star-icon-select',
                          on: {
                              click: this.change
                          }
                  }),
              ]);
			},
      selectChecked(index,row){
      			this.couponId = row.id ;
      		}
      }

    }
var Ctor = Vue.extend(Main)
new Ctor().$mount('#app')

css
.red-star-icon{
	position: relative;
	width:14px;
	height:14px;
	border:1px solid #ccc;
	border-radius:100%;
	padding-right:0;
	padding-left:0px !important;
	margin-top:8px;
	margin-left:-13px;
	background:#fff
}
.red-star-icon::after,.red-star-icon-select::after{
	width: 4px;
    height: 4px;
    border-radius: 100%;
    background-color: #fff;
    content: "";
    position: absolute;
    left: 50%;
    top: 50%;
    margin-top: -2px;
    margin-left: -2px;
}
.red-star-icon-select{
	position: relative;
	width:14px;
	height:14px;
	border:1px solid #ccc;
	border-radius:100%;
	padding-right:0;
	padding-left:0px !important;
	margin-top:8px;
	margin-left:-13px;
	background:red;
	border-color: #409EFF;
    background: #409EFF;
}
直接在elm 官网例子中把各个部分复制黏贴就可以看到效果。https://jsfiddle.net/hzq8240a/1/
注意事项:
在写render-header函数,如果要写标签内容,不要像这样:modifiedCaption(h, { column, $index }){ return h('span', [ h('div','aaa', { on: { click: this.test } }), ]); }, test(){ console.log(111) } },这样写的话是监听不到的。应该这样写
modifiedCaption(h, { column, $index }){return h('span', [h('div',{domProps: {innerHTML: 'aaa'},on: {click: this.test}})],);}, test(val) {console.log('111')},具体语法看:https://cn.vuejs.org/v2/guide/render-function.html