手把手教Django 数据库操作——图书管理系统案例
今天初识Django框架,在此记个笔记
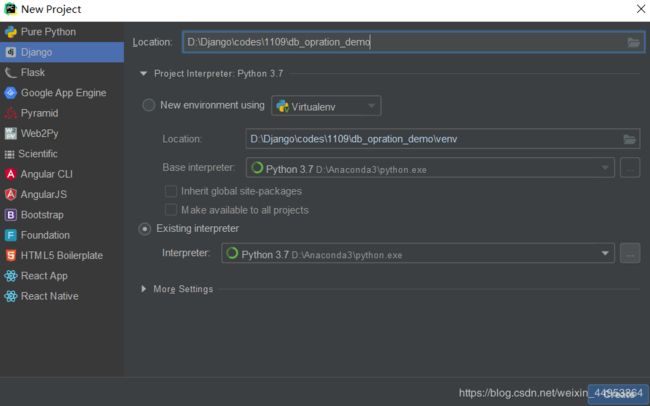
第一步,首先创建一个Django项目。一般有两个方法:
- 通过命令行创建
进入目录→django-admin startproject db_opration_demo然后再用pycharm打开文件
- 直接在pycharm中新建Django项目
第二步,连接数据库,在settings.py文件中修改DATABASES
DATABASES = {
    'default': {
        # 数据库引擎(sqlite3/mysql/oracle等)
        'ENGINE': 'django.db.backends.mysql',
        # 数据库名字
        'NAME': 'django_db1',
        # 连接数据库的用户名
        'USER': 'root',
        # 连接数据库的密码
        'PASSWORD': '123',
        # 数据库的主机地址
        'HOST': '127.0.0.1',
        # 数据库的端口号
        'PORT': '3306'
    }
}
第三步,在Django中操作数据库
在Django中操作数据库有两种方式。
- 使用原生sql语句操作
- 使用ORM模型来操作
在Django中使用原生sql语句操作,其实就是使用python db api的接口来操作。
首先,新建一个视图文件views.py,再建一个模板文件,index.html。
1、在views.py中渲染html
from django.shortcuts import render

def index(request):
    return render(request,'index.html')
2、然后再urls.py中添加映射
from django.urls import path
from . import views

urlpatterns = [
    path('',views.index),
]
3、使用django分装好的connection对象,会自动读取settings.py中数据库的配置信息
from django.db import connection

def index(request):
    # 获取游标对象
    cursor = connection.cursor()
    # 拿到游标对象后执行sql语句
    # cursor.execute("insert into book(id,name,author) value(null,'三国演义','罗贯中')")
    cursor.execute("select id,name,author from book")
    # 获取所有数据
    rows = cursor.fetchall()
    # 遍历查询到的数据
    for row in rows:
        print(row)
图书管理案例
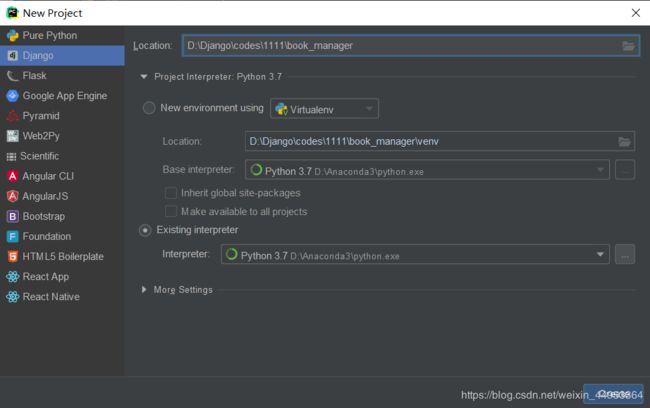
一、新建一个Django项目
二、新建一个app
三、操作views.py文件
# Create your views here.
def index(request):
    pass

def add_book(request):
    pass

def book_detail(request,book_id):
    pass
四、在urls.py中添加映射
from django.urls import path
from front import views

urlpatterns = [
    path('', views.index,name='index'),
    path('add_book/',views.add_book,name='add_book'),
    path('book_detail/',views.book_detail,name='book_detail')
]
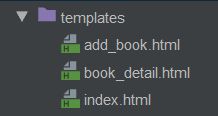
五、实现三个模板文件
六、创建数据库,修改setting.py
DATABASES = {
    'default': {
        'ENGINE': 'django.db.backends.mysql',
        'NAME': 'book_manage',
        'USER':'root',
        'PASSWORD':'123',
        'HOST':'127.0.0.1',
        'PORT':'3306'
    }
}
七、从数据库中提取所有数据
from django.db import connection

def get_corsor():
    return connection.cursor()

# Create your views here.
def index(request):
    cursor = get_corsor()
    cursor.execute("select id,name,author from book")
    books = cursor.fetchall()
    return render(request,'index.html',context={"books":books})
八、回到index.html模板当中
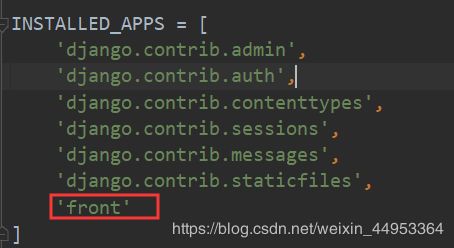
九、要想获取static里面的文件,app必须放在INSTALLED_APPS中
十、编辑css并加载
{% load static %}


    Title
.nav{
    background: #3a3a3a;
    height: 65px;
    overflow: hidden;
}

.nav li{
    float: left;
    list-style: none;
    margin: 0 20px;
    line-height: 65px;
}

.nav li a{
    color: #fff;
    text-decoration: none;
}

.nav li a:hover{
    color: aqua;
}
十一、顶部导航栏总是不变的,因此可以使用继承
创建一个base.html
{% load static %}
图书管理系统
{% block content %}
{% endblock %}
十二、接下来完成发布图书的功能
views.py
def add_book(request):
    return render(request,'add_book.html')
add_book.html
{% extends 'base.html' %}
{% block content %}
{% endblock %}完善views.py
def add_book(request):
    if request.method == 'GET':
        return render(request,'add_book.html')
    else:
        name = request.POST.get("name")
        author = request.POST.get("author")
        cursor = get_corsor()
        cursor.execute("insert into book(id,name,author) values(null ,'%s','%s')" % (name,author))
        # 跳转到首页
        return redirect(reverse('index'))
十三、点击三国演义,跳转到图书详情
book_detail.html
{% extends 'base.html' %}

{% block content %}
    书名:{{ book.1 }}
    作者:{{ book.2 }}


{% endblock %}
views.py
def delete_book(request):
    if request.method == 'POST':
        book_id = request.POST.get('book_id')
        cursor = get_corsor()
        cursor.execute("delete from book where id=%s" % book_id)
        return redirect(reverse('index'))
    else:
        raise RuntimeError("删除图书的method错误!")
再添加映射
path('delete_book/',views.delete_book,name='delete_book')再来到图书详情页面
到此完成啦!
