环境
Centos7系统
阿里云镜像下载地址:http://mirrors.aliyun.com/centos/7/isos/x86_64/
我的GitHub项目地址:https://github.com/daicary/kimchi-centos7(下载脚本一键搭建,不需要做以下的步骤)
声明:
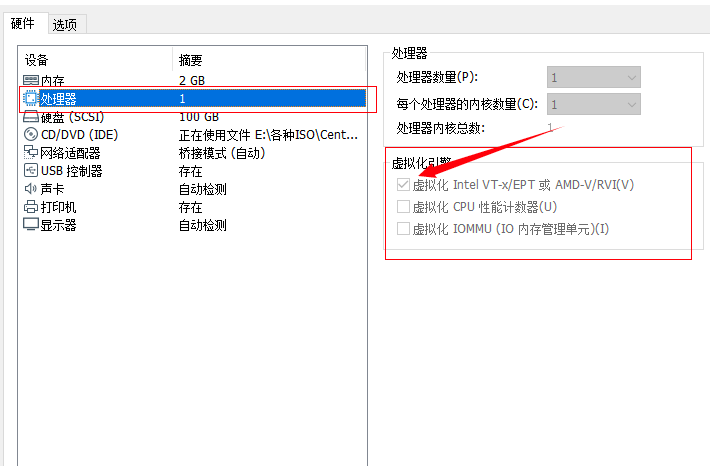
如果您使用的是vmware进行搭建,请编辑虚拟机设置,处理器->虚拟化引擎->虚拟化Intel VT-x/EPT 该选项进行勾选。虚拟化没开启请参考:BIOS开启虚拟化
开始部署
更新源
yum -y update
下载websockify包
yum -y install https://dl.fedoraproject.org/pub/epel/epel-release-latest-7.noarch.rpm
安装wok依赖和kimchi依赖
yum install apt install -y python3-pip
yum install -y gcc make autoconf automake git python3-pip python3-requests python3-mock gettext pkgconf xsltproc python3-dev pep8 pyflakes python3-yaml
yum install -y systemd logrotate python3-psutil python3-ldap python3-lxml python3-websockify python3-jsonschema openssl nginx python3-cherrypy3 python3-cheetah python3-pampy python-m2crypto gettext python3-openssl
wokd服务安装
wget https://github.com/kimchi-project/kimchi/releases/download/2.5.0/wok-2.5.0-0.el7.centos.noarch.rpm
yum install -y ./wok-2.5.0-0.el7.centos.noarch.rpm
kimchi服务安装
wget https://github.com/kimchi-project/kimchi/releases/download/2.5.0/kimchi-2.5.0-0.el7.centos.noarch.rpm
yum install -y ./kimchi-2.5.0-0.el7.centos.noarch.rpm
开启服务
确保开启下列服务
systemctl restart nginx
systemctl enable nginx
systemctl start wokd
systemctl enable wokd
systemctl start libvirtd
systemctl enable libvirtd
访问浏览器
浏览器访问
https://localhost:8001/
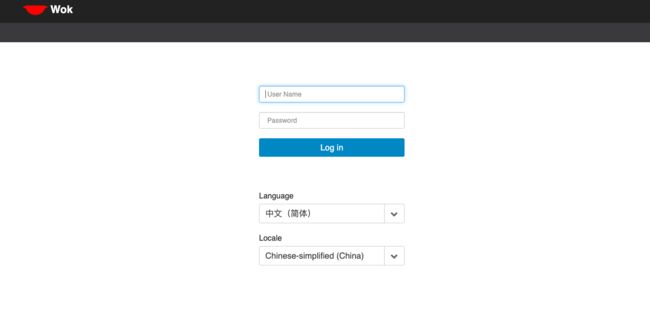
如图登陆界面:
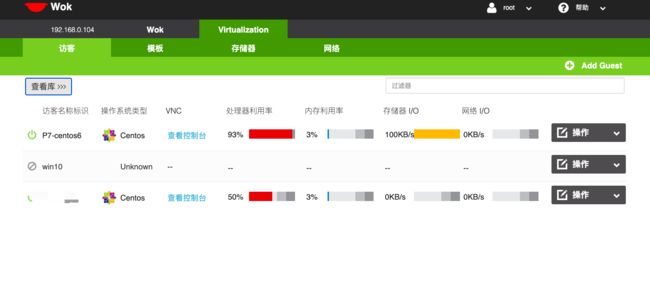
内部:
登录的账号密码是您的root账号和root密码哦!
防火墙设置
sudo firewall-cmd --add-port=80/tcp --permanent
sudo firewall-cmd --add-port=8001/tcp --permanent
sudo firewall-cmd --reload
如果访问8001还是失败,可以关闭防火墙再试
systemctly stop firewalld.service
systemctly disable firewalld.service
setenforce 0
以上操作太麻烦?
试试一键搭建
git clone https://github.com/daicary/kimchi-centos7.git
cd kimchi-centos7
chmod +x kimchi-centos7.sh
bash kimchi-centos7.sh
项目地址:https://github.com/daicary/kimchi-centos7


