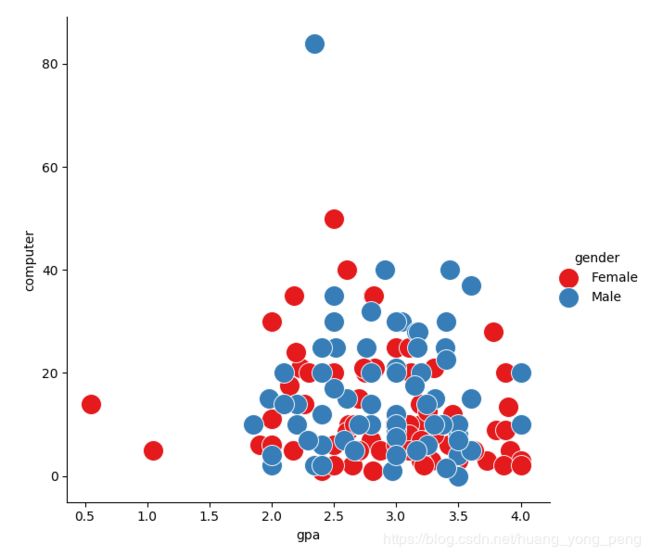
散点图
import pandas as pd
import seaborn as sns
import matplotlib.pyplot as plt
students = pd.read_csv('./data/ucdavis.csv',sep=',',header=0)
g = sns.FacetGrid(students,hue='gender',palette='Set1',size=6)
g.map(plt.scatter,'gpa','computer',s = 250,linewidth = 0.65,edgecolor = 'white')
g.add_legend()
plt.savefig('t1.png')
plt.show()
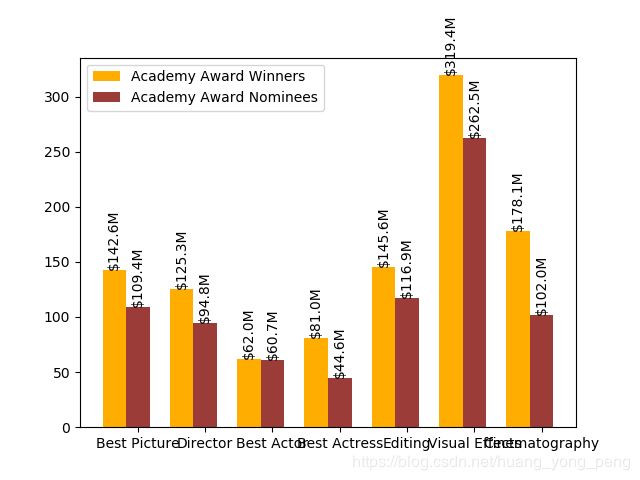
条形图
import numpy as np
import matplotlib.pyplot as plt
N = 7
winnersplot = (142.6,125.3,62.0,81.0,145.6,319.4,178.1)
ind = np.arange(N)
width = 0.35
fig,ax = plt.subplots()
winners = ax.bar(ind,winnersplot,width,color='#ffad00')
nomineesplot = (109.4,94.8,60.7,44.6,116.9,262.5,102.0)
nominees = ax.bar(ind+width,nomineesplot,width,color='#9b3c38')
ax.set_xticks(ind+width)
ax.set_xticklabels(('Best Picture','Director','Best Actor','Best Actress','Editing','Visual Effects','Cinematography'))
ax.legend((winners[0],nominees[0]),('Academy Award Winners','Academy Award Nominees'))

def autolabel(rects):
    for rect in rects:
        height = rect.get_height()
        hcap = '$'+str(height)+'M'
        ax.text(rect.get_x()+rect.get_width()/2.,height,hcap,ha='center',va='bottom',rotation='vertical')
autolabel(winners)
autolabel(nominees)
plt.savefig('t2.png')
plt.show()
折线图
import csv
import matplotlib.pyplot as plt
import pandas as pd
fig = plt.figure(figsize=(5,5))
plt.xlim(1965,2011)
plt.ylim(740.0,1128.0)
with open('./data/mortality1.csv') as csvfile:
mortdata = [row for row in csv.DictReader(csvfile)]
x = []
males_y = []
females_y = []
every_y = []
yrval = 1968
for row in mortdata:
x += [yrval]
males_y += [row['Males']]
females_y += [row['Females']]
every_y += [row['Everyone']]
yrval = yrval + 1
males_y = pd.DataFrame(males_y).astype(float)
females_y = pd.DataFrame(females_y).astype(float)
every_y = pd.DataFrame(every_y).astype(float)
plt.plot(x,males_y,color='#1a61c3',label='Males',linewidth=1.8)
plt.plot(x,females_y,color='#bc108d',label='Females',linewidth=1.8)
plt.plot(x,every_y,color='#747e8a',label='Everyone',linewidth=1.8)
plt.legend(loc=0,prop={'size':10})
plt.savefig('t3.png')
plt.show()

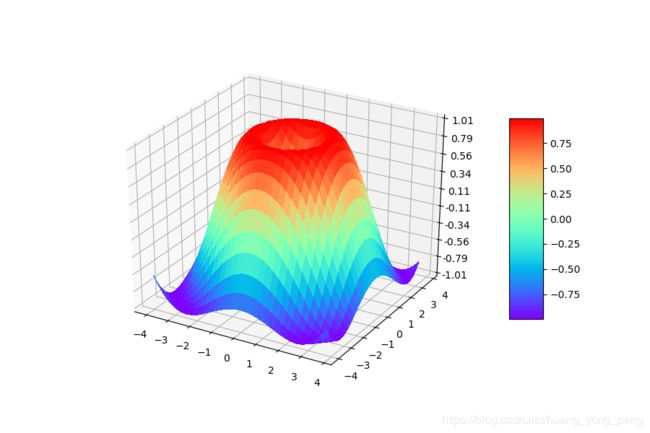
3D
import numpy as np
from  matplotlib import cm
from matplotlib.ticker import LinearLocator,FormatStrFormatter
import matplotlib.pyplot as plt
from mpl_toolkits.mplot3d import  Axes3D
fig = plt.figure(figsize=(9,6))
ax = fig.gca(projection='3d')
x = np.arange(-4,4,0.25)
y = np.arange(-4,4,0.25)
x,y = np.meshgrid(x,y)
R = np.sqrt(x**2+ y**2)
Z = np.sin(R)

surf = ax.plot_surface(x,y,Z,rstride=1,cstride=1,cmap=plt.get_cmap('rainbow'),linewidth=0,antialiased=False)
ax.set_zlim(-1.01,1.01)
ax.zaxis.set_major_locator(LinearLocator(10))
ax.zaxis.set_major_formatter(FormatStrFormatter('%.02f'))
fig.colorbar(surf,shrink=0.6,aspect=6)
plt.savefig('t4.png')
plt.show()
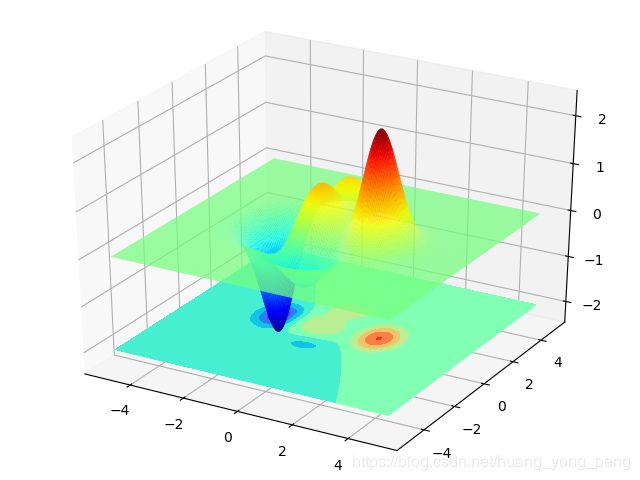
import matplotlib.pyplot as plt
import numpy as np
from mpl_toolkits.mplot3d import Axes3D
fig = plt.figure()
ax = Axes3D(fig)
x = np.linspace(-5, 5, 200)
y = np.linspace(-5, 5, 200)
X, Y = np.meshgrid(x, y)
Z = (1 - X / 2 + X ** 7 + Y ** 5) * np.exp(-X ** 2 - Y ** 2)
ax.plot_surface(X, Y, Z, rstride=1, cstride=1, cmap=plt.cm.jet)
ax.contourf(X, Y, Z, zdir='z', offset=-2, cmap='rainbow')
plt.savefig('t5.png')
plt.show()
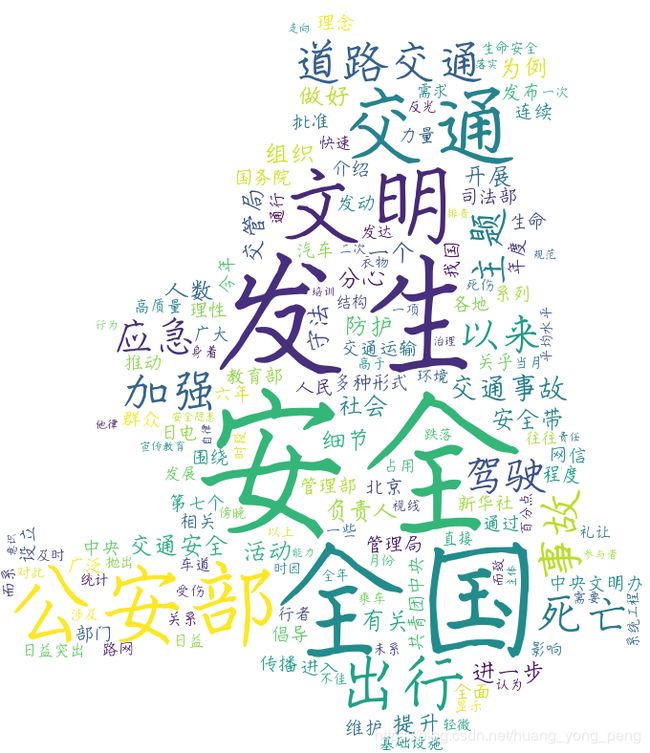
词云
from PIL import Image
import numpy as np
import matplotlib.pyplot as plt
import jieba
from wordcloud import WordCloud, STOPWORDS
with open('./data/ciyun.txt','r')as f:
file = f.read()
default_mode =jieba.cut(file)
text = " ".join(default_mode)
alice_mask = np.array(Image.open( "./data/xiaoxiong.png"))
stopwords = set(STOPWORDS)
stopwords.add("said")
wc = WordCloud(
font_path ='./data/ziti.ttf',
background_color="white",
max_words=2000,
mask=alice_mask,
stopwords=stopwords)
wc.generate(text)
plt.imshow(wc, interpolation='bilinear')
plt.axis("off")
plt.figure()
plt.show()
