SpringBoot之Web开发实验
回顾:
SpringBoot之基础
SpringBoot之配置
SpringBoot之日志
SpringBoot之Web开发基础
国际化
SpringMVC的步骤:
① 编写国际化配置文件
② 使用ResourceBundleMessageSource管理国际化资源文件
③ 在页面使用fmt:message取出国际化内容
SpringBoot的步骤:
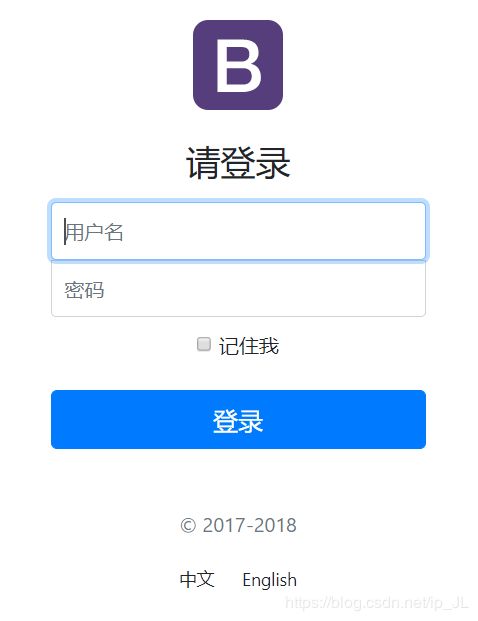
页面效果:
① 编写国际化配置文件, 抽取页面
② SpringBoot自动配置好了管理国际化资源的组件, 进入MessageSourceAutoConfiguration
@Configuration
@ConditionalOnMissingBean(
value = {MessageSource.class},
search = SearchStrategy.CURRENT
)
@AutoConfigureOrder(-2147483648)
@Conditional({MessageSourceAutoConfiguration.ResourceBundleCondition.class})
@EnableConfigurationProperties
@ConfigurationProperties(
prefix = "spring.messages"
)
public class MessageSourceAutoConfiguration {
private static final Resource[] NO_RESOURCES = new Resource[0];
private String basename = "messages"; //配置文件可以直接放在类路径下, 名为messages.properties
//在这里配置成为i18n路径下: spring.messages.basename=i18n.login
private Charset encoding = Charset.forName("UTF-8");
private int cacheSeconds = -1;
private boolean fallbackToSystemLocale = true;
private boolean alwaysUseMessageFormat = false;
public MessageSourceAutoConfiguration() {
}
@Bean
public MessageSource messageSource() {
ResourceBundleMessageSource messageSource = new ResourceBundleMessageSource(); //在这里创建了一个 ResourceBundleMessageSource对象
if (StringUtils.hasText(this.basename)) {
//设置国际化资源文件的基础名(去掉语言 / 国家代码)
messageSource.setBasenames(StringUtils.commaDelimitedListToStringArray(StringUtils.trimAllWhitespace(this.basename)));
}
if (this.encoding != null) {
messageSource.setDefaultEncoding(this.encoding.name());
}
messageSource.setFallbackToSystemLocale(this.fallbackToSystemLocale);
messageSource.setCacheSeconds(this.cacheSeconds);
messageSource.setAlwaysUseMessageFormat(this.alwaysUseMessageFormat);
return messageSource;
}
③ 获取页面需要国际化的值(根据浏览器语言展示)
④ 点击链接可切换国际化
原理:
国际化Locale(区域信息对象), LocaleResolver(获取区域信息对象), 在WebMvcAutoConfiguration中有LocaleResolver
@Bean
@ConditionalOnMissingBean
@ConditionalOnProperty(
prefix = "spring.mvc",
name = {"locale"}
)
public LocaleResolver localeResolver() {
if (this.mvcProperties.getLocaleResolver() == org.springframework.boot.autoconfigure.web.WebMvcProperties.LocaleResolver.FIXED) {
return new FixedLocaleResolver(this.mvcProperties.getLocale());
} else {
AcceptHeaderLocaleResolver localeResolver = new AcceptHeaderLocaleResolver();
localeResolver.setDefaultLocale(this.mvcProperties.getLocale());
return localeResolver;
}
}
在AcceptHeaderLocaleResolver 里面默认是利用请求头来获取区域信息, 从而判断展示哪种语言的页面.
解决方法: 可以在链接上携带国际化信息
自己定义一个区域信息解析器:
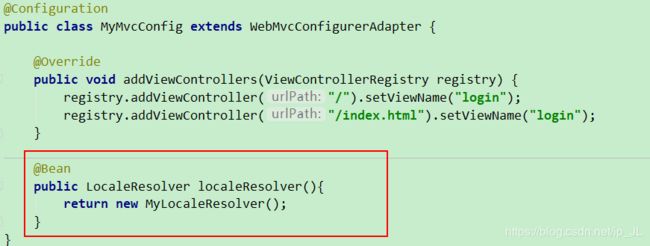
将区域信息解析器添加进容器:
点击链接切换:
登录
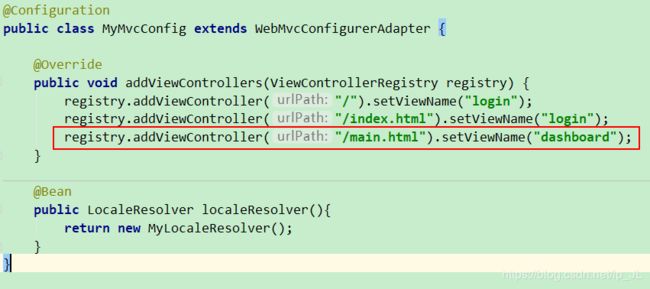
添加映射:
重定向:
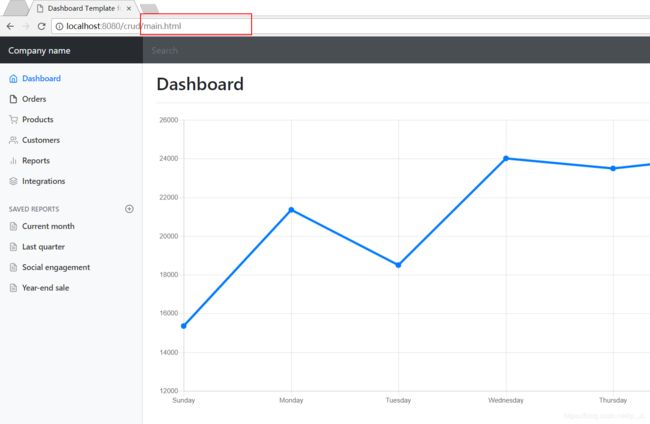
重定向之后:
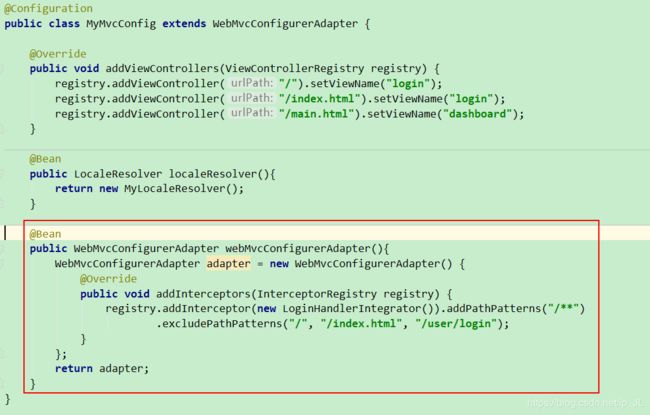
拦截器进行登录检查: 在登录成功之后需要将userLogin添加进session中
将拦截器添加进容器中:
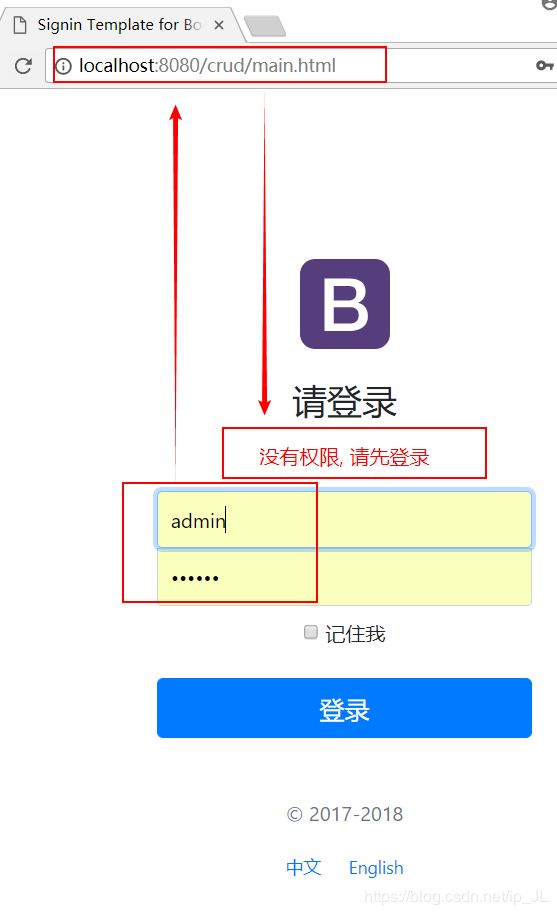
测试登录:
实验要求
restful的crud跟普通的crud的区别:
| 普通的crud | restful的crud | |
| 查询 | getEmp | emp--GET |
| 添加 | addEmp?xxx | emp--POST |
| 修改 | updateEmp?id=xxx&xxx=xxx | emp/{id}--PUT |
| 删除 | deleteEmp?id=xxx | emp/{id}--DELETE |
实验的请求架构:
| 请求URI |
请求方式 | |
| 查询所有员工 | emps | GET |
| 查询某个员工(来到修改页面) | emp/{id} | GET |
| 来到添加页面 | emp | GET |
| 添加员工 | emp | POST |
| 来到修改页面(需要查出员工信息回显) | emp/{id} | GET |
| 修改员工信息 | emp | PUT |
| 删除员工信息 | emp/{id} | DELETE |
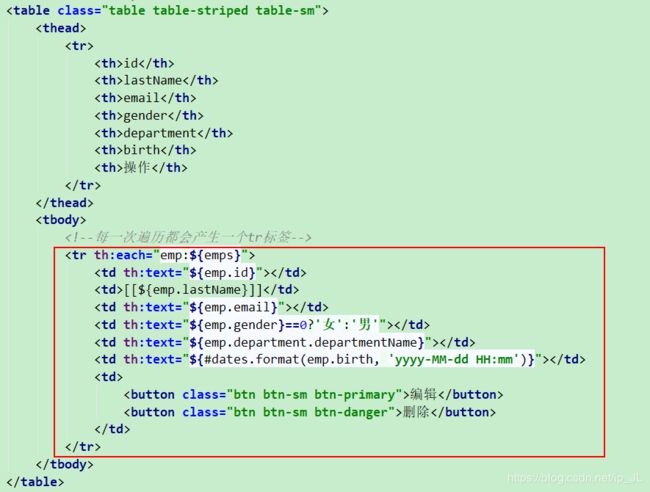
员工列表:
公共页面的抽取:
规则1
~{模板名::片段名}
① 抽取公共页面
② 引入公共页面
③ 引入效果
采用th:insert的引入效果会在标签外再加一层
三种引入方式:
① th:insert //将声明的引入直接插入当前的div标签中(div标签和被引入的标签共同存在)
② th:replace //将声明的引入替换当前div标签(div标签消失, 被替换成被引入的标签)
③ th:include //将声明的引入的内容包含进当前的div标签中(div标签包含该内容, 原有的标签消失)
规则2
~{模板名::选择器}
使用选择器的方式跟规则1差不多, 区别在于根据选择器的类型不同而使用方式有差别, 如id选择器, 则表达式为~{模板名::#[id的名称]}
引入片段的时候传入参数:
将刚才的片段再抽取到一个公共页面中存放, 让别的模块需要引用的时候直接引用它即可
这样就涉及到点击具体模块时需要高亮某一模块:
修改页面数据:
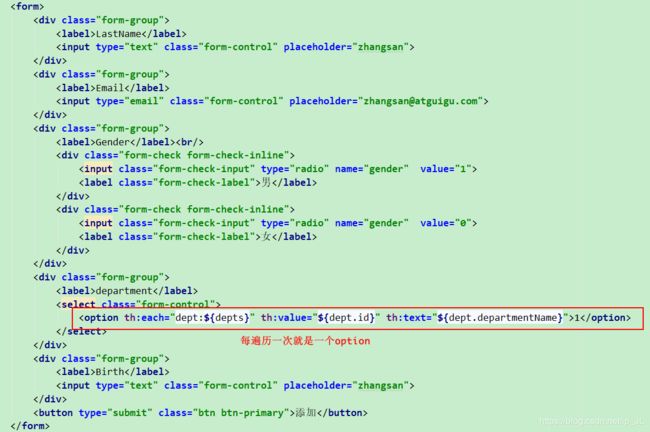
添加员工:
① 页面
② 提交日期的格式
日期的格式化: 默认的日期格式是按照xxxx/xx/xx
在自动配置类中, 有默认的日期配置
手动配置: spring.mvc.date-format=yyyy-MM-dd HH:mm:ss
员工信息修改:
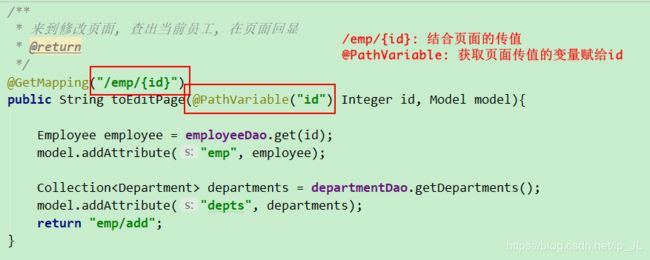
跳转编辑页面:
页面回显:
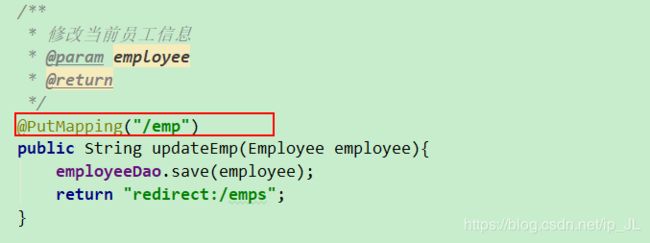
指定请求方式:
发送put请求修改员工数据
1. 需要SpringMVC中配置HiddenHttpMethodFilter; (SpringBoot自动配置好)
2. 页面创建一个post表单;
3. 创建一个input项, name="_method", 它的value就是指定的请求方式;
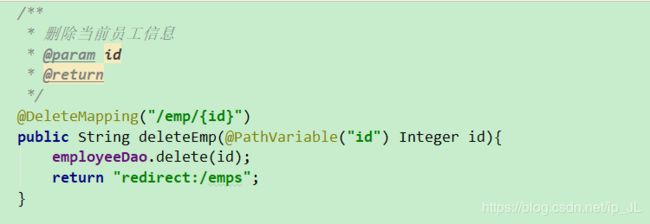
接收delete的请求:
