从文本到图像——文本识别数据集生成器
代码地址如下:
http://www.demodashi.com/demo/14792.html
一、开发背景
图像中的文本识别近几年来备受瞩目。通常来说,图片中的文本能够比图片中其他内容提供更加丰富的信息。因此,图像文本识别能够将图像中的文本区域转化成计算机可以读取和编辑的符号,打通了从图像到文本再到信息的通路。
随着计算机算力的提升,基于深度学习方法的本文识别技术逐渐成为主流,而深度学习中数据集的获取是重中之重。本脚本实现读取语料集中的文本内容,以保存为图像形式的数据集,用于模型训练。
二、脚本效果
1、IDE中的运行界面
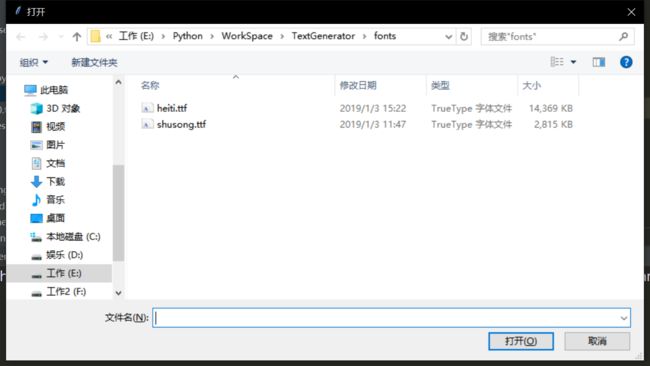
(1)选择字体文件
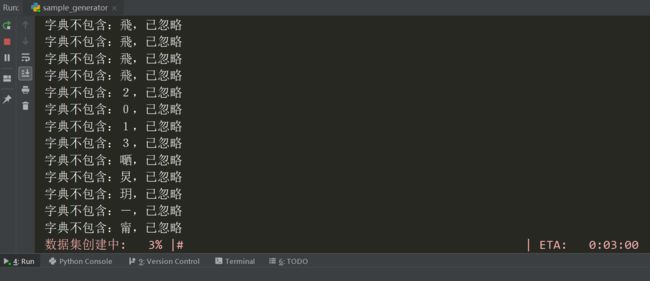
(2)生成数据集
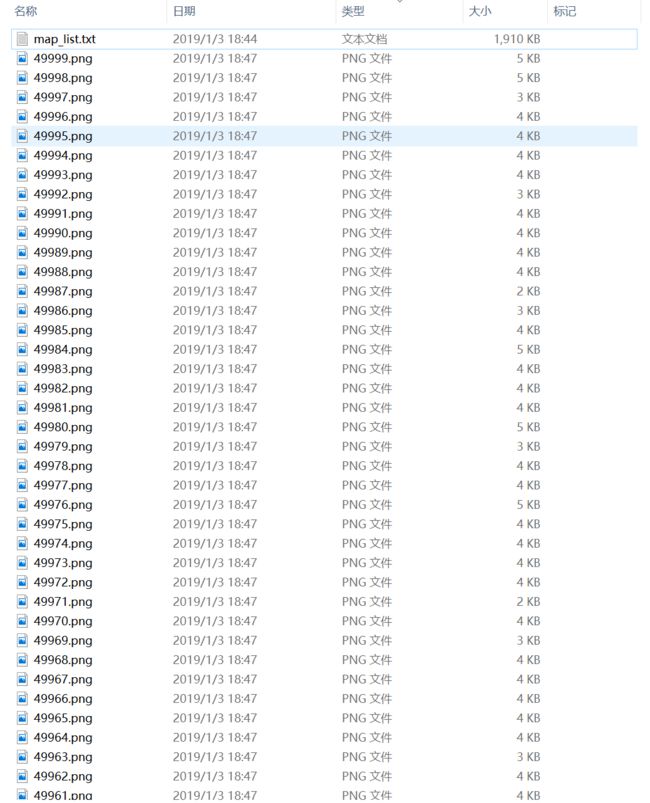
2、生成的图像
不使用数据增强
![]()
![]()
使用数据增强
![]()
![]()
![]()
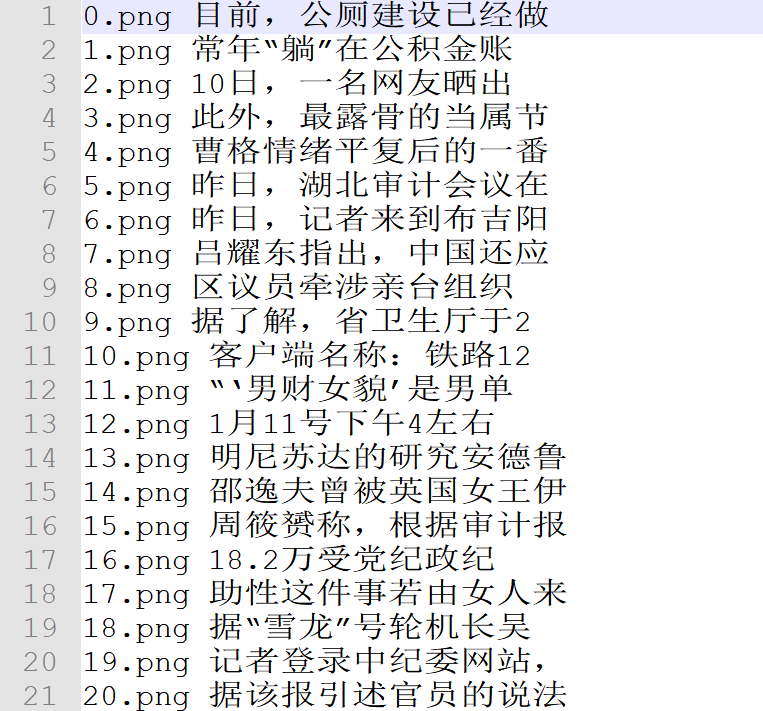
3、映射表
存储图像文件名和类别序列标注的对应关系
三、具体开发
1、功能需求
- 根据用户指定的语料数据生成图像文件及映射表
- 用户可自行更改文本长度,图像数量及图像尺寸
- 用户可自行选择是否进行增强处理
2、实际项目
1. 项目结构
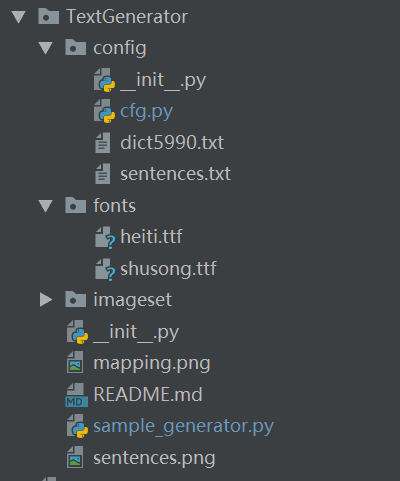
(1)根目录下的fonts文件夹用于存放ttf字体文件, imageset文件夹用于存放输出图像和映射表
(2)config中设置相关参数并存放语料文件, dict5990.txt是字典, sentences.txt是语料集
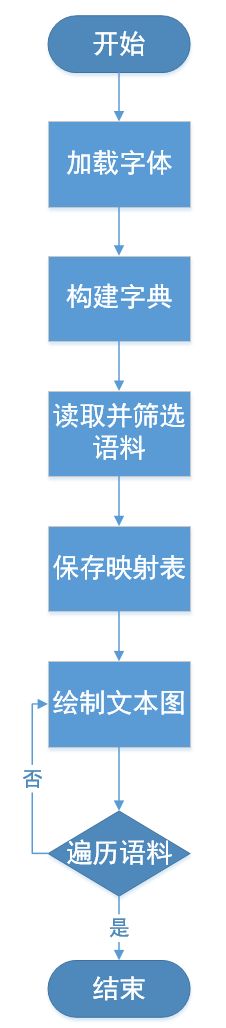
2. 实现思路
3. 代码实现
1. 设置参数
# 语料集
corpus = 'config/sentences.txt'
dict = 'config/dict5990.txt'

# 字体文件路径
FONT_PATH = 'fonts/'

# 输出路径
OUTPUT_DIR = 'imageset/'

# 样本总数
n_samples = 50
# 每行最大长度
sentence_lim = 10
# 画布能容纳的最大序列长度,对应img_w
canvas_lim = 50
2. 构建生成器
1. 加载字体文件
# 选择字体
root = tk.Tk()
root.withdraw()
self.font_path = filedialog.askopenfilename()

def load_fonts(self, factor, font_path):
	""" 加载字体文件并设定字体大小
        """
	self.fonts = []
	# 加载字体文件
	font = ImageFont.truetype(font_path, int(self.img_h*factor), 0)
	self.fonts.append(font)
2. 构建字典
def build_dict(self):
	""" 打开字典,加载全部字符到list
            每行是一个字
        """
	with codecs.open(self.dictfile, mode='r', encoding='utf-8') as f:
		# 按行读取语料
		for line in f:
			# 当前行单词去除结尾,为了正常读取空格,第一行两个空格
			word = line.strip('\r\n')
			# 只要没超出上限就继续添加单词
			self.dict.append(word)
			# 最后一位作为空白符
			self.blank_label = len(self.dict)
3. 加载语料
def build_train_list(self, num_rows, max_row_len=None):
	# 过滤语料,留下适合的内容组成训练list
	assert max_row_len <= self.img_lim
	self.num_rows = num_rows
	self.max_row_len = max_row_len
	sentence_list = []
	self.train_list = []

	with codecs.open(self.corpus_file, mode='r', encoding='utf-8') as f:
		# 按行读取语料
		for line in f:
			sentence = line.rstrip().replace(' ', '')  # 当前行单词
			if len(sentence) <= max_row_len and len(sentence_list) < num_rows:
				# 只要句子长度不超过画布上限且句子数量没超出上限就继续添加
                    sentence_list.append(sentence)
			elif len(sentence) > max_row_len and len(sentence_list) < num_rows:
                # 截断句子
                sentence_list.append(sentence[0:max_row_len])

	if len(sentence_list) < self.num_rows:
		raise IOError('语料不够')

	for i, sentence in enumerate(sentence_list):
		# 遍历语料中的每一句(行)
		# 将单词分成字符,然后找到每个字符对应的整数ID list
		label_sequence = []
		for j, word in enumerate(sentence):  # 检查句子中是否包含生僻字
			try:
				index = self.dict.index(word)
				label_sequence.append(index)
			except ValueError:
				print("字典不包含:{},已忽略".format(word))
				sentence_list[i] = sentence_list[i][0:j] + sentence_list[i][j+1:]  # 从该句中删除生僻字

	self.train_list = sentence_list  # 过滤后的训练集
	np.random.shuffle(self.train_list)  # 打乱顺序
4. 保存映射表
def mapping_list(self):
	# 写图像文件名和类别序列的对照表
	file_path = os.path.join(cfg.OUTPUT_DIR, 'map_list.txt')
	with codecs.open(file_path, mode='w', encoding='utf-8') as f:
		for i in range(len(self.train_list)):
			f.write("{}.png {} \n".format(i, self.train_list[i]))
5. 绘制图像
    def paint_text(self, text, i):
        """ 使用PIL绘制文本图像,传入画布尺寸,返回文本图像
        :param h: 画布高度
        :param w: 画布宽度
        """
        # 创建画布
        canvas = np.zeros(shape=(self.img_h, self.img_w), dtype=np.uint8)
        canvas[0:] = 255
        # 转换图像模式,保证合成的两张图尺寸模式一致
        ndimg = Image.fromarray(canvas).convert('RGBA')
        draw = ImageDraw.Draw(ndimg)

        font = self.fonts[-1]
        text_size = font.getsize(text)  # 获取当前字体下的文本区域大小

        # 自动调整字体大小避免超出边界, 至少留白水平20%
        margin = [self.img_w - int(0.2*self.img_w), self.img_h - int(0.2*self.img_h)]
        while (text_size[0] > margin[0]) or (text_size[1] > margin[1]):
            self.font_factor -= 0.1
            self.load_fonts(self.font_factor, self.font_path)
            font = self.fonts[-1]
            text_size = font.getsize(text)

        # 随机平移
        horizontal_space = self.img_w - text_size[0]
        vertical_space = self.img_h - text_size[1]
        start_x = np.random.randint(2, horizontal_space-2)
        start_y = np.random.randint(2, vertical_space-2)

        # 绘制当前文本行
        draw.text((start_x, start_y), text, font=font, fill=(0, 0, 0, 255))
        img_array = np.array(ndimg)

        # 转灰度图
        grey_img = img_array[:, :, 0]  # [32, 256, 4]
        if self.aug == True:
            auged = augmentation(grey_img)
            ndimg = Image.fromarray(auged).convert('RGBA')

        save_path = os.path.join(cfg.OUTPUT_DIR, '{}.png'.format(i))  # 类别序列即文件名
        ndimg.save(save_path)
6. 数据增强
def speckle(img):
    severity = np.random.uniform(0, 0.6*255)
    blur = ndimage.gaussian_filter(np.random.randn(*img.shape) * severity, 1)
    img_speck = (img + blur)
    img_speck[img_speck > 255] = 255
    img_speck[img_speck <= 0] = 0
    return img_speck


def augmentation(img, ):
    # 不能直接在原始image上改动
    image = img.copy()
    img_h, img_w = img.shape
    mode = np.random.randint(0, 9)
    '''添加随机模糊和噪声'''
    # 高斯模糊
    if mode == 0:
        image = cv2.GaussianBlur(image,(5, 5), np.random.randint(1, 10))

    # 模糊后二值化,虚化边缘
    if mode == 1:
        image = cv2.GaussianBlur(image, (9, 9), np.random.randint(1, 8))
        ret, th = cv2.threshold(img, 0, 255, cv2.THRESH_BINARY+cv2.THRESH_OTSU)
        thresh = image.copy()
        thresh[thresh >= th] = 0
        thresh[thresh < th] = 255
        image = thresh

    # 横线干扰
    if mode == 2:
        for i in range(0, img_w, 2):
            cv2.line(image, (0, i), (img_w, i), 0, 1)

    # 竖线
    if mode == 3:
        for i in range(0, img_w, 2):
            cv2.line(image, (i, 0), (i, img_h), 0, 1)

    # 十字线
    if mode == 4:
        for i in range(0, img_h, 2):
            cv2.line(image, (0, i), (img_w, i), 0, 1)
        for i in range(0, img_w, 2):
            cv2.line(image, (i, 0), (i, img_h), 0, 1)

    # 左右运动模糊
    if mode == 5:
        kernel_size = 5
        kernel_motion_blur = np.zeros((kernel_size, kernel_size))
        kernel_motion_blur[int((kernel_size - 1) / 2), :] = np.ones(kernel_size)
        kernel_motion_blur = kernel_motion_blur / kernel_size
        image = cv2.filter2D(image, -1, kernel_motion_blur)

    # 上下运动模糊
    if mode == 6:
        kernel_size = 9
        kernel_motion_blur = np.zeros((kernel_size, kernel_size))
        kernel_motion_blur[:, int((kernel_size - 1) / 2)] = np.ones(kernel_size)
        kernel_motion_blur = kernel_motion_blur / kernel_size
        image = cv2.filter2D(image, -1, kernel_motion_blur)

    # 高斯噪声
    if mode == 7:
        row, col = [img_h, img_w]
        mean = 0
        sigma = 1
        gauss = np.random.normal(mean, sigma, (row, col))
        gauss = gauss.reshape(row, col)
        noisy = image + gauss
        image = noisy.astype(np.uint8)

    # 污迹
    if mode == 8:
        image = speckle(image)
    return image
4. 使用说明
运行sample_generator.py后会跳出对话框, 选择字体文件即可生成数据集
从文本到图像——文本识别数据集生成器
代码地址如下:
http://www.demodashi.com/demo/14792.html
注:本文著作权归作者,由demo大师发表,拒绝转载,转载需要作者授权