如何在单体应用中引入Vue+ElementUI(一)
SpringBoot+Vue+ElementUI
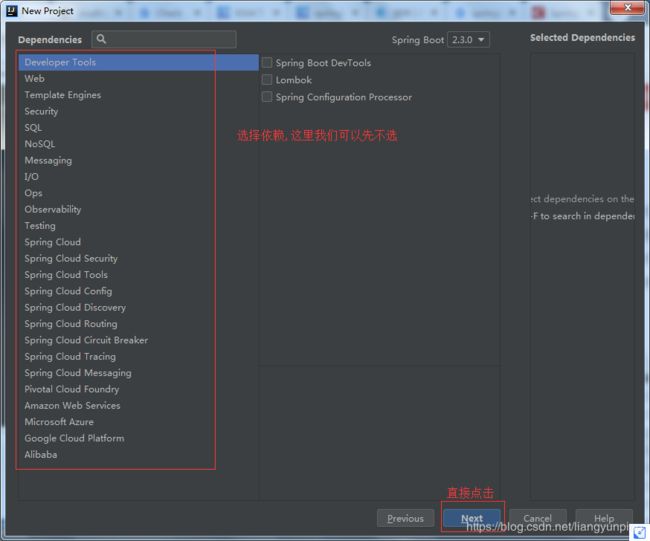
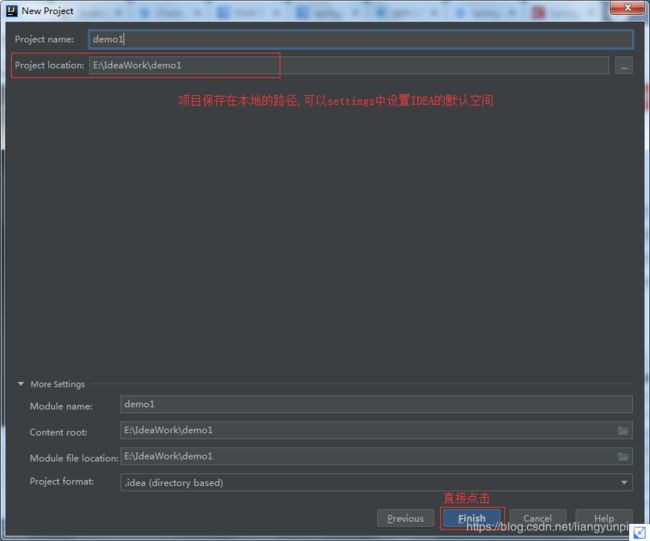
创建SpringBoot项目
这里使用IDEA开发工具快速创建一个SpringBoot项目,不过社区版的IDEA好像创建不太一样
New Object


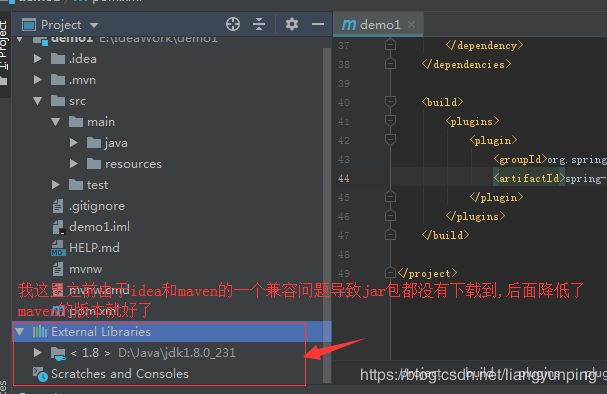
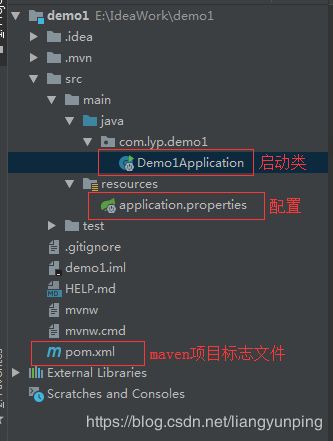
可以看到项目的一个目录结构如下
启动已有的SpringBoot项目


2020-05-16 22:39:19.936  INFO 4100 --- [           main] com.lyp.demo1.Demo1Application           : Starting Demo1Application on GOS-02005141907 with PID 4100 (E:\IdeaWork\demo1\target\classes started by Administrator in E:\IdeaWork\demo1)
2020-05-16 22:39:19.940  INFO 4100 --- [           main] com.lyp.demo1.Demo1Application           : No active profile set, falling back to default profiles: default
2020-05-16 22:39:20.550  INFO 4100 --- [           main] com.lyp.demo1.Demo1Application           : Started Demo1Application in 1.156 seconds (JVM running for 4.387)

Process finished with exit code 0
这里可以看到启动没报错,但不是我们想要的服务器启动,spring-boot-starter 换成 spring-boot-starter-web,再次启动
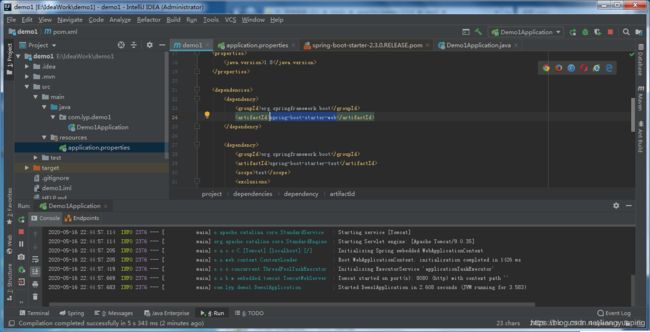
2020-05-16 22:44:55.703  INFO 2376 --- [           main] com.lyp.demo1.Demo1Application           : Starting Demo1Application on GOS-02005141907 with PID 2376 (E:\IdeaWork\demo1\target\classes started by Administrator in E:\IdeaWork\demo1)
2020-05-16 22:44:55.707  INFO 2376 --- [           main] com.lyp.demo1.Demo1Application           : No active profile set, falling back to default profiles: default
2020-05-16 22:44:57.102  INFO 2376 --- [           main] o.s.b.w.embedded.tomcat.TomcatWebServer  : Tomcat initialized with port(s): 8080 (http)
2020-05-16 22:44:57.114  INFO 2376 --- [           main] o.apache.catalina.core.StandardService   : Starting service [Tomcat]
2020-05-16 22:44:57.114  INFO 2376 --- [           main] org.apache.catalina.core.StandardEngine  : Starting Servlet engine: [Apache Tomcat/9.0.35]
2020-05-16 22:44:57.205  INFO 2376 --- [           main] o.a.c.c.C.[Tomcat].[localhost].[/]       : Initializing Spring embedded WebApplicationContext
2020-05-16 22:44:57.205  INFO 2376 --- [           main] o.s.web.context.ContextLoader            : Root WebApplicationContext: initialization completed in 1426 ms
2020-05-16 22:44:57.419  INFO 2376 --- [           main] o.s.s.concurrent.ThreadPoolTaskExecutor  : Initializing ExecutorService 'applicationTaskExecutor'
2020-05-16 22:44:57.669  INFO 2376 --- [           main] o.s.b.w.embedded.tomcat.TomcatWebServer  : Tomcat started on port(s): 8080 (http) with context path ''
2020-05-16 22:44:57.683  INFO 2376 --- [           main] com.lyp.demo1.Demo1Application           : Started Demo1Application in 2.608 seconds (JVM running for 3.583)
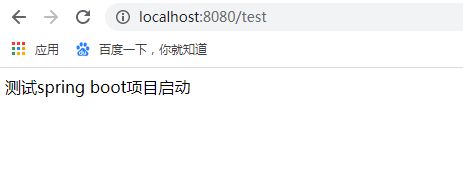
上述启动器 添加了一个测试方法,代码:
package com.lyp.demo1;

import org.springframework.boot.SpringApplication;
import org.springframework.boot.autoconfigure.SpringBootApplication;
import org.springframework.stereotype.Controller;
import org.springframework.web.bind.annotation.RequestMapping;
import org.springframework.web.bind.annotation.ResponseBody;

@SpringBootApplication
@Controller
public class Demo1Application {

    public static void main(String[] args) {
        SpringApplication.run(Demo1Application.class, args);
    }

    @RequestMapping("/test")
    @ResponseBody
    public String test(){
        return "测试spring boot项目启动";
    }

}
重启 访问页面
引入Vue.js
官网链接 https://cn.vuejs.org/
进入后看到Vue的首页,很简洁的一个页面,我们点击 起步

可以看到这个页面是Vue的一个教程文档,很详细,各个功能都可以通过左边导航打开,接下来我们先把Vue引入到项目里面来,找到
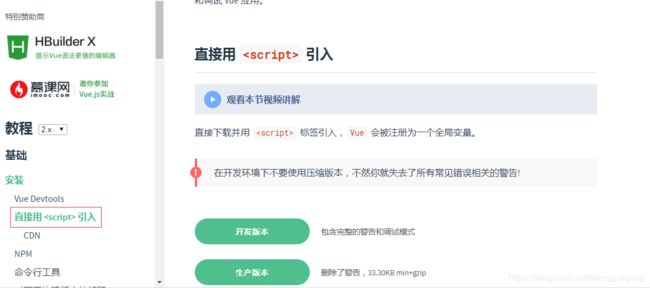
这里直接选择点击开发版本,下载好js,引入到项目中
因为接下来会写一个简单的页面,这里我们引入一下freemarker
        <dependency>
            <groupId>org.springframework.bootgroupId>
            <artifactId>spring-boot-starter-freemarkerartifactId>
        dependency>
- 目录结构
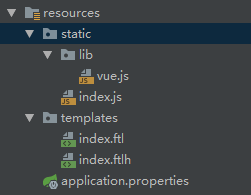
ftl代码:
<html>
<head>
    <meta charset="UTF-8">
head>
<body>
<div id="app">
    <button @click="count++">按钮button>
    <span style="display: block;">{{count}}span>
div>
body>

<script src="/lib/vue.js">script>
<script src="/index.js">script>
html>
js代码:
var vm = new Vue({
    el:'#app',
    data:{
        count:0,
    },
    methods:{


    }
})
- 编写后端控制器

java代码:
package com.lyp.demo1.controller;

import org.springframework.stereotype.Controller;
import org.springframework.web.bind.annotation.RequestMapping;

@Controller
public class IndexController {

    @RequestMapping("/index")
    public String index(){

        return "index";
    }
}
- 重启服务器
Bug1:Check your ViewResolver setup! (Hint: This may be the result of an unspecified view, due to default view name generation.)
将路径 ‘/index’ 改成 ‘/home’ ,重启

以上
我们创建了一个SpringBoot的web项目,
并引入了freemarker作为前端页面模版,
简单展示了一下引入Vue之后的页面响应
下节
将引入ElementUI这个前台页面的框架