Win10 环境下安装配置 zsh
一、在Windows10上安装Ubantu,然后安装 zsh
Turning on Bash
Before we can install zsh or Oh My Zsh, we need to first enable the default shell called Bash. This used to require third-party programs likeCygwin, and you can still do it that way. However, Windows 10 now ships with a Linux subsystem that’s turned off by default. If we turn it on, we’ll be able to run Bash on Windows using native software packages.
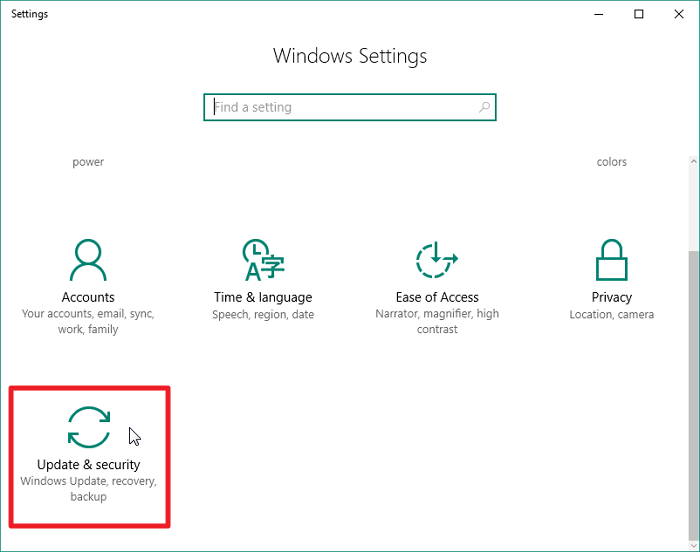
1. Open Settings and click on “Updates & Security.”
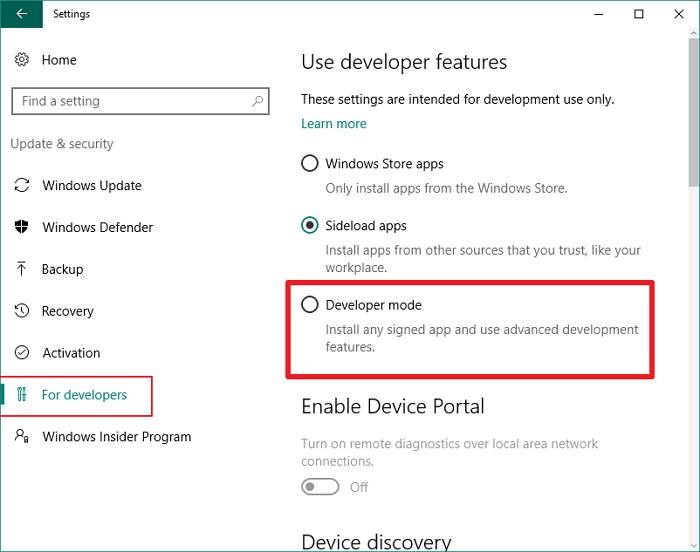
2. Click “For developers” in the sidebar, then click the radio button next to “Developer mode.”
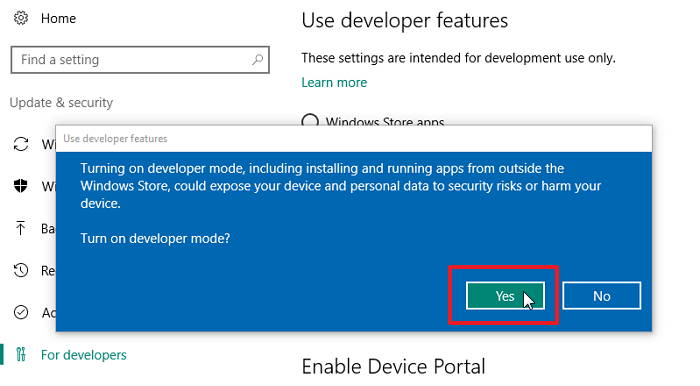
3. In the pop-up window, click “Yes” to proceed with enabling developer mode.
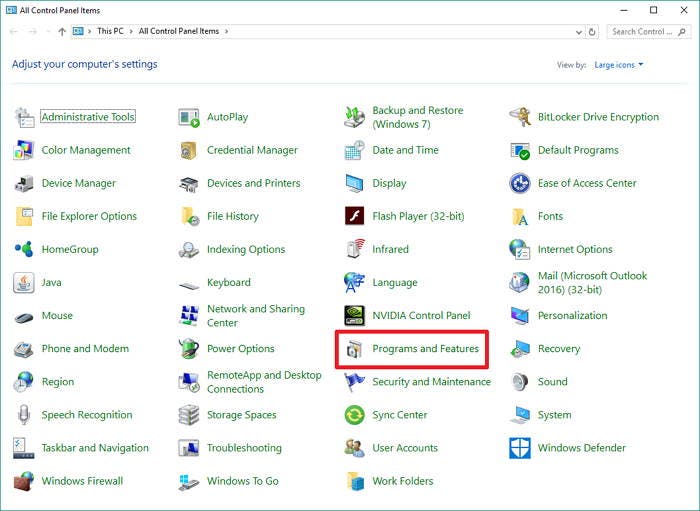
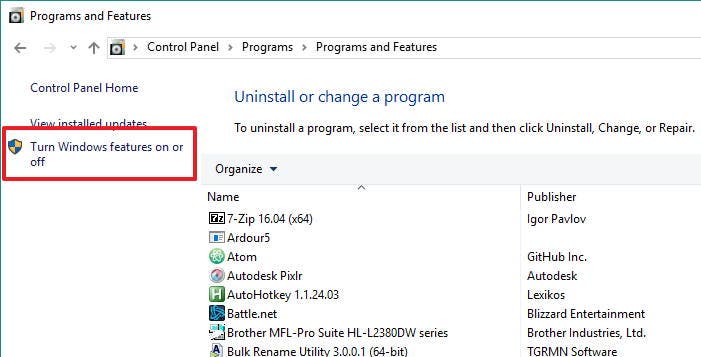
4. Open Control Panel and navigate to the “Programs and Features” menu.
5. Click “Turn Windows features on or off” in the sidebar.
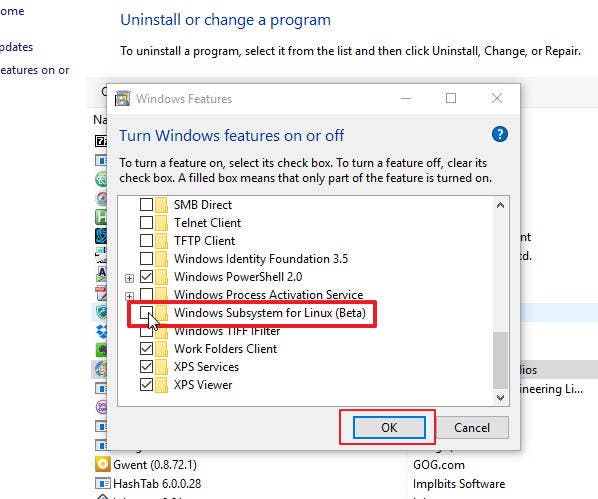
6. Scroll down and tick the checkbox next to “Windows Subsystem for Linux (Beta)” to enable the Linux subsystem. Then click the “OK” button.
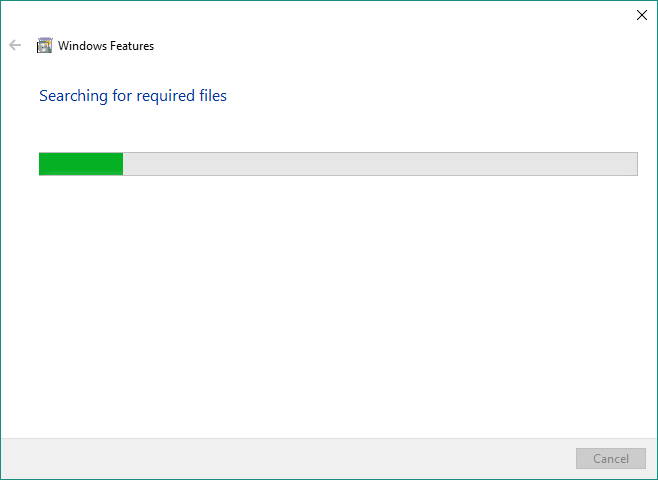
7. Wait for the installer to finish.
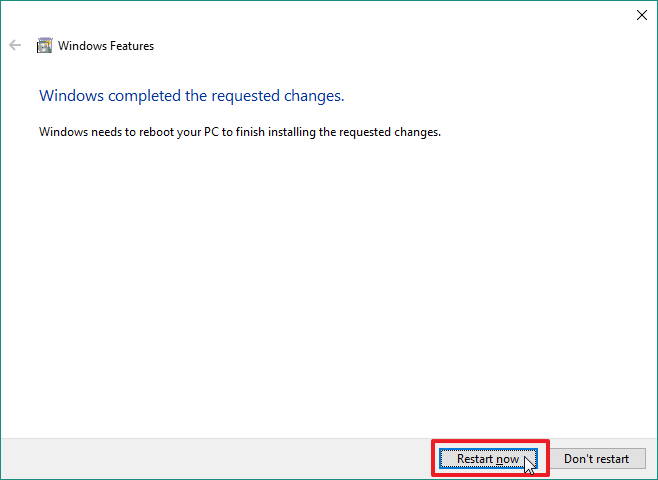
8. When the installer is finished, click “Restart Now” to restart your computer and complete the installation.
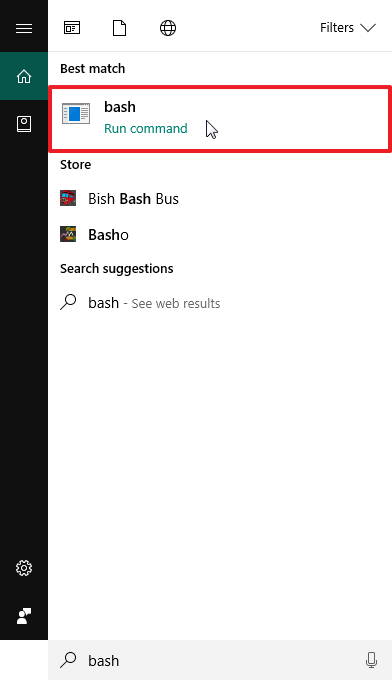
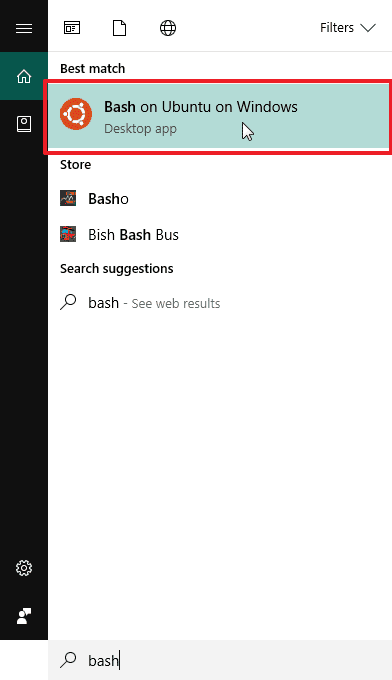
9. After you’ve restarted your computer, type “bash” into the Start Menu and launch the bash script.
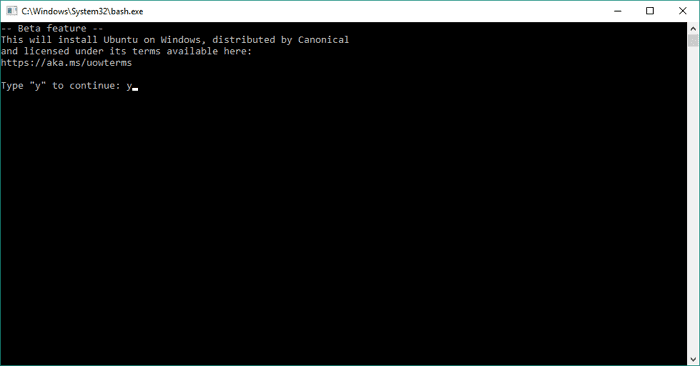
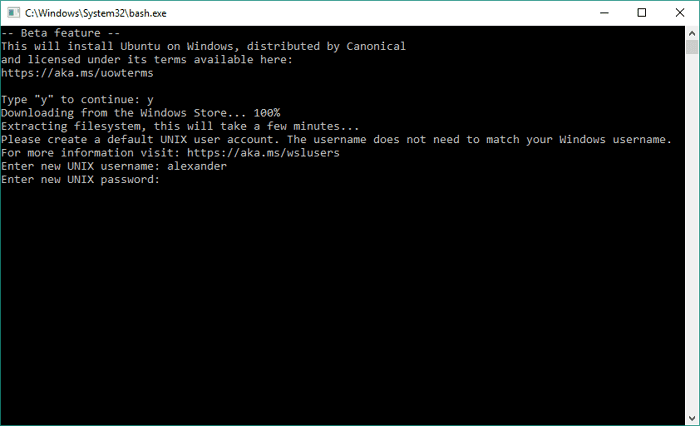
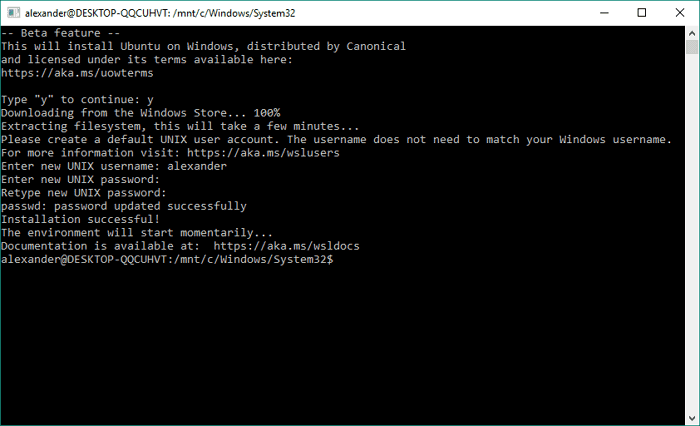
10. This will open a command prompt and finish installing UNIX and Bash. Type the “y” key and press “Enter” to confirm installation of the remaining components.
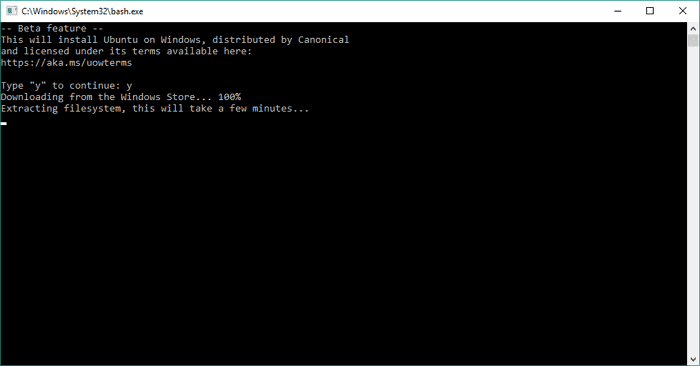
11. Wait while the remaining components are downloaded and configured.
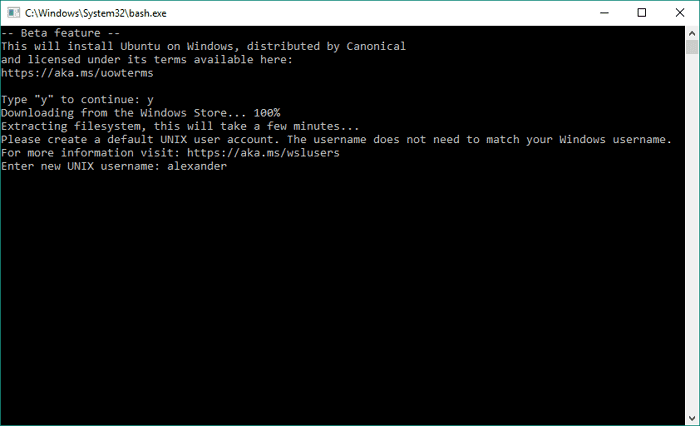
12. When prompted, create a username for Bash and UNIX.
13. Enter a password you’ll use for Bash and UNIX. You won’t see any characters appear as you type, but they are being saved. Press “Enter.”
14. When the installation is finished, you’ll be returned to the command prompt. You can now close this window.
Installing zsh on Windows 10
Now that we have a shell on Windows, our next step is to install zsh. We’ll use the “apt-get” package manager to download and install it.
1. Open Bash from the Start Menu.
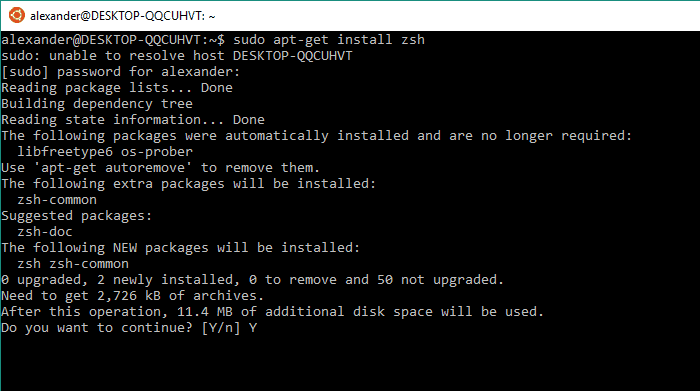
2. Type the following command into the command prompt and press “Enter:”
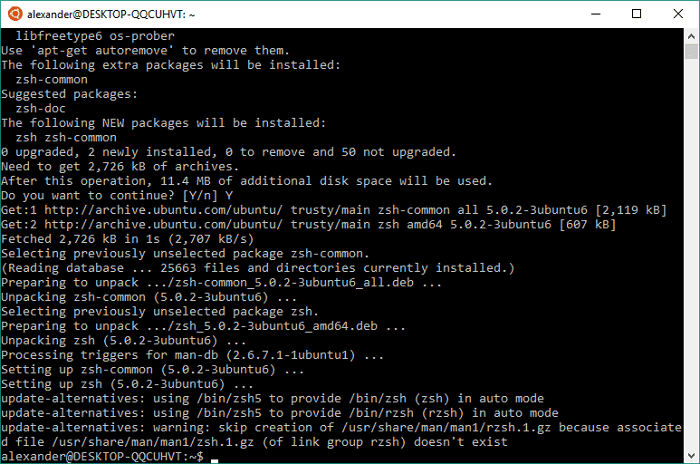
sudo apt-get install zsh
如果安装不成功,试试:sudo apt-get update,再输入上面的命令。
3. Enter your Bash/UNIX password when prompted and press “Enter.”
4. When prompted, type “Y” and press “Enter” to continue the installation.
5. When the installation is complete, you’ll be returned to the command prompt.
二、使用 zsh
Using zsh on Windows 10
Now that we’ve installed zsh, we can start using it.
1. Open Bash from the Start Menu.
2. Type zsh and press “Enter.”
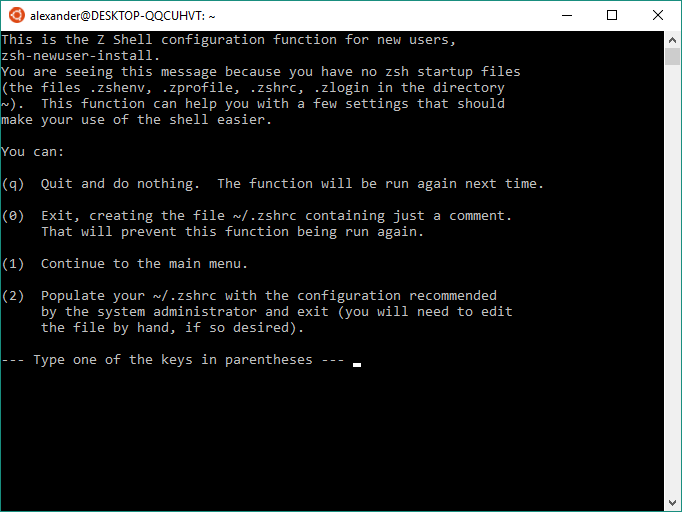
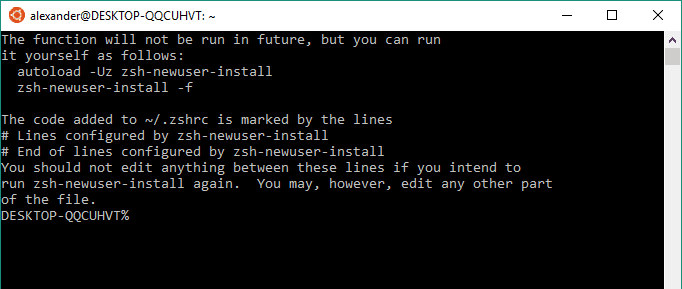
3. On first run, you’ll need to go through some zsh configuration options. There’s a bunch there, but we recommend actually looking at all the information and choosing the options you like. If you’re not sure what to choose, you can just press the “2” key to accept the default configuration.
4. When the configuration is complete, you’ll be returned to the zsh command prompt.
原文链接:https://www.maketecheasier.com/install-zsh-and-oh-my-zsh-windows10/
三、安装 oh-my-zsh
输入命令(wget):

更改主题
$ vi ~/.zshrc 打开zsh配置文件
更改里面的主题为“ys”: ZSH_THEME="ys"
四、问题
在安装完Zsh后,zsh是可以使用的,但是重启之后,又恢复至默认的bash。
我在安装好之后,使用命令chsh -s /bin/zsh切换默认shell。
然后,输出$SHELL变量是这样的:
root@XY ~ # echo $SHELL
/bin/bash
设置无效,我以为要重启。
于是,重新启动Bash On Ubuntu On Window。
结果依然无效。
办法
我在BashOnWindows的GitHub上开了一个issues,目前下面的办法可能是最简单易行的。
在.bashrc配置文件里面加上zsh
打开.bashrc文件:
root@XY ~ # vi ~/.bashrc在文件末尾加上bash -c zsh。
然后重新启动终端即可。
