Latex 环境搭建:TeX Live + VS code
一、TeX Live安装与配置
1.官网下载,然后进行安装,安装好如下图所示。
官网网址:https://www.tug.org/texlive/
(安装部分参考博客:https://blog.csdn.net/parked/article/details/82773464)
二、VScode安装与配置
1.下载VScode并安装。
( VS code之前有用到,所以就不细说了)
2.VScode安装tex插件:extensions->LaTex language support, LaTex Workshop
3.添加配置代码
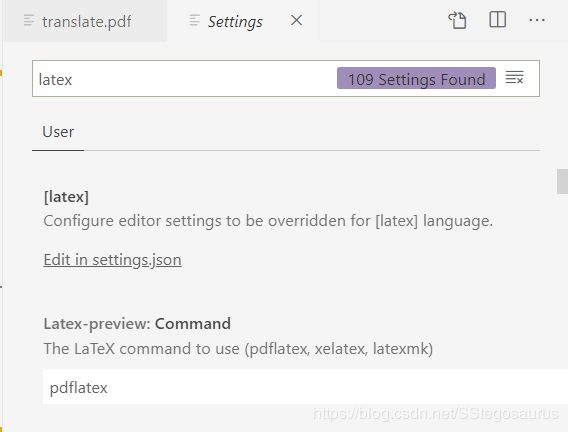
点击左下角齿轮按钮->setting->输入latex进行搜索->点击Edit in setting.json
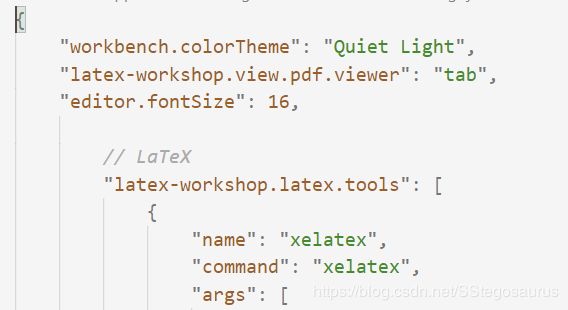
将以下代码粘贴在刚才打开的json文件中。
配置代码来源:https://zhuanlan.zhihu.com/p/38178015
// LaTeX
    "latex-workshop.latex.tools": [
        {
            "name": "xelatex",
            "command": "xelatex",
            "args": [
                "-synctex=1",
                "-interaction=nonstopmode",
                "-file-line-error",
                "-pdf",
                "%DOCFILE%"
            ]
        },
        {
            "name": "pdflatex",
            "command": "pdflatex",
            "args": [
                "-synctex=1",
                "-interaction=nonstopmode",
                "-file-line-error",
                "%DOCFILE%"
            ]
        },
        {
            "name": "bibtex",
            "command": "bibtex",
            "args": [
                "%DOCFILE%"
            ]
        }
    ],

    "latex-workshop.latex.recipes": [
        {
            "name": "xelatex",
            "tools": [
                "xelatex"
            ]
        },
        {
            "name": "xe->bib->xe->xe",
            "tools": [
                "xelatex",
                "bibtex",
                "xelatex",
                "xelatex"
            ]
        },
        {
            "name": "pdflatex",
            "tools": [
                "pdflatex"
            ]
        }
    ],
    "latex-workshop.view.pdf.viewer": "external",

    "latex-workshop.view.pdf.external.command": {                // **********
        "command": "C:/Program Files/SumatraPDF/SumatraPDF.exe", // 注意修改路径
        "args": [                                                // **********
            "%PDF%"
        ]
    },

    "latex-workshop.view.pdf.external.synctex": {                // **********
        "command": "C:/Program Files/SumatraPDF/SumatraPDF.exe", // 注意修改路径
        "args": [                                                // **********
            "-forward-search",
            "%TEX%",
            "%LINE%",
            "%PDF%"
        ]
    },
注意:1.上述代码应当粘贴在最外层{}之内。2.注意粘贴之前的一行末尾是否有逗号,没有请补上,否则会报错
三、编写Latex文件
1.新建一个Latex文件(新建文件,修改文件类型为TEX),随便写一点有效内容
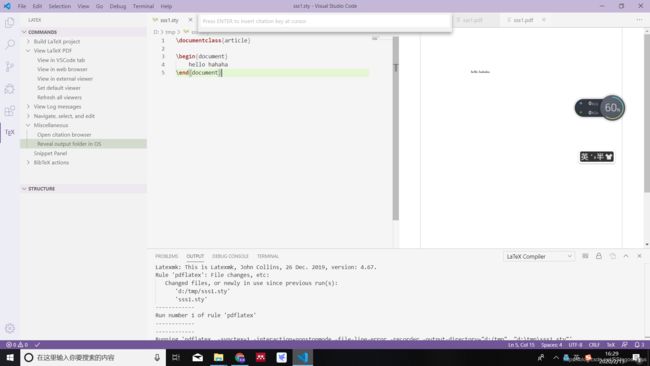
2.按Ctrl+S 完成编译加保存功能,此时VScode左侧会出现Tex标志,说明环境配置成功。
3.Debug->start Debuging进行编译,点击command中的按钮查看生成的pdf
3.TEX->command->reveal output folder in os在资源管理器中打开
四、texlive附带的编辑工具texworks
texworks是个非常简洁的轻量级编辑工具,有关键字识别,但是不像vscode一样给出提示
texworks所在位置D:\Program Files\texlive\2019\bin\win32
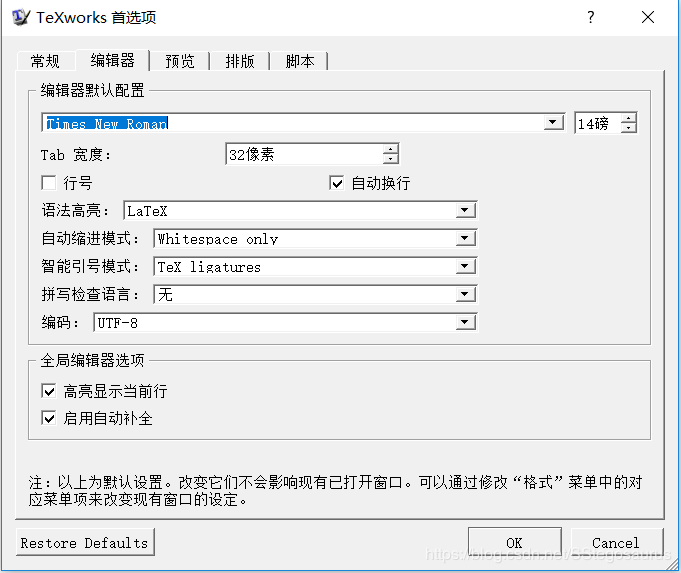
打开后显示的字体非常小,需要通过:编辑->首选项修改显示的字体和大小,这些修改需要重启软件才能生效。

