SpringBoot学习笔记8--SpringBoot整合MyBatis实现CRUD功能
1.配置资源文件
在pom.xml文件中添加如下配置:
在application.properties文件中添加如下配置:
mybatis.type-aliases-package=com.springboot.pojo
mybatis.mapper-locations=classpath:mapper/*.xml
#mappers 多个接口时逗号隔开
mapper.mappers=com.springboot.util.MyMapper
mapper.not-empty=false
mapper.identity=MYSQL
pagehelper.helperDialect=mysql
pagehelper.reasonable=true
pagehelper.supportMethodsArguments=true
pagehelper.params=count=countSql
#配置数据源相关,使用阿里巴巴Druid数据源
############################################################
### MySQL Connector/J 5.x (旧版连接)
#spring.datasource.url=jdbc:mysql://127.0.0.1:3306/rwa?useUnicode=true&characterEncoding=utf8
### MySQL Connector/J 6.x之后 (新版连接)
spring.datasource.url=jdbc:mysql:///rwa?serverTimezone=UTC&characterEncoding=utf8&useUnicode=true&useSSL=false
#说明: 新版驱动url默认地址为127.0.0.1:3306,所以访问本机mysql数据库地址可以用 /// 表示
#spring.datasource.url=jdbc:mysql://localhost:3306/rwa?serverTimezone=UTC&characterEncoding=utf8&useUnicode=true&useSSL=false
spring.datasource.username=root
spring.datasource.password=qzw123
#spring.datasource.driver-class-name=com.mysql.jdbc.Driver
spring.datasource.driver-class-name=com.mysql.cj.jdbc.Driver
spring.datasource.druid.initial-size=1
spring.datasource.druid.min-idle=1
spring.datasource.druid.max-active=20
spring.datasource.druid.test-on-borrow=true
spring.datasource.druid.stat-view-servlet.allow=true
在项目根目录创建generatorConfig.xml文件,添加如下代码:
PUBLIC "-//mybatis.org//DTD MyBatis Generator Configuration 1.0//EN"
"http://mybatis.org/dtd/mybatis-generator-config_1_0.dtd">
userId="root"
password="qzw123">
注意:根据自己项目的实际情况修改相关的配置
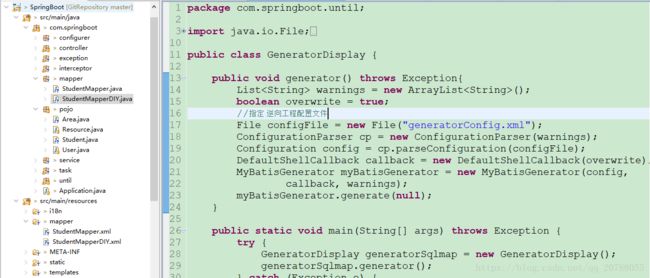
创建一个工具类GeneratorDisplay用于读取上面的配置文件来生成mapper映射文件,代码如下:
public class GeneratorDisplay {
public void generator() throws Exception{
List
boolean overwrite = true;
//指定 逆向工程配置文件
File configFile = new File("generatorConfig.xml");
ConfigurationParser cp = new ConfigurationParser(warnings);
Configuration config = cp.parseConfiguration(configFile);
DefaultShellCallback callback = new DefaultShellCallback(overwrite);
MyBatisGenerator myBatisGenerator = new MyBatisGenerator(config,
callback, warnings);
myBatisGenerator.generate(null);
}
public static void main(String[] args) throws Exception {
try {
GeneratorDisplay generatorSqlmap = new GeneratorDisplay();
generatorSqlmap.generator();
} catch (Exception e) {
e.printStackTrace();
}
}
}
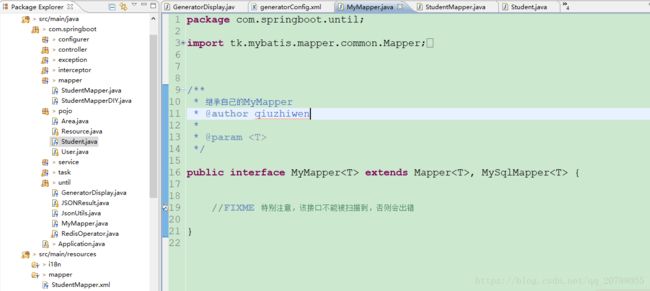
注意:
这个是配置一个mapper映射接口,生成Mapper都要继承该接口
接口代码如下,特别注意该接口不能被扫描到,否则会出错!!!
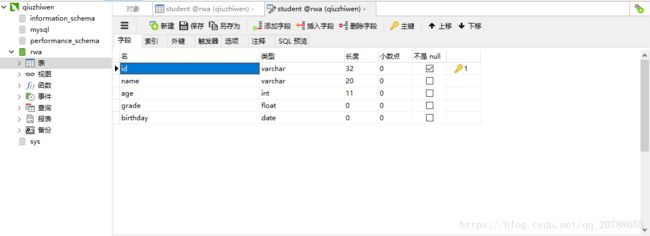
创建数据库表student,字段如下:
运行GeneratorDisplay这个类即可生成StudentMapper.xml和Student实体类以及StudentMapper映射接口,如下图所示:
4.创建Service
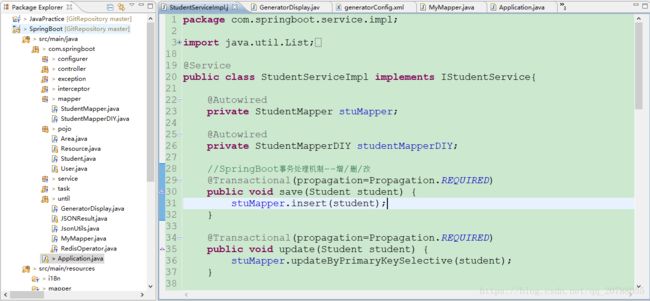
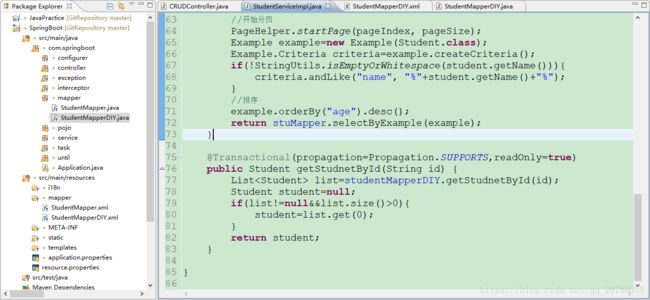
将之前生成的StudentMapper注入进来,同时注意事务处理,增/删/改需要加上@Transactional(propagation=Propagation.REQUIRED),查找需要加上@Transactional(propagation=Propagation.SUPPORTS,readOnly=true),StudentMapper接口中的方法是父接口中方法(一般只是对单表的CRUD操作)
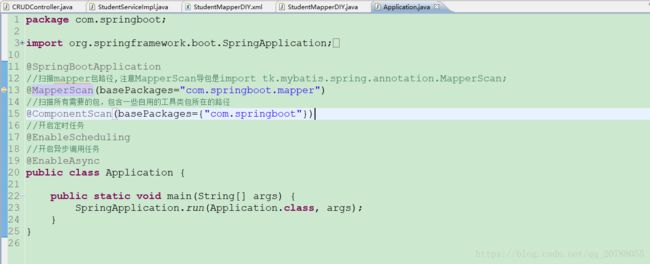
5.创建Controller,然后可以进浏览器进行测试

注意:在Application上加@MapperScan和@ComponentScan
6.自定义Mapper映射文件(第二种方式创建mapper文件)
创建StudentMapperDIY.xml文件,需要关联实体类,所以要创建对应的实体类(由于LZ的Student实体类是之前自动生成的,所以没有再创建)
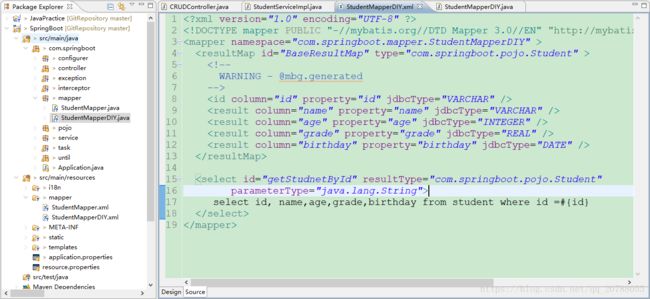
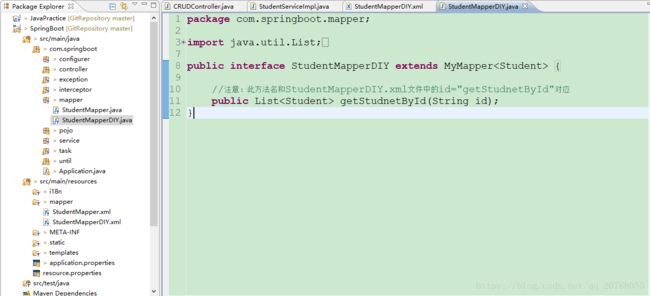
创建Mapper映射接口,注意:方法名要和mapper映射文件中的id保持一致
创建Service,需要将StudentMapperDIY注入进来
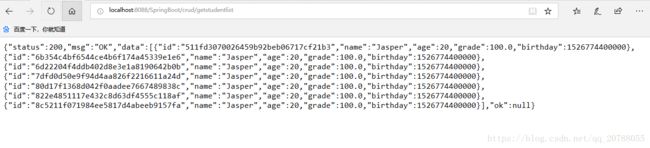
在Controller添加如下方法:

进入浏览器测试http://localhost:8088/SpringBoot/crud/getstudentlist