三、项目搭建
一、工程创建
1.maven工程搭建
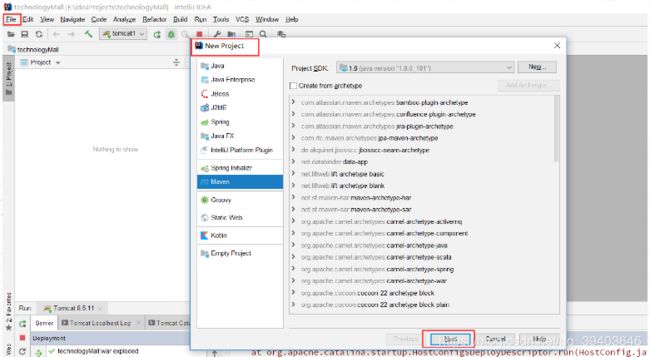
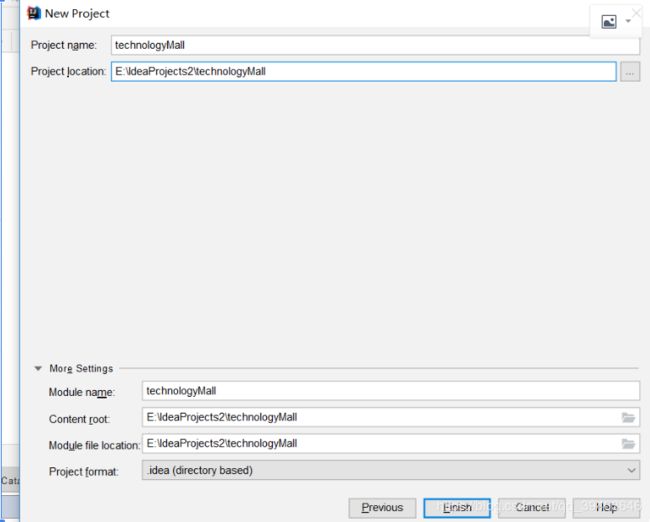
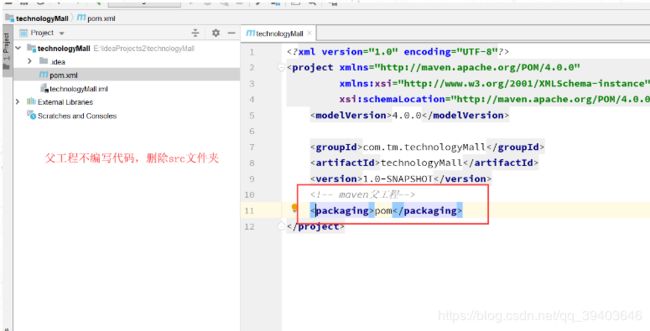
(1)父工程创建

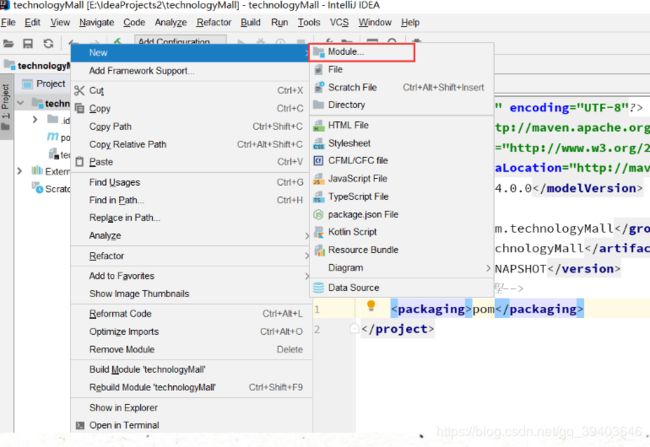
(2)创建子工程
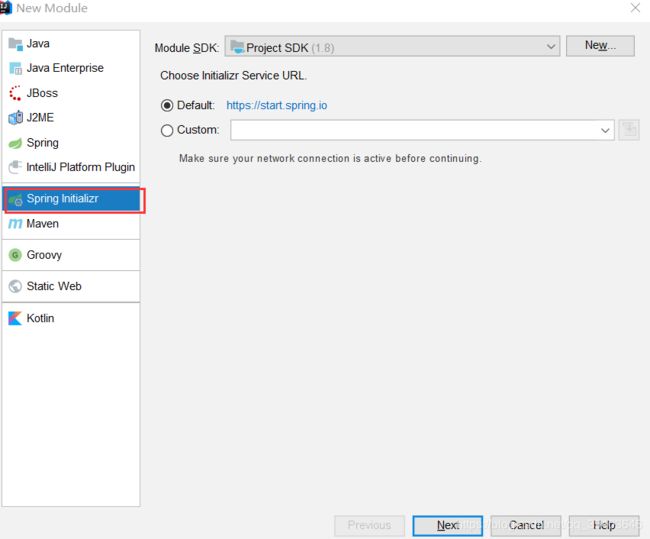
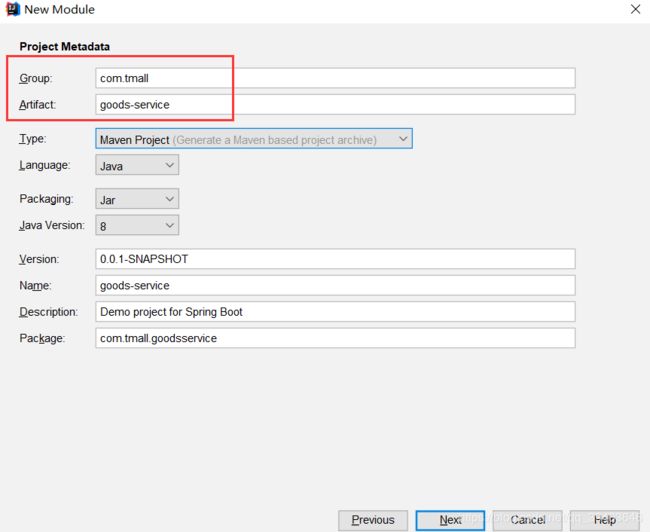
(3)添加父pom.xml依赖
    4.0.0

    com.tm.technologyMall
    technologyMall
    1.0-SNAPSHOT

    pom
    Spring Boot Starter Parent
    Parent pom providing dependency and plugin management for applications
        built with Maven

        org.springframework.boot
        spring-boot-starter-parent
        2.0.3.RELEASE


        goods-service


        UTF-8
        UTF-8
        1.8

        1.3.1
        1.2.3


            org.springframework.boot
            spring-boot-starter-test
            test


            org.springframework.boot
            spring-boot-starter


                    org.springframework.boot
                    spring-boot-starter-logging


            org.springframework.boot
            spring-boot-starter-web


                    org.springframework.boot
                    spring-boot-starter-logging


            org.springframework.boot
            spring-boot-starter-log4j2


            com.lmax
            disruptor
            3.4.2


            org.springframework.boot
            spring-boot-starter-freemarker


            org.springframework.boot
            spring-boot-devtools
            true


                mysql
                mysql-connector-java
                5.1.30
                runtime


                org.mybatis.spring.boot
                mybatis-spring-boot-starter
                ${springboot-mybatis.version}


                com.github.pagehelper
                pagehelper-spring-boot-starter
                ${springboot-pagehelper.version}


                org.projectlombok
                lombok
                1.18.2
                provided


                org.springframework.boot
                spring-boot-maven-plugin
(4)子工程pom依赖
    4.0.0

        com.tm.technologyMall
        technologyMall
        1.0-SNAPSHOT


    com.tmall
    goods-service
    0.0.1-SNAPSHOT
    goods-service
    Demo project for Spring Boot


            mysql
            mysql-connector-java


            org.mybatis.spring.boot
            mybatis-spring-boot-starter


            org.projectlombok
            lombok


            com.github.pagehelper
            pagehelper-spring-boot-starter
            1.2.3


            org.springframework.boot
            spring-boot-devtools
            true


                org.springframework.boot
                spring-boot-maven-plugin


                org.mybatis.generator
                mybatis-generator-maven-plugin
                1.3.2

                    true
                    true
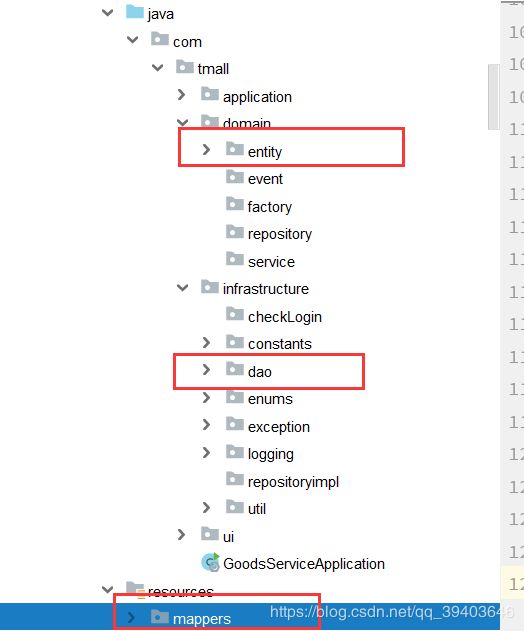
2.包结构搭建
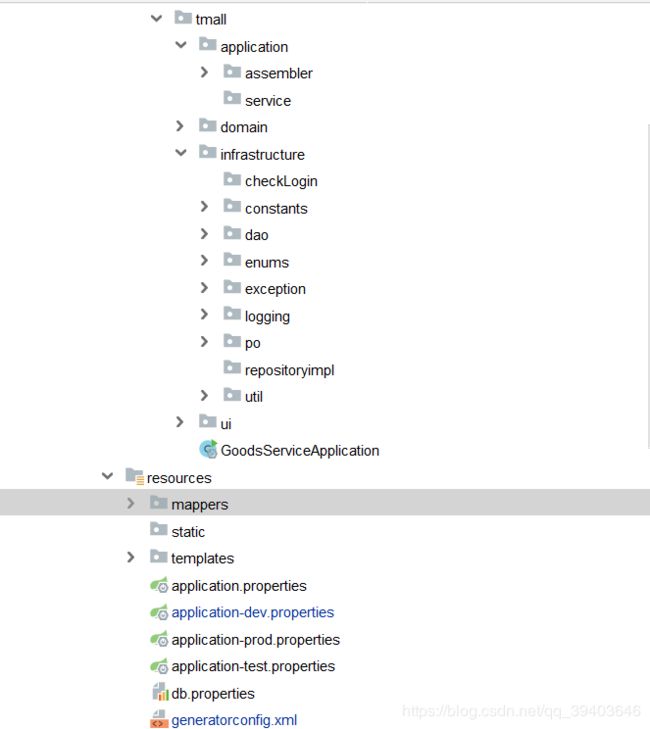
3.spring boot项目结构完善
(1)web模块测试
import org.springframework.web.bind.annotation.RequestMapping;
import org.springframework.web.bind.annotation.RestController;
@RestController//方法返回值以json格式输出.
public class Demo {
	@RequestMapping("/hello")
	public String index() {
		return "Hello World";
	}
}
启动springboot观察是否启动成功


(2)单元测试
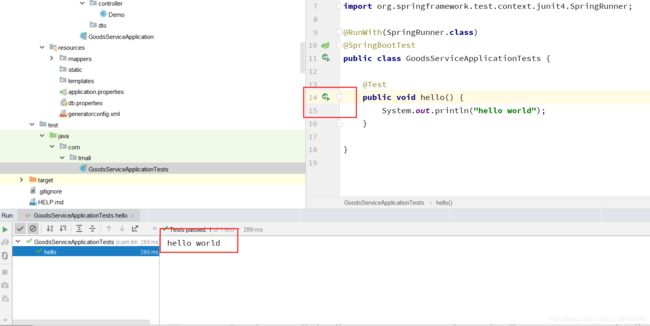
实际使用中,可以按照项目的正常使用去注入dao层代码或者是service层代码进行测试验证。
//简单验证结果集是否正确
Assert.assertEquals(3, userMapper.getAll().size());

//验证结果集,提示
Assert.assertTrue("错误,正确的返回值为200", status == 200);
Assert.assertFalse("错误,正确的返回值为200", status != 200);
(3)开启热启动
热部署是指当我们修改代码后,服务能自动重启加载新修改的内容,这样大大提高了我们开发的效率;该模块在完整的打包环境下运行的时候会被禁用。如果你使用java -jar启动应用或者用一个特定的classloader启动,它会认为这是一个“生产环境”。
在application.properties添加
spring.devtools.restart.additional-paths:src/main/java/com/start
(4)修改Tomcat默认端口和默认访问路径
在application.properties添加
server.port=8081
server.servlet.context-path=/tmall
(5)配置多环境配置文件
在现实的开发环境中,我们需要不同的配置环境;格式为application-{profile}.properties,其中{profile}对应你的环境标识,比如:
- application-test.properties:测试环境
- application-dev.properties:开发环境
- application-prod.properties:生产环境
①编写环境配置文件
application-dev.properties:
server.port: 8082
②在application.properties加入表示激活使用哪一个配置文件
spring.profiles.active: dev (dev就是{profile}的值)
③启动工程,发现程序的端口不再是8080,而是8082。
二、Spring Boot整合mybatis
1.springboot集成mybatis逆向工程
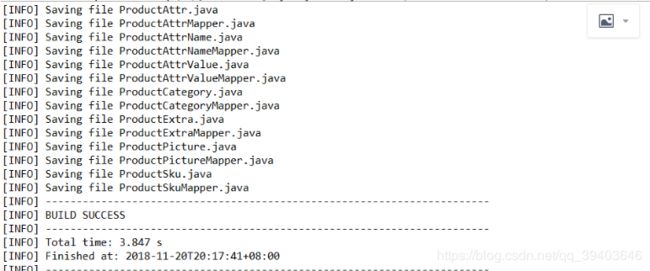
MyBatis的一个主要的特点就是需要程序员自己编写sql,那么如果表太多的话,难免会很麻烦,所以mybatis官方提供了一个逆向工程,可以针对单表自动生成mybatis执行所需要的代码(包括mapper.xml、mapper.java、po..)。一般在开发中,常用的逆向工程方式是通过数据库的表生成代码。
MyBatis逆向工程生成代码需要一个配置文件,名字随便起。然后MyBatis会根据这个配置文件中的配置,生成相应的代码。
(1)db.properties和generatorConfig.xml
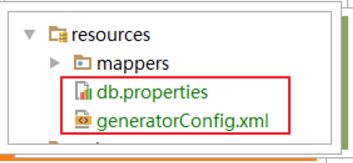
spring.datasource.url=jdbc:mysql://192.168.6.130:3306/technology_mall_goods?characterEncoding=utf-8
spring.datasource.username=root
spring.datasource.password=root
spring.datasource.driver-class-name=com.mysql.jdbc.Driver
(2)运行插件生成代码

2.springboot集成mybatis
(1)配置配置文件application-dev
# mysql connect attribute
spring.datasource.url=jdbc:mysql://192.168.6.130:3306/technology_mall_goods?characterEncoding=utf-8
spring.datasource.username=root
spring.datasource.password=root
spring.datasource.driver-class-name=com.mysql.jdbc.Driver

#mapper.xml location/aliases
mybatis.mapper-locations=classpath:mappers/*.xml
mybatis.type-aliases-package=com.tmall.domain.entity
(2)springboot启动类注解添加
- 在运行的主类上添加 @MapperScan("com.company.springboot.mapper") 注解包扫描
(3)测试mysql是否连接成功

3.事务支持开启
(1)在入口类(main方法类)中使用注解 @EnableTransactionManagement 开启事务支持;
(2)在访问数据库的Service方法上添加注解 @Transactional 即可;
4.连接池配置
HikariCP连接池是一个十分快速、简单、可靠的及十分轻量级的连接池,号称性能最好,可以完美地PK掉其他连接池。
application-dev.properties加入以下配置
# Hikari will use the above plus the following to setup connection pooling
spring.datasource.type=com.zaxxer.hikari.HikariDataSource
spring.datasource.hikari.minimum-idle=5
spring.datasource.hikari.maximum-pool-size=15
spring.datasource.hikari.auto-commit=true
spring.datasource.hikari.idle-timeout=30000
spring.datasource.hikari.pool-name=DatebookHikariCP
spring.datasource.hikari.max-lifetime=1800000
spring.datasource.hikari.connection-timeout=30000
spring.datasource.hikari.connection-test-query=SELECT 1
5.分页插件配置
application-dev.properties加入以下配置
#分页插件
pagehelper.helperDialect=mysql
pagehelper.reasonable=true
pagehelper.supportMethodsArguments=true
pagehelper.params=count=countSql
6.整理实体类
(1)将所有的isXXX更改为xxxFlag
(2)删除所有get、set方法,使用lombok的@Data注解
三、 Spring Boot整合WEB
1.整合Freemarker模板引擎
(1)freemarker在application.properities的配置
# FREEMARKER (FreeMarkerAutoConfiguration)
#是否允许HttpServletRequest属性覆盖(隐藏)控制器生成的同名模型属性。
spring.freemarker.allow-request-override=false
spring.freemarker.allow-session-override=false
# 是否启用模板缓存。
spring.freemarker.cache=true
#是否检查templates路径是否存在
spring.freemarker.check-template-location=true
# 模板编码。
spring.freemarker.charset=UTF-8
#设定Content-Type
spring.freemarker.content-type=text/html
#是否允许mvc使用freemarker
spring.freemarker.enabled=true
#设定所有request的属性在merge到模板的时候,是否要都添加到model中
spring.freemarker.expose-request-attributes=false
spring.freemarker.expose-session-attributes=false
#设定是否以springMacroRequestContext的形式暴露RequestContext给Spring’s macro library使用
spring.freemarker.expose-spring-macro-helpers=true
#是否优先从文件系统加载template,以支持热加载,默认为true
spring.freemarker.prefer-file-system-access=true
设定freemarker模板的后缀 (spring.freemarker.suffix=.ftl)
spring.freemarker.suffix=.html
#设定模板的加载路径,多个以逗号分隔,默认: ["classpath:/templates/"]
spring.freemarker.template-loader-path=classpath:/ftl/
#指定更新模版文件的间隔时间,相当于多长时间检测一下是否有必要重新加载模版文件,0 表示每次都重新加载,否则为多少毫秒钟检测一下模版是否更改。
spring.freemarker.settings.template_update_delay=0
spring.freemarker.settings.default_encoding=UTF-8
spring.freemarker.settings.classic_compatible=true
spring.freemarker.order=1
(2)编写controller
@Controller
public class Demo {

   @RequestMapping("/")
   public String index(Model model) {
      model.addAttribute("name","FreeMarker 模版引擎 ");
      return "test";
   }
}
(3)编写测试页面

(4)启动项目并访问链接http://localhost:8082/tmall/

(5)字符编码过滤设置
在application.properties中配置字符编码
spring.http.encoding.charset=UTF-8
spring.http.encoding.enabled=true
spring.http.encoding.force=true