CentOS6.5 mini安装到VirtualBox虚拟机中
下载Oracle VM VirtualBox
下载下来安装
下载镜像
http://archive.kernel.org/centos-vault/6.5/isos/i386/CentOS-6.5-i386-minimal.iso
安装虚拟机
这里我安装的是32bit的centOS6.5 mini版本
我选了1G的内存
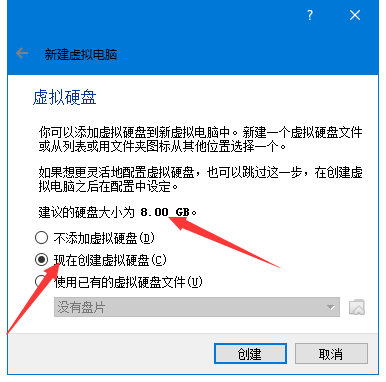
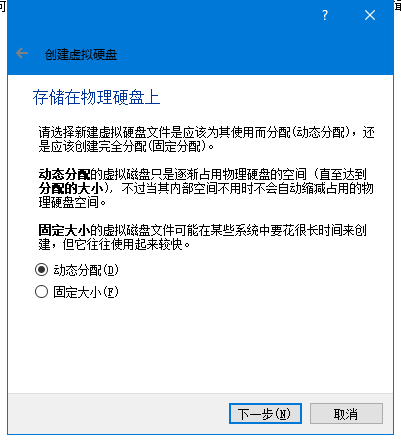
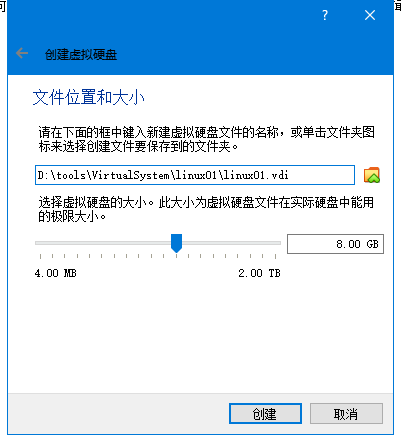
8G的硬盘空间
启动和配置
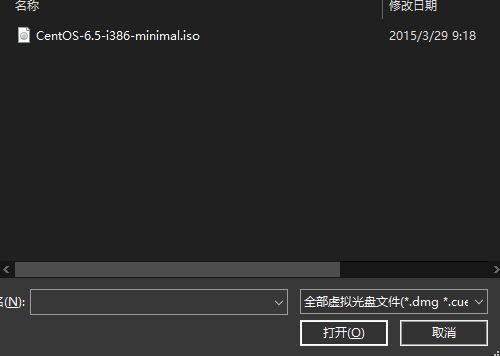
设置分配, 选择下你的ISO系统镜像
会看到一个蓝色背景图片框框和两个按钮, 选择Skip按钮
默认都是next直到弹出这个框框
选择左边那个就行
之后选择上海时区
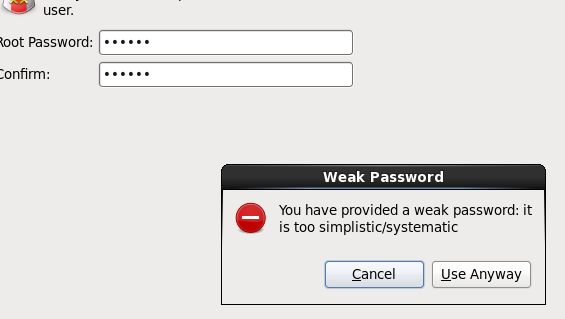
写上密码, 但是由于密码设置过于简单, 所以选择Use Anyway
之后就是长时间的等待
重启完事
配置网络
vi /etc/sysconfig/network-scripts/ifcfg-eth0
改下:
DEVICE=eth0
TYPE=Ethernet
ONBOOT=yes
BOOTPROTO=dhcp
重启下:
service network restart
查看是否配置ip成功
ifconfig
- 打开
vi /etc/sysconfig/network-scripts/ifcfg-eth0 - 配置动态网卡
DEVICE=eth0
TYPE=Ethernet
ONBOOT=yes
BOOTPROTO=dhcp
service network restart # 重启下
ifconfig # 看看配置是否完成
如无特殊要求, 配置动态ip就行
如果需要配置静态网卡则
DEVICE=eth0
TYPE=Ethernet
ONBOOT=yes
BOOTPROTO=static
IPADDR=192.168.0.110
NETMASK=255.255.255.0
GATEWAY=192.168.0.1
不过得注意下
GATEWAY=192.168.0.1 这里要看主电脑端的默认网关
写下静态ip
IPADDR=192.168.0.110 还是需要注意下
![]()
配置差不都就行, 该有的还是得有的
重启下
service network restart
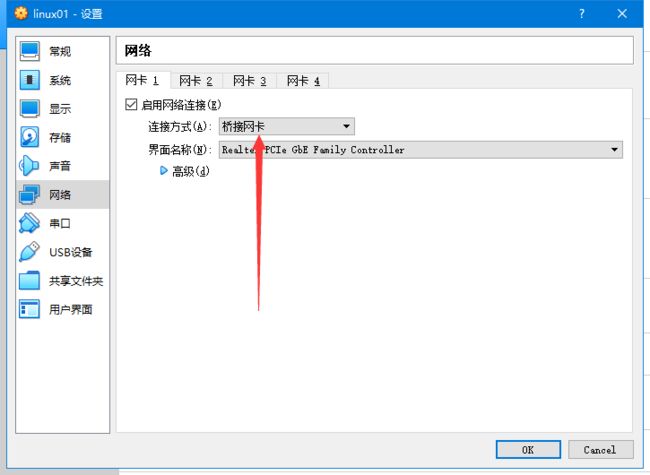
对了, 如果使用的VMWare话, 这里需要注意下这个画圈的位置
要和我们主机一样
配置hosts(这步可以不做)
配置本机的hostname到ip地址的映射
vi /etc/hosts
127.0.0.1   localhost localhost.localdomain localhost4 localhost4.localdomain4
::1         localhost localhost.localdomain localhost6 localhost6.localdomain6
192.168.0.110 linux01
如果集群多个则
192.168.0.128 linux01
192.168.0.129 linux02
192.168.0.130 linux03
192.168.0.131 linux04
关闭防火墙
service iptables stop
service ip6tables stop
chkconfig iptables off
chkconfig ip6tables off
centOS7
systemctl stop firewalld.service #停止firewall
systemctl disable firewalld.service #禁止firewall开机启动
设置 iptables service
yum -y install iptables-services
如果要修改防火墙配置,如增加防火墙端口3306
vi /etc/sysconfig/iptables
增加规则
-A INPUT -m state --state NEW -m tcp -p tcp --dport 3306 -j ACCEPT
保存退出后
systemctl restart iptables.service #重启防火墙使配置生效
systemctl enable iptables.service #设置防火墙开机启动
关闭selinux
vi /etc/selinux/config
SELINUX=disabled
setenforce 0
getenforce
配置yum
yum clean all
yum makecache
yum install wget
至此, centOS6.5基础环境安装成功
安装jdk
1、将jdk-7u60-linux-i586.rpm通过shellftp上传到虚拟机中
2、安装JDK:rpm -ivh jdk-7u65-linux-i586.rpm
3、配置jdk相关的环境变量
vi ~/.bashrc
export JAVA_HOME=/usr/java/latest
export PATH=$PATH:$JAVA_HOME/bin
source .bashrc
4、测试jdk安装是否成功:java -version
=========================================================================
当然也可以使用
yum search openjdk 去查找openjdk然后通过yum install 选取你要的openjdk版本
openjdk和oracle jdk差别不大, 所以可以直接安装openjdk
如果虚拟机是拷贝的需要删除掉, 重新让系统自动生成一个MAC
rm -rf /etc/udev/rules.d/70-persistent-net.rules
reboot
service network restart
设置集群ssh联通
ssh-keygen -t rsa
cp id_rsa.pub authorized_keys
ssh-copy-id -i linux02
ssh-copy-id -i linux03
ssh-copy-id -i linux04
连接其他集群试试
ssh linux03
借助
ifconfig 查看ip看下是不是linux03对应的ip地址就行(我的是直接复制粘贴的虚拟机)
切换到linux02开始使用
ssh-keygen -t rsa
cp id_rsa.pub authorized_keys
ssh-copy-id -i linux01
linux03 linux04 也一样只链接linux01
最后回到linux01使用
scp authorized_keys linux02:/root/.ssh
scp authorized_keys linux03:/root/.ssh
scp authorized_keys linux04:/root/.ssh
基本上到这里, ssh连接其他系统已经不需要密码了
