Linux mysql开启远程访问权限
文章目录
- 1. 添加服务器安全组规则(3306)
- 2. 添加服务器防火墙安全端口(3306)(以centos为例)
- 2.1 查看firewall防火墙状态:
- 2.2 启动firewall防火墙
- 2.3 关闭firewall防火墙
- 2.4 查看firewall防火墙开放的端口
- 2.5 放行firewall防火墙端口
- 2.6 重新加载firewall(将修改应用于防火墙)
- 3. 添加服务器防火墙安全端口(3306)(以ubuntu为例)
- 3.1 查看UFW防火墙状态以及本机放行端口
- 3.2 打开UFW防火墙
- 3.3 关闭UFW防火墙
- 3.4 UFW防火墙放行某个端口
- 3.5 UFW防火墙重启
- 4. 查看并编辑mysql的配置文件
- 4.1 查询mysql配置文件的位置(my.cnf)
- 4.2 编辑my.cnf
- 4.3 重启mysqld服务
- 5. 配置mysql用户访问权限
- 5.1 以管理员(root)身份连接mysql数据库
- 5.2 选择mysql库,用户信息都存在这个库的user表中
- 5.3 查询用户列表
- 5.4 创建可远程登陆用户并赋予权限(以mysql8之前的版本为例)
- 5.6 创建可远程登陆用户并赋予权限(适用于mysql任何版本)
- 5.7 重新加载权限表数据
- 5.8 删除用户及权限
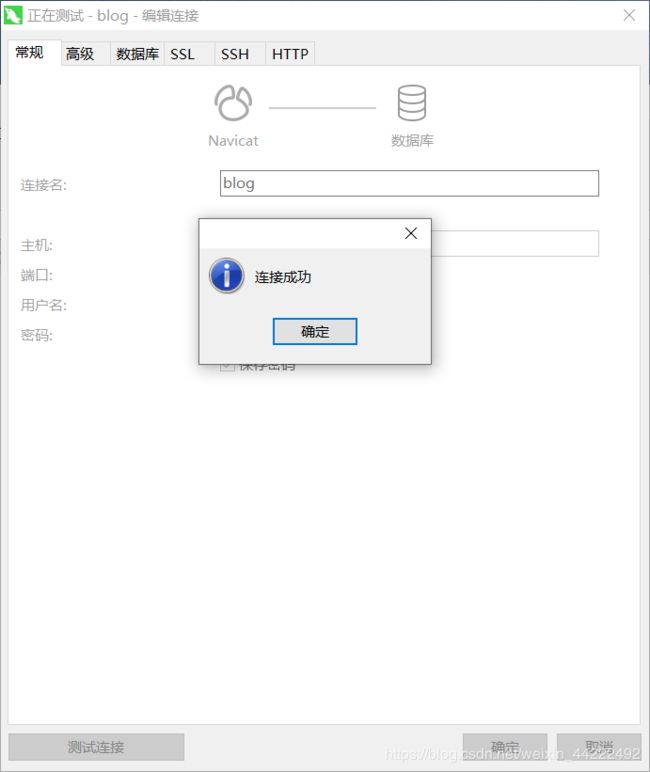
- 6. 使用Navcat for Mysql访问远程数据库
1. 添加服务器安全组规则(3306)
2. 添加服务器防火墙安全端口(3306)(以centos为例)
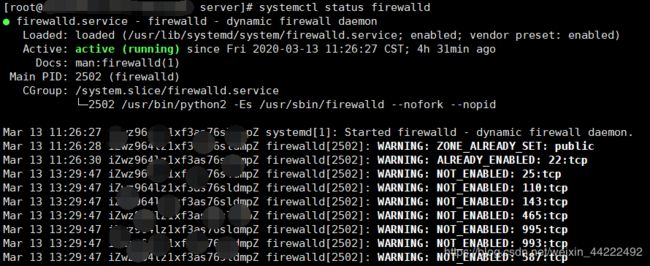
2.1 查看firewall防火墙状态:
systemctl status firewalld
firewall-cmd --state
2.2 启动firewall防火墙
systemctl start firewalld
- 设置开机启用防火墙
systemctl enable firewalld.service
- 设置开机不启动防火墙
systemctl disable firewalld.service
2.3 关闭firewall防火墙
systemctl disable firewalld
2.4 查看firewall防火墙开放的端口
(1)查看防火墙的所有信息
firewall-cmd --list-all
(2)查看防火墙所有开放端口信息
firewall-cmd --list-ports
(3)查看某个端口信息(yes表示已放行,no表示未放行)
firewall-cmd --zone=public --query-port=3306/tcp
![]()
说明:
--zone作用域
--query-port=3306/tcp查询端口,格式为:端口/通讯协议
2.5 放行firewall防火墙端口
(1)放行某个端口
firewall-cmd --zone=public --add-port=3306/tcp --permanent
![]()
说明:
--zone作用域
--add-port=3306/tcp添加端口,格式为:端口/通讯协议
--permanent永久生效,没有此参数重启后失效
(2)放行一个端口区间
firewall-cmd --zone=public --add-port=3306-8888/tcp --permanent
删除放行端口
firewall-cmd --zone=public --remove-port=3306/tcp --permanent
2.6 重新加载firewall(将修改应用于防火墙)
firewall-cmd --reload
3. 添加服务器防火墙安全端口(3306)(以ubuntu为例)
3.1 查看UFW防火墙状态以及本机放行端口
ufw status或sudo ufw status
查看某一端口是否被监听
netstat -an | grep 端口号
3.2 打开UFW防火墙
sudo ufw enable
3.3 关闭UFW防火墙
sudo ufw disable
3.4 UFW防火墙放行某个端口
ufw allow 3306
- 拒绝放行某个端口
ufw deny 端口号
- 删除某个放行/拒绝放行端口的规则
ufw delete allow/deny 端口号
3.5 UFW防火墙重启
sudo ufw reload
4. 查看并编辑mysql的配置文件
4.1 查询mysql配置文件的位置(my.cnf)
mysql --help|grep my.cnf
或
whereis my.cnf
4.2 编辑my.cnf
一般位置为/etc/my.cnf,准确位置以第一步查询到的为准
vi /etc/my.cnf
点击键盘的i,进入插入模式,可以编辑该文件。
(1)若[mysqld]节中有一行bind-address=127.0.0.1则表示仅在本地环路地址127.0.0.1的3306端口监听,将其注释即可。
#bind-address=127.0.0.1
(2)在[mysqld]节中增加下面一行:(可选,若配置完成报错,则可进行这一步)
Mysql默认在本地环路地址127.0.0.1的3306端口监听,要使用外网访问需要修改配置文件。
bind-address=0.0.0.0 #全部地址或者指定的ip地址
(3)退出并保存配置
点击键盘的Esc键,并输入:wq,退出并保存该文件。
4.3 重启mysqld服务
service mysqld restart
5. 配置mysql用户访问权限
5.1 以管理员(root)身份连接mysql数据库
mysql -u root -p
5.2 选择mysql库,用户信息都存在这个库的user表中
若未进行这一步操作,则之后操作表都需要写成mysql.user,否则会报错:ERROR 1046 (3D000): No database selected。
use mysql;
5.3 查询用户列表
select user, host, authentication_string, plugin from User;
或(若没有选择mysql库)
select user, host, authentication_string, plugin from mysql.User;
查看表格中 root 用户的 host,默认应该显示的 localhost,只支持本地访问,不允许远程访问。
5.4 创建可远程登陆用户并赋予权限(以mysql8之前的版本为例)
grant privileges on *.* to 'user'@'host' identified by 'password';
user:你将创建的用户名。
host:指定该用户在哪个主机上可以登陆,如果是本地用户可用localhost,如果想让该用户可以从任意远程主机登陆,可以使用通配符%。
password:该用户的登陆密码,密码可以为空,如果为空则该用户可以不需要密码登陆服务器,但是如果使用navcat登录则必须要密码。
例如:
grant all on *.* to 'root'@'%' identified by 'root';
但是在mysql8中已经不支持
grant命令创建并赋予权限,会报错`ERROR 1064 (42000): You have an error in your SQL syntax; check the manual that corresponds to your MySQL server version for the right syntax to use near 'identified by 'root'' at line 1`
5.6 创建可远程登陆用户并赋予权限(适用于mysql任何版本)
(1)创建用户(可远程访问使用%)
create User 'user'@'host' identified by 'password';
或(若没有选择mysql库)
create mysql.User 'user'@'host' identified by 'password';
说明:
username:你将创建的用户名。
host:指定该用户在哪个主机上可以登陆,如果是本地用户可用localhost,如果想让该用户可以从任意远程主机登陆,可以使用通配符%。
password:该用户的登陆密码,密码可以为空,如果为空则该用户可以不需要密码登陆服务器,但是如果使用navcat登录则必须要密码。
例如:
create User 'root'@'%' identified by 'root';
create User 'student'@'localhost' identified by '123';
create User 'student'@'本机IP' identified by '123';
create User 'student'@'%' identified by '';
(2)用户授权(授予全部权限使用all,全部数据库全部表格使用*.*)
grant privileges on database.table to 'user'@'host';
说明:
privileges:用户的操作权限,如select,insert,update等,如果要授予所的权限则使用all。
databasename:数据库名。
tablename:表名,如果要授予该用户对所有数据库和表的相应操作权限则可用*表示,如*.*。
例如:
grant all on *.* to 'root'@'%';
grant insert on studentsystem.guide to 'student'@'localhost';
注意:
用以上命令授权的用户不能给其它用户授权,如果想让该用户可以授权,用以下命令:grant privileges on database.table to 'user'@'host' with grant option;
5.7 重新加载权限表数据
这一步一定要做,不然无法成功! 这句表示从mysql数据库的grant表中重新加载权限数据。因为MySQL把权限都放在了cache中,所以在做完更改后需要重新加载。
flush privileges;
5.8 删除用户及权限
(1)删除用户数据
delete from User where Host='%';
或(若没有选择mysql库)
delete from mysql.User where Host='%';
(2)重新加载权限表数据
flush privileges;
6. 使用Navcat for Mysql访问远程数据库
详情见Navicat 12 for MySQL下载、安装及使用教程(https://blog.csdn.net/weixin_44222492/article/details/98775090)


