从0到1实现一个简易版Vuex
前言
使用vue作为主力开发技术栈的小伙伴,vuex大家在工作中必不可少,面试的时候面试官也多多少少会问一些关于vuex内部机制的问题,小伙伴们只能是去阅读vuex的源码,但不可否认,有些小伙伴们阅读起来源码多少有些吃力,so本文即将带着大家来实现一个简化版的vuex
vuex的工作流程如下图所示
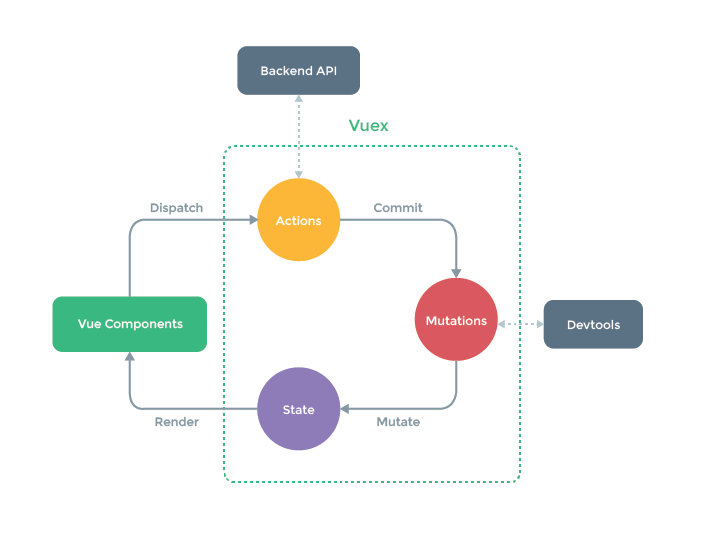
组件内通过dispatch调用actions
actions通过commit提交mutation
mutation修改state
state响应式更新 到组件上
咱们根据这个流程开始写代码
准备工作
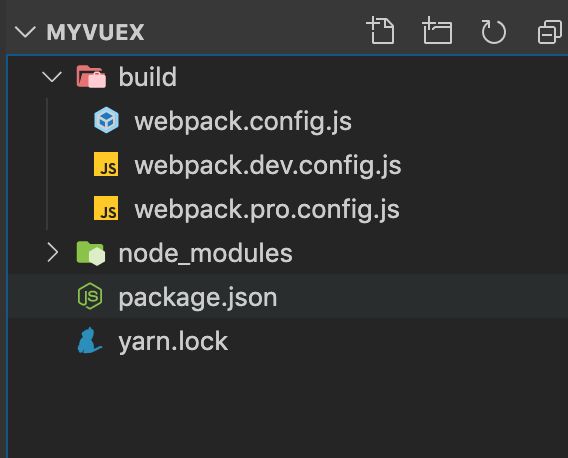
咱们来创建个myvuex目录来编写咱们的代码,然后打开终端执行yarn init -y 或者 npm init -y。
考虑到有些小伙伴对rollup有些陌生,构建工具咱们这里选用的是webpack
构建webpack开发环境,本文并不打算展开说webpack,so 我就把webpack用到的依赖包一气下完了
$ yarn add webpack webpack-cli webpack-dev-server webpack-merge clean-webpack-plugin babel-loader @babel/core @babel/preset-env
然后开始编写咱们的webpack配置文件,并创建一个build目录存放
// webpack.config.js
const merge = require("webpack-merge");
const baseConfig = require("./webpack.base.config");
const devConfig = require("./webpack.dev.config");
const proConfig = require("./webpack.pro.config");

let config = process.NODE_ENV === "development" ? devConfig : proConfig;

module.exports = merge(baseConfig, config);

// webpack.base.config.js
const path = require("path");
module.exports = {
  entry: path.resolve(__dirname, "../src/index.js"),
  output: {
    path: path.resolve(__dirname, "../dist"),
    filename: "myvuex.js",
    libraryTarget: "umd"
  },
  module: {
    rules: [
      {
        test: /\.js$/i,
        use: {
          loader: "babel-loader",
          options: {
            presets: ["@babel/preset-env"]
          }
        }
      }
    ]
  }
};

// webpack.dev.config.js 开发环境配置
module.exports = {
    devtool: 'cheap-module-eval-source-map'
}

// webpack.pro.config.js 生成环境配置
const { CleanWebpackPlugin } = require("clean-webpack-plugin");
module.exports = {
  plugins: [
    new CleanWebpackPlugin() // 构建成功后清空dist目录
  ]
};

// package.json
{
  "name": "myvuex",
  "version": "1.0.0",
  "main": "src/index.js",
  +  "scripts": {
  +  "start": "webpack-dev-server --mode=development --config ./build/webpack.config.js",
  +  "build": "webpack --mode=production --config ./build/webpack.config"
  },
  "files": [
    "dist"
  ],
  "license": "MIT",
  "dependencies": {
    "@babel/core": "^7.8.4",
    "@babel/preset-env": "^7.8.4",
    "babel-loader": "^8.0.6",
    "clean-webpack-plugin": "^3.0.0",
    "webpack": "^4.41.5",
    "webpack-cli": "^3.3.10",
    "webpack-dev-server": "^3.10.2",
    "webpack-merge": "^4.2.2"
  }
}
webpack搭建好了之后,我们在用vue-cli创建一个咱们的测试项目
$ vue create myvuextest
然后使用yarn link 建立一个链接,使我们能够在myvuextest项目中使用myvuex,对yarn link不熟悉的小伙伴可以先翻到文章结尾处了解一下
myvuextest 项目
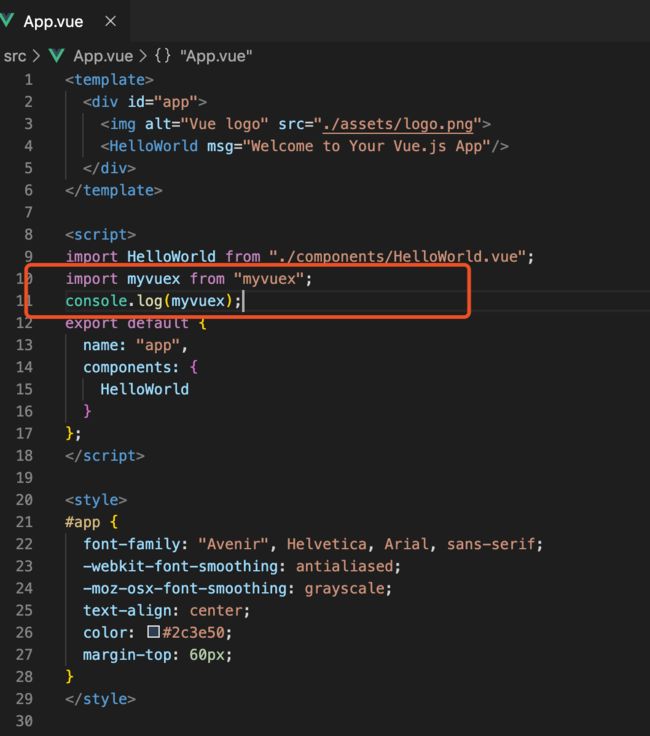
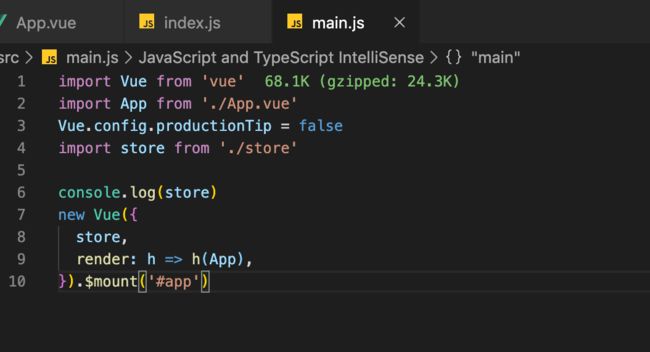
完事之后 我们就可以通过import引入myvuex了,如下图所示
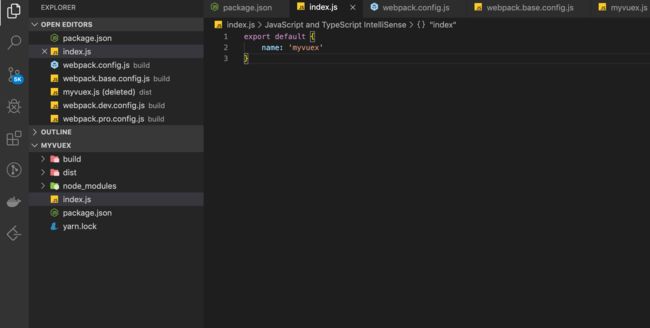
回到咱们的myvuex 在根目录创建一个index.js 文件测试一下在myvuextest项目中是否可以正常引入
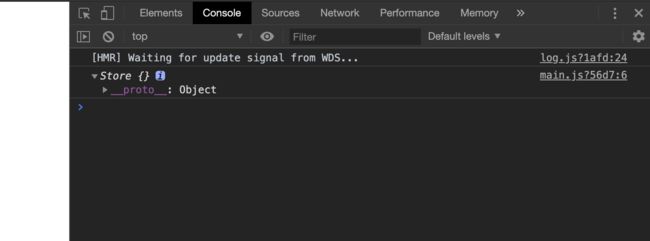
可以看到咱们在myvuex项目中编写代码可以在myvuextest中正常使用了
准备工作完成之后,可以正式开始编写咱们的项目代码了
正式开始
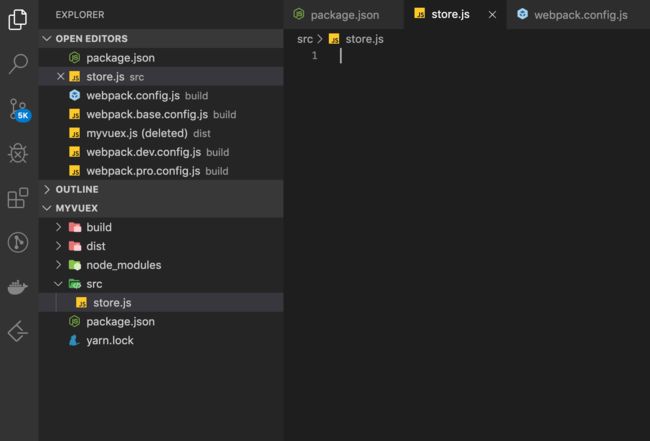
创建一个src目录存放项目主要代码
然后创建一个store.js
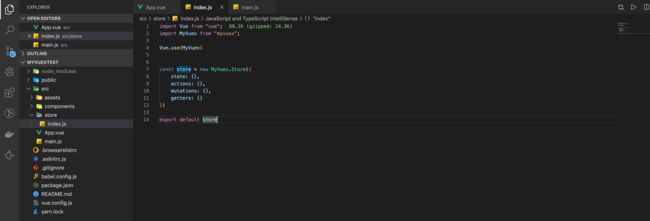
接下来咱们看看根据vuex的用法咱们的myvuex该如何使用,咱们根据需求完善逻辑
import Vue from "vue";
import MyVuex from "myvuex";

Vue.use(MyVuex)

const store = new MyVuex.Store({
    state: {},
    actions: {},
    mutations: {},
    getters: {}
})

export default store
可以看到,咱们需要一个 Store 类,并且还要使用Vue.use挂载到vue上面,这就需要我们提供一个 install 方法供vue调用,Store类接受一系列参数state、actions,mutations,getters等…
咱们先动手创建一个Store类,和一个install方法
// src/store.js
export class Store {
    constructor() {

    }
}

export function install() {

}
并在index.js中导出供myvuextest使用
import {
    Store,
    install
} from "./store";

export default {
    Store,
    install
}
回过头来看下myvuextest项目
接着咱们该怎么让咱们定义的state渲染到页面上呢
// myvuextest/store/index.js
import Vue from "vue";
import MyVuex from "myvuex";

Vue.use(MyVuex)

const store = new MyVuex.Store({
    state: {
        title: "hello myvuex"
    }
})

export default store

// App.vue
<template>
  <div id="app">{{ $store.state.title }}</div>
</template>

<script>
export default {
  name: "app"
};
</script>

<style>
#app {
  font-family: "Avenir", Helvetica, Arial, sans-serif;
  -webkit-font-smoothing: antialiased;
  -moz-osx-font-smoothing: grayscale;
  text-align: center;
  color: #2c3e50;
  font-size: 30px;
  margin-top: 60px;
}
</style>

一执行发现并没有效果 并向咱扔出了一个错误,
别着急,咱们一步步来 ,上文中提到的install方法咱们和Store类只是定义了还没有进一步完善,所以vue实例中并没有咱们的$store
// myvuex/src/store.js
export class Store {
    constructor(options = {}) {
        this.state = options.state
        this.actions = options.actions
        this.mutations = options.mutations
        this.getters = options.getters
    }
}

export function install(Vue) {
    Vue.mixin({
        beforeCreate() {
            const options = this.$options
            if (options.store) {
                /*存在store其实代表的就是Root节点,直接使用store*/
                this.$store = options.store
            } else if (options.parent && options.parent.$store) {
                /*子组件直接从父组件中获取$store,这样就保证了所有组件都公用了全局的同一份store*/
                this.$store = options.parent.$store
            }
        }
    })
}
install中使用的this.$options就是咱们new Vue时传入的参数,咱们的store就是在这传给vue的
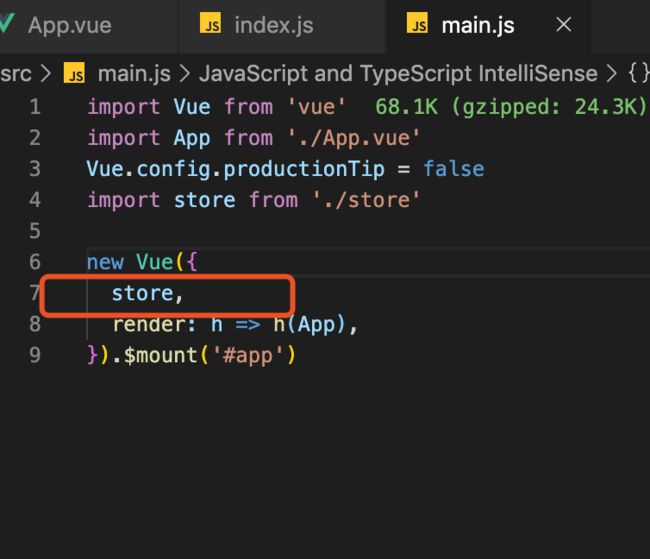
写完后,咱们的store中的参数都挂载到了vue身上,所以这个时候我们打开页面就可以看到咱们state中的数据了

当然了,目前这样肯定不行,vuex中的state也是响应式的,咱们也得想办法把咱们的state处理一下,实现数据响应式的方案有很多,比如说Object.defineProperty、Proxy…,但是这些写起来还是很麻烦的,其实咱们可以使用一个更加巧妙的方式,那就是借助vue本身的数据响应式来处理,既简单又高效
接下来改造一下咱们代码
首先在install方法中把咱们Vue存一下
// myvuex/src/store.js
let Vue;
export function install(_Vue) {
    Vue = _Vue
    Vue.mixin({
        beforeCreate() {
            const options = this.$options
            if (options.store) {
                this.$store = options.store
            } else if (options.parent && options.parent.$store) {
                this.$store = options.parent.$store
            }
        }
    })
}
然后把Store中的state修改一下
// myvuex/src/store.js
export class Store {
    constructor(options = {}) {
        let {
            state
        } = options
        this.actions = options.actions
        this.mutations = options.mutations
        this.getters = options.getters

        this._vm = new Vue({
            data: {
                $$state: state
            }
        })
    }

    // 访问state的时候,返回this._vm._data.$$state中的数据
    get state() {
        return this._vm._data.$$state
    }
}
这样我们就基本实现了数据响应式更新
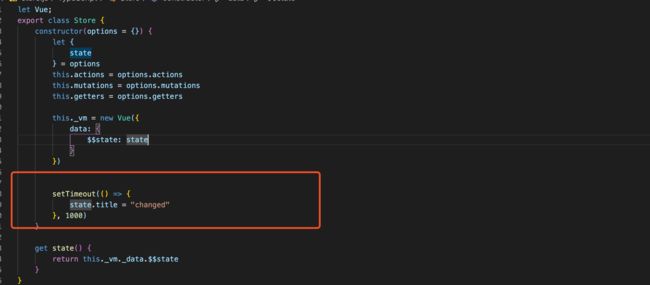
咱们先写个定时器改下state中的title测试一下
但是咱们的代码不能一直都堆在constructor里,咱们把这个地方单独拿出来,放在一个函数里边
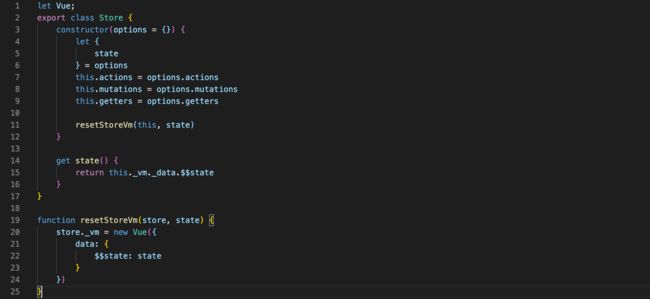
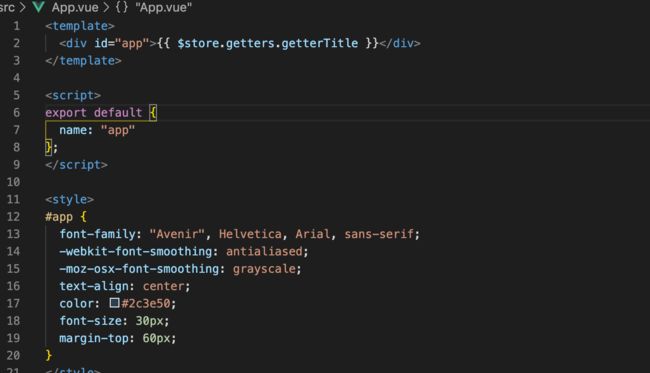
接下来考虑一下,vuex的getter是不是和vue的computed很像,都是在获取数据的时候有机会把数据修改为页面中想要的格式,既然是这样,咱们的getter也就很好实现了,下面接着来实现咱们的getter
首先写一个包装getter的函数,把getter用的state以及getters参数传过去
function registerGetter(store, type, rawGetter) {
    store._getters[type] = function () {
        return rawGetter(store.state, store.getters)
    }
}
接着在把constructor中的this.getters = options.getters改为this._getters = Object.create(null)用来存放getters
然后调用咱们的registerGetter函数包装一下getter
然后把resetStoreVm函数改造为
function resetStoreVm(store, state) {
    store.getters = {}
    let computed = {}
    let getters = store._getters
    Object.keys(getters).forEach(key => {
        // 把getter函数包装为computed属性
        computed[key] = () => getters[key]()
        // 监听是否用getters获取数据,computed是把咱们的数据直接存到根结点的,所有直接在_vm上边获取到数据返回出去就行
        Object.defineProperty(store.getters, key, {
            get: () => store._vm[key],
            enumerable: true
        })
    })

    store._vm = new Vue({
        data: {
            $$state: state
        },
        computed
    })
}
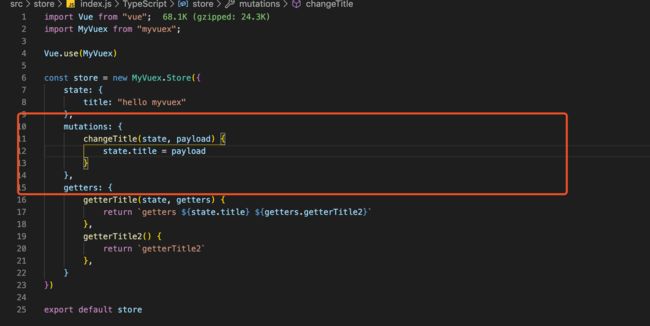
到这里咱们已经利用vue的computed属性实现了getter,来看一下效果
![]()
可以看到用法基本与vuex一致且已经有了效果 OK 到这里getter先告一段落
接下来实现mutation
mutation作为更改 Vuex 的 store 中的状态的唯一方法,可谓是重中之重,咱们一起来实现一下
跟getter一样 也需要一个包装mutation的函数
function registerMutation(store, type, handler) {
    store._mutations[type] = function (payload) {
        return handler.call(store, store.state, payload)
    }
}
然后在constructor中把this._mutations改为this._mutations = Object.create(null),接着循环遍历options.mutations
Object.keys(options.mutations).forEach(type => {
    registerMutation(this, type, options.mutations[type])
})
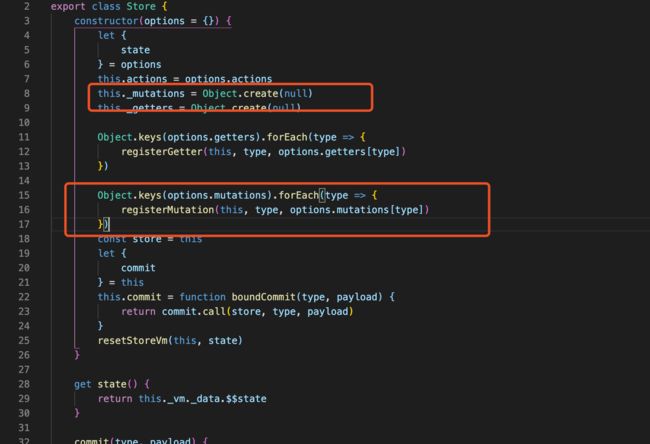
在vuex中不能直接调用mutation,而是需要使用store.commit
我们在Store类中加入commit方法
这个commit函数实现很简单,就是把咱们包装后的mutation执行一下而已
commit(type, payload) {
    const handler = this._mutations[type]
    handler(payload)
}
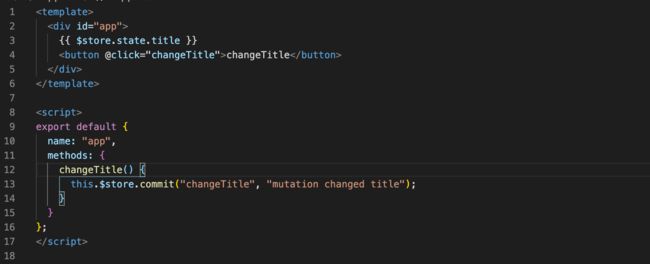
咱们来看下效果

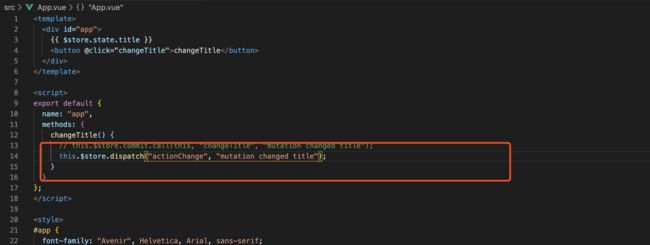
效果虽然出来了,但是这样真的就可以了么??在咱们的commit函数里咱们直接const handler = this._mutations[type]这样在this上边获取mutation,正常使用虽然没有问题,但是保不齐this指向错误的地方,js的this有多头疼你懂的。。。咱们来处理一下,把this固定到Store类上,改造之前咱们先来模拟下this指向不对的情况

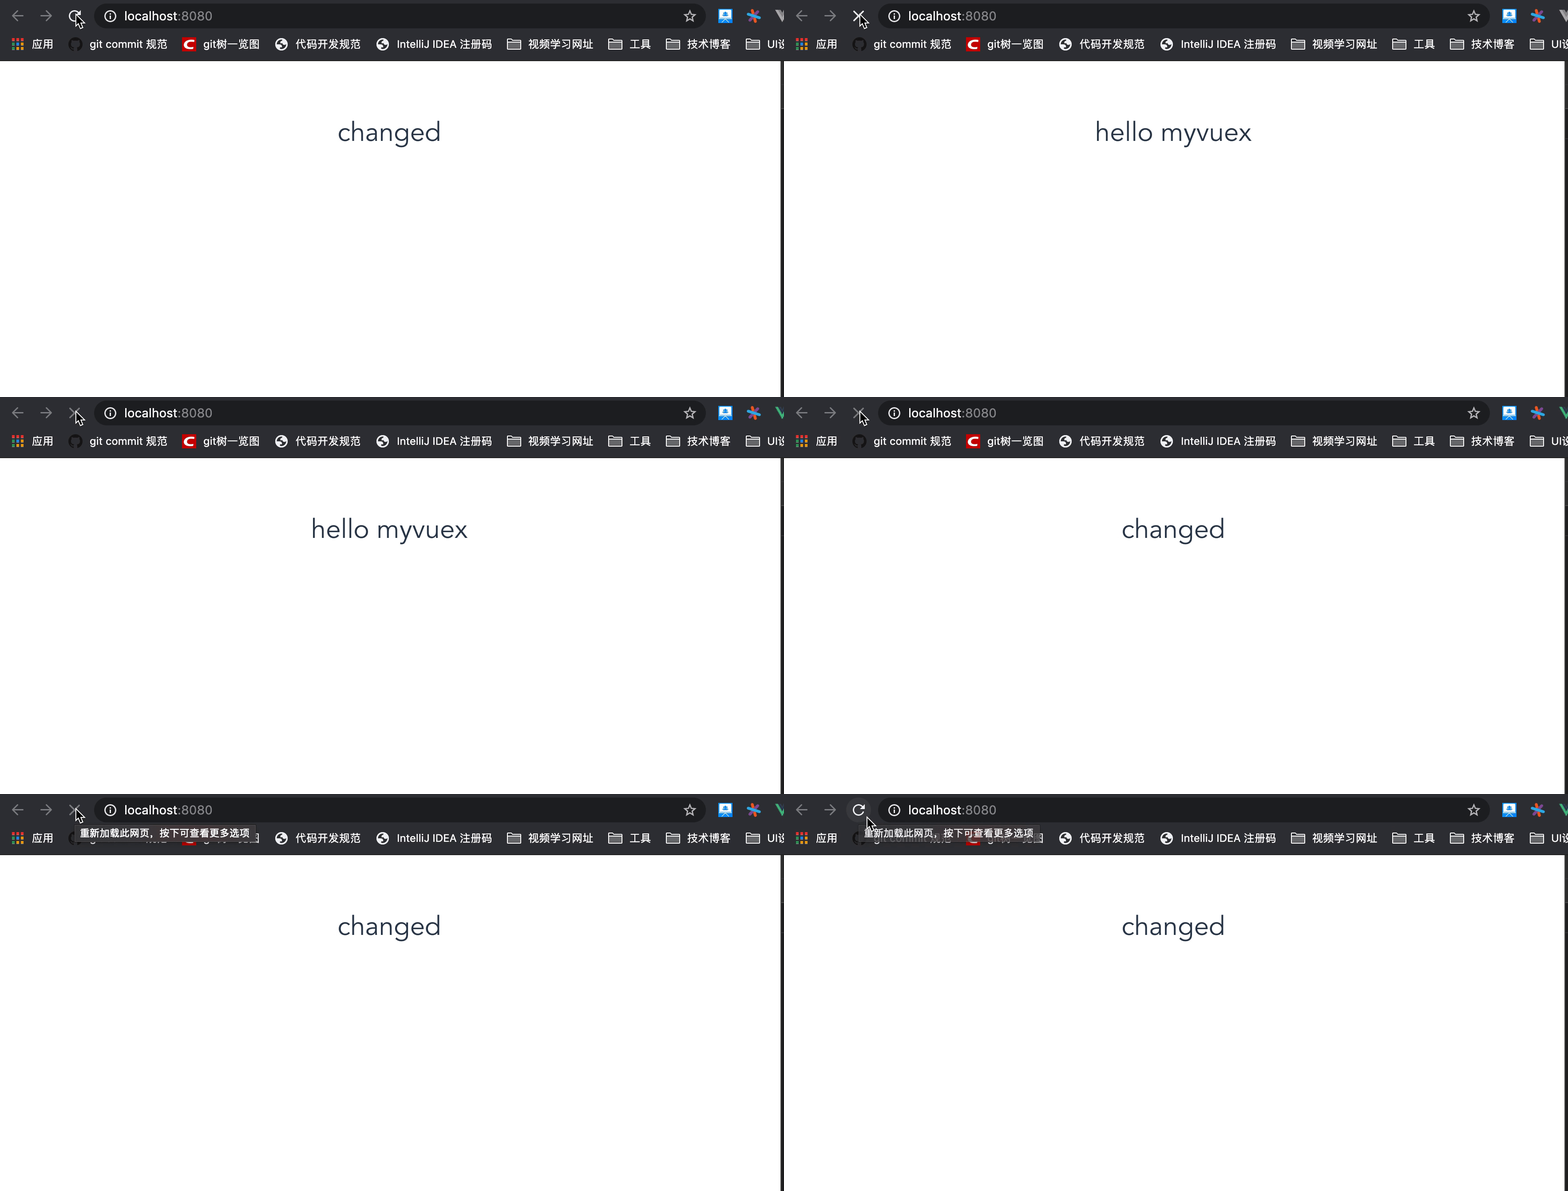
点击button之后,程序就蹦了,这样肯定是不行的

动手改造,在constructor里增加如下代码
const store = this
let {
    commit
} = this
this.commit = function boundCommit(type, payload) {
    return commit.call(store, type, payload)
}
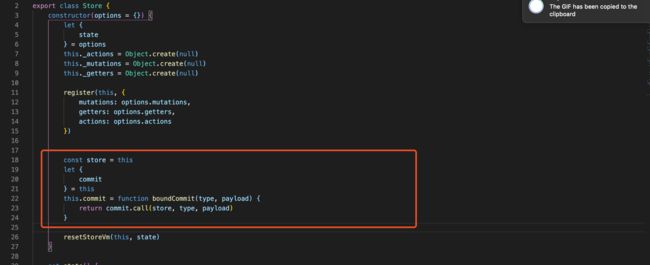
代码很好理解,不做赘述了。
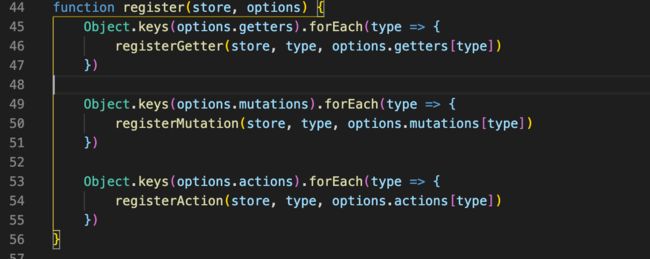
代码执行,但是循环遍历包装getters和mutations的时候,代码还是散在constructor里的,虽然这样也可以,随着代码量的增加,这样会显得很乱,增加阅读代码的难度,咱们给他抽出来单独放在一个函数里
function register(store, options) {
    Object.keys(options.getters).forEach(type => {
        registerGetter(store, type, options.getters[type])
    })

    Object.keys(options.mutations).forEach(type => {
        registerMutation(store, type, options.mutations[type])
    })
}
constructor变成这样
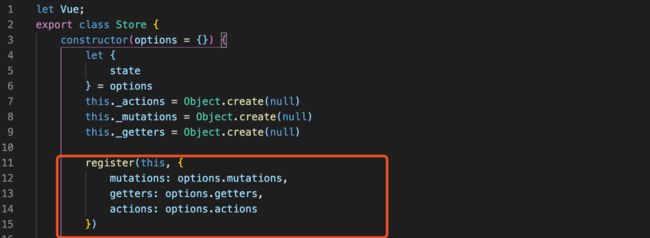
然后就是Action
Action 函数接受一个与 store 实例具有相同方法和属性的 context 对象,因此你可以调用 context.commit 提交一个 mutation,或者通过 context.state 和 context.getters 来获取 state 和 getters
老规矩
function registerAction(store, type, handler) {
    store._actions[type] = function (payload) {
        handler.call(store, {
            dispatch: store.dispatch,
            commit: store.commit,
            getters: store.getters,
            state: store.state
        }, payload)
    }
}
然后在咱们的register函数中循环遍历options.actions
Object.keys(options.actions).forEach(type => {
    registerAction(store, type, options.actions[type])
})
以及把this固定到Store类上
let {
    commit,
    dispatch
} = this
this.commit = function boundCommit(type, payload) {
    return commit.call(store, type, payload)
}
this.dispatch = function boundDispatch(type, payload) {
    return dispatch.call(store, type, payload)
}

看似没有问题,但是这样真的行了么?? 在vuex中为了数据流向可控,在严格模式中只能通过mutation来修改state,在其他地方修改state会报错,这块咱们还没有处理。
咱们的state就是vue的data,vue的vm.$watch属性刚好就是观察Vue实例上的一个表达式或者一个函数计算结果的变化,咱们可以借助vm.$watch来做,在resetStoreVm函数中加上如下代码
store._vm.$watch(function () {
    return this._data.$$state
}, () => {
    throw new Error("state 只能通过mutation修改")
}, {
    deep: true,
    sync: true
})
光监听一下的话,问题有来了,mutation也是直接修改state,那么这个watch连在mutation中修改的state也会报错,所以咱们加一个状态来标示是否可以修改state
this._committing = false

这个_committing为true的时候可以修改state,为false的时候不可修改,这样咱们在mutation中修改的state时候先改变下_committing这个状态就可以了,因为在内部修改state的时候也需要修改_committing,这里咱们把代码单独拉出来写,封装为一个类方法,其他地方用的时候也方便
_withCommit(fn) {
    const committing = this._committing
    this._committing = true
    fn()
    this._committing = committing
}
写完之后,修改下咱们的commit方法,这样咱们就是实现在只能通过mutation来修改state

Ok,咱们自己的myvuex就实现了,代码还有很多优化和待实现的地方,大家可以从github上把代码clone下来,优化和完善代码,github地址https://github.com/colinonce/myvuex
yarn link
with writing…
总结
总得来说vuex实现起来还是很简单的,在这个代码基础上很容易拓展出完整的vuex,哈哈,因为文中的代码就是参考vuex源码来写的,这样大家看完这篇文章再去阅读vuex源码就能轻松不少,也是考虑到实现完整版的意义不是很大,把vuex的实现方式和思想告诉大家才是最重要的,说白了,vuex的本质也是一个vue实例,它里面管理了公共部分数据state。
Thank You
篇幅很大,感谢大家耐心观看,文中如有错误欢迎指正,如有什么好的建议也可以在评论区评论或者加我微信交流。祝大家身体健康
我是
Colin,可以扫描下方二维码加我微信,备注交流。
