WSL不支持Docker?不存在的,升级WSL2并安装原生Docker
文章目录
- 升级WSL2
- 升级Windows版本
- 下载新内核
- 更换版本
- 安装Docker
原先的WSL不支持Docker守护线程,然而,WSL2的更新彻底解决了这个问题。
WSL2彻底重构WSL,支持原生Docker的安装、启动,同时运行速度也大大加快。这么好的WSL哪里才能买得到呢?
升级WSL2
升级Windows版本
要使用WSL2,请确定你windows的系统版本为18917或更高,并且已经安装WSL。
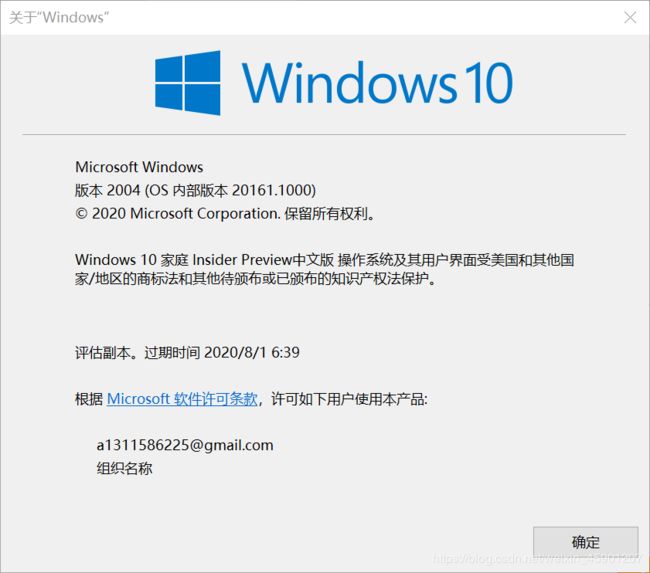
按下win+R,输入winver查看当前版本:
笔者的版本已经更新到20161.1000,可以使用WSL2:
如果你的版本低于18917,请搜打开Windows更新设置,点击检查更新:
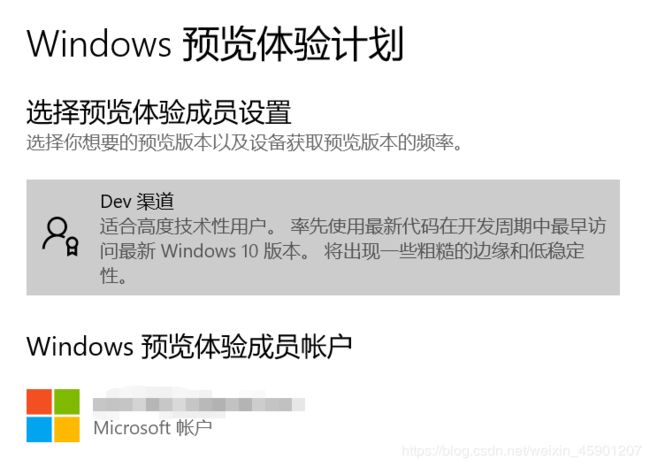
如果检查不到新版本,请加入Windows预览体验计划:
之后再检查更新,就可以发现新版本。
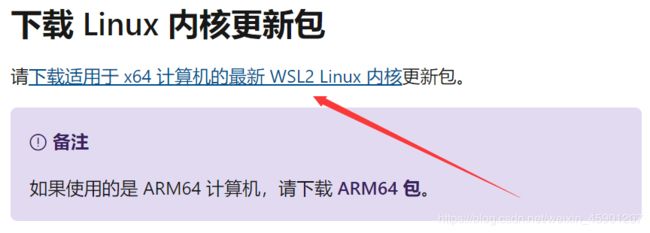
下载新内核
官方地址:下载Linux内核更新包
更换版本
打开命令行,输入wsl -l -v检查现有版本:
PS C:\Users\a1311> wsl -l -v
  NAME      STATE           VERSION
* Ubuntu    Stopped         1
可以看到,笔者这里用的是Ubuntu,接下来将其版本升级到2,输入wsl --set-version Ubuntu 2,当然具体的WSL名字根据你电脑中的WSL确定:
wsl --set-version Ubuntu 2
正在进行转换,这可能需要几分钟时间...
有关与 WSL 2 的主要区别的信息,请访问 https://aka.ms/wsl2
转换完成。
接下来,设置默认启动版本为WSL2,输入wsl --set-default-version 2
PS C:\Users\a1311> wsl --set-default-version 2
有关与 WSL 2 的主要区别的信息,请访问 https://aka.ms/wsl2
到这里,WSL2的升级就完成了。
再次检查:
PS C:\Users\a1311> wsl -l -v
  NAME      STATE           VERSION
* Ubuntu    Stopped         2
安装Docker
卸载旧版本Docker:
sudo apt-get remove docker docker-engine docker.io containerd runc
安装依赖:
sudo apt-get install \
    apt-transport-https \
    ca-certificates \
    curl \
    gnupg-agent \
    software-properties-common -y
添加Docker源:
curl -fsSL https://download.docker.com/linux/ubuntu/gpg | sudo apt-key add -

sudo add-apt-repository \
   "deb [arch=amd64] https://mirrors.tuna.tsinghua.edu.cn/docker-ce/linux/ubuntu \
   $(lsb_release -cs) \
   stable"

sudo apt update
安装Docker:
sudo apt install -y docker-ce
到这里Docker就安装完成了,接下来进行测试。
启动服务:
sudo service docker start
测试hello-world,docker run hello-world
$ docker run hello-world

Hello from Docker!
This message shows that your installation appears to be working correctly.

To generate this message, Docker took the following steps:
 1. The Docker client contacted the Docker daemon.
 2. The Docker daemon pulled the "hello-world" image from the Docker Hub.
    (amd64)
 3. The Docker daemon created a new container from that image which runs the
    executable that produces the output you are currently reading.
 4. The Docker daemon streamed that output to the Docker client, which sent it
    to your terminal.

To try something more ambitious, you can run an Ubuntu container with:
 $ docker run -it ubuntu bash

Share images, automate workflows, and more with a free Docker ID:
 https://hub.docker.com/

For more examples and ideas, visit:
 https://docs.docker.com/get-started/

e workflows, and more with a free Docker ID:
 https://hub.docker.com/

For more examples and ideas, visit:
 https://docs.docker.com/get-started/
测试成功!


