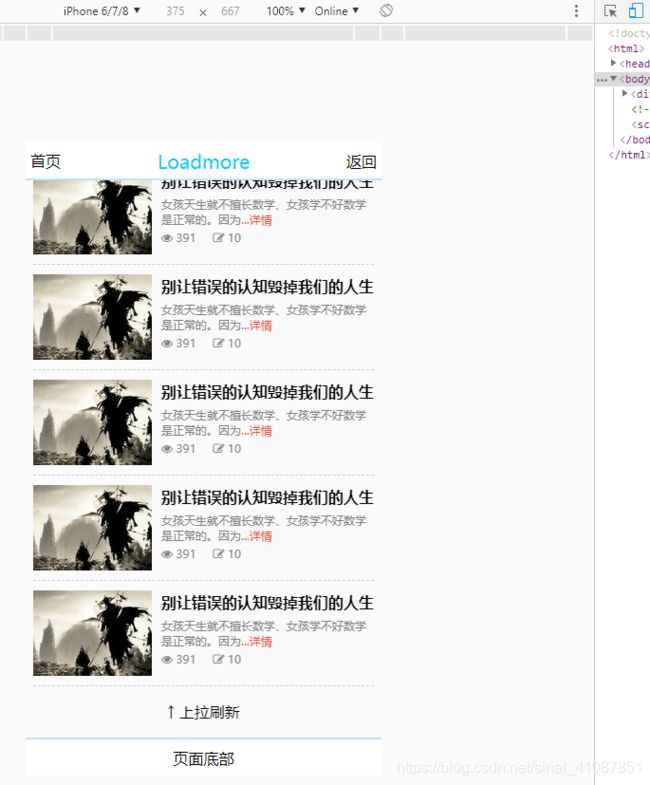
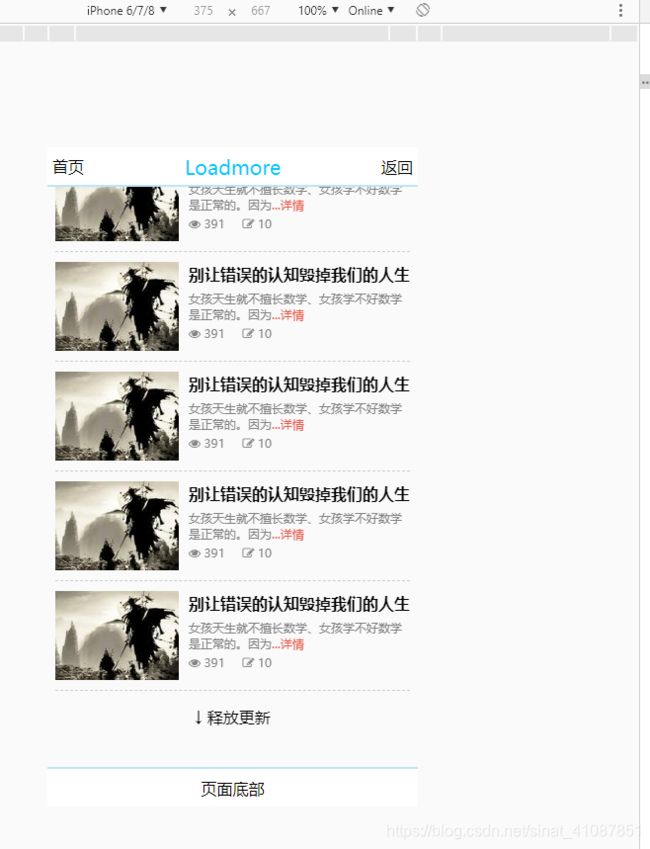
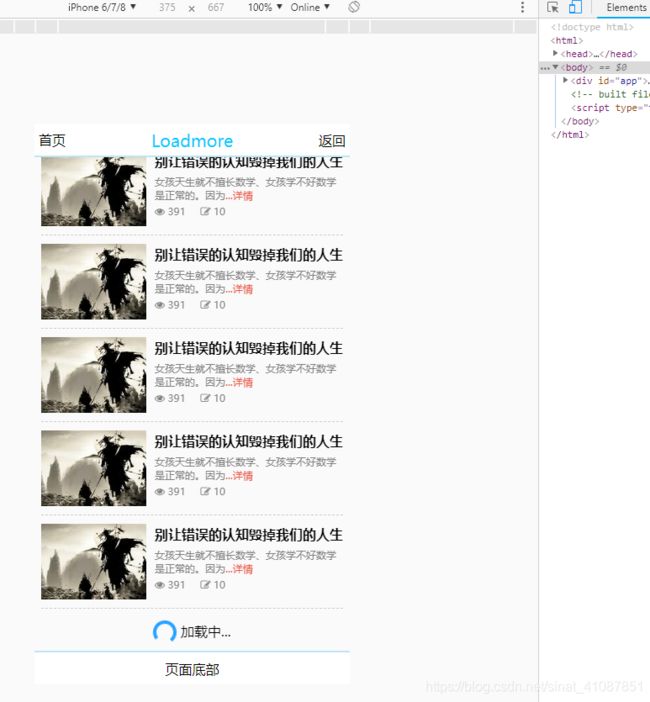
vue基于mint-ui组件loadmore实现上拉加载更多,下拉刷新功能
这个是模拟手机写的简单样式,不要在意这些细节,为了撑满容器每次加载十二
那就开始代码了 ==》
先安装 mint-ui
在main.js中引入mint-ui的css样式和组件:
import 'mint-ui/lib/style.css'

import { Loadmore } from 'mint-ui';

Vue.component(Loadmore.name, Loadmore);

import { Spinner } from 'mint-ui';

Vue.component(Spinner.name, Spinner);
然后再新建一个vue组件,放置你的内容:
js操作:
export default {
        name: 'Loadmore',
        data() {
            return {
                examplename: 'Loadmore',
                pageNum: 1,//页码
                InitialLoading: true,//初始加载
                list: 0,//数据
                allLoaded: false,//数据是否加载完毕
                bottomStatus: '',//底部上拉加载状态
                wrapperHeight: 0,//容器高度
                topStatus: '',//顶部下拉加载状态
            }
        },
        mounted() {
            let windowWidth = document.documentElement.clientWidth;//获取屏幕宽度
            if (windowWidth >= 768) {//这里根据自己的实际情况设置容器的高度
                this.wrapperHeight = document.documentElement.clientHeight - 105;
            } else {
                this.wrapperHeight = document.documentElement.clientHeight - 80;
            }
            setTimeout(() => {//页面挂载完毕 模拟数据请求 这里为了方便使用一次性定时器
                this.list = 12;
            }, 1500)
        },
        methods: {
            handleBottomChange(status) {
                this.bottomStatus = status;
            },
            loadBottom() {
                this.handleBottomChange("loading");//上拉时 改变状态码
                this.pageNum += 1;
                setTimeout(() => {//上拉加载更多 模拟数据请求这里为了方便使用一次性定时器
                    if (this.pageNum <= 3) {//最多下拉三次
                        this.list += 12;//上拉加载 每次数值加12
                    } else {
                        this.allLoaded = true;//模拟数据加载完毕 禁用上拉加载
                    }
                    this.handleBottomChange("loadingEnd");//数据加载完毕 修改状态码
                    this.$refs.loadmore.onBottomLoaded();
                }, 150000);
            },
            handleTopChange(status) {
                this.topStatus = status;
            },
            loadTop() {//下拉刷新 模拟数据请求这里为了方便使用一次性定时器
                this.handleTopChange("loading");//下拉时 改变状态码
                this.pageNum = 1;
                this.allLoaded = false;//下拉刷新时解除上拉加载的禁用
                setTimeout(() => {
                    this.list = 12;//下拉刷新 数据初始化
                    this.handleTopChange("loadingEnd")//数据加载完毕 修改状态码
                    this.$refs.loadmore.onTopLoaded();
                }, 1500);
            },
        }
    }
基本css样式:
.page-loadmore-wrapper {
        overflow: scroll;
        z-index: 100;
    }

    .hot-list {
        padding: 0 8px;
    }

    .hot-item {
        padding: 10px 0;
    }

    .hot-one {
        overflow: hidden;
        border-bottom: 1px dashed #ccc;
    }

    .hot-one a img {
        padding-right: 10px;
    }

    .hot-item a img {
        width: 135px;
        height: 90px;
    }

    .fl {
        float: left;
    }

    .hot-one a h5 {
        margin-top: 2px;
        text-overflow: ellipsis;
        overflow: hidden;
        white-space: nowrap;
        margin-bottom: 6px;
        font-size: 16px;
        color: #000;
    }

    .hot-one a p {
        font-size: 12px;
        color: #828282;
        margin: 0 0 3px;
    }

    .color_e85647 {
        color: #e85647;
    }

    div.hot-list > div:first-child .img-box {
        overflow: hidden;
    }

    div.hot-list > div:first-child img {
        width: 100%;
        height: auto;
        padding-right: 0;
    }
写完这些 基本上就能够实现上拉加载下拉刷新的功能了 然后就是在事件里面加上网络请求把数据渲染在视图上
项目演示地址:http://mint.wkmblog.com/LoadMore
更新日志
2019-1-6 删除多余无用代码,添加文字提示与动画提示结合(动画与文字的使用根据实际情况,也可使用默认的提示,这里只是展示用法)
top的slot插槽和bottom的slot插槽分别修改为:
↓
data中添加数据:
topText: '',
topPullText: '下拉刷新',
topDropText: '释放更新',
topLoadingText:  '加载中...',
bottomText: '',
bottomPullText:  '上拉刷新',
bottomDropText:  '释放更新',
bottomLoadingText:  '加载中...',
watch监听数据变化:
watch: {
    topStatus(val) {
        switch (val) {
            case 'pull':
                 this.topText = this.topPullText;
                 break;
             case 'drop':
                  this.topText = this.topDropText;
                  break;
              case 'loading':
                  this.topText = this.topLoadingText;
                  break;
         }
     },
     bottomStatus(val) {
         switch (val) {
              case 'pull':
                  this.bottomText = this.bottomPullText;
                  break;
              case 'drop':
                  this.bottomText = this.bottomDropText;
                  break;
              case 'loading':
                  this.bottomText = this.bottomLoadingText;
                  break;
          }
     }
},
此时,上拉下拉都会出现如上面三张图的动画+文字提示。


