Vue学习篇-7、Vscode安装Eslint插件进行代码格式化
一、安装Eslint依赖
1、项目目录下,vscode终端下运行下方命令
npm i eslint -D
./node_modules/.bin/eslint --init
运行结果:
![]()
enter键确认下一项


由于我使用的vue项目,所以选择vue.js

这个根据个人选择

space键进行确认选择
![]()


接下来,由于我这边已经安装过了,所以终端也没有再进行下去,但下一步选择yes进行安装即可
2、使用ESLint + Prettier 的组合,安装对应的依赖
npm un eslint-config-google
npm i prettier eslint-plugin-prettier  @vue/eslint-config-prettier -D
3、配置 .eslintrc.js:
module.exports = {
  env: {
    browser: true,
    es6: true,
    node: true,
  },
  extends: [
    'plugin:vue/essential',
    '@vue/prettier', // 替换为安装的 `prettier`,原来为'google'
  ],
  globals: {
    Atomics: 'readonly',
    SharedArrayBuffer: 'readonly',
  },
  parserOptions: {
    ecmaVersion: 2018,
    sourceType: 'module',
  },
  plugins: ['vue'],
  rules: {
    quotes: ['error', 'single'], // 启用单引号
  },
};
4、配置 .prettierrc.js
module.exports = {
    singleQuote: true
  };
提示:在.eslintrc.js添加规则时,需要在.prettierrc.js也进行配置
二、下载插件
1、ESLint 支持自动格式化

2、Vetur 更好的支持 Vue 文件(与格式化无关)

三、配置插件
1、打开文件>首选项>设置

2、打开setting.json

3、加入下面代码
"editor.codeActionsOnSave": {
  "source.fixAll.eslint": true
}
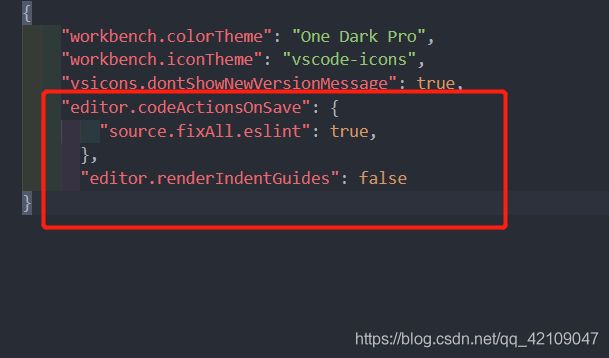
4、打开文件,就可以ctrl+s保存对文件进行格式化了
注意:如果出现Delete ␍eslint(prettier/prettier)警告,则在终端运行下面命令
npm run lint --fix