利用Github和Hexo搭建自己的博客
利用Github和Hexo搭建自己的博客
一、 安装 Node.js
- windows下64为安装包下载地址:https://nodejs.org/dist/v6.11.2/node-v6.11.2-x64.msi
安装后再cmd下运行:node -v 出现如下内容,说明安装成功。
    C:\Users\shirukai>node -v
    v6.11.2
安装npm淘宝源cnpm:在cmd下运行
npm install -g cnpm --registry=https://registry.npm.taobao.org
二、 安装Git
下载地址:https://git-for-windows.github.io/
下载后安装即可
三、安装Hexo
在桌面右击,选择Git Bash Here 使用npm或者cnpm安装即可,安装命令如下:
1. 安装命令行工具
cnpm install hexo-cli -g
cnpm install hexo --save- 安装所需插件
cnpm install hexo-generator-index --save  #索引生成器
cnpm install hexo-generator-archive --save #归档生成器
cnpm install hexo-generator-category --save  #分类生成器
cnpm install hexo-generator-tag --save
cnpm install hexo-server --save
cnpm install hexo-deployer-git --save
cnpm install hexo-deployer-heroku --save
cnpm install hexo-deployer-rsync --save
cnpm install hexo-deployer-openshift --save
cnpm install hexo-renderer-marked@0.2 --save
cnpm install hexo-renderer-stylus@0.2 --save
cnpm install hexo-generator-feed@1 --save
cnpm install hexo-generator-sitemap@1 --save
四、Hexo初始化配置
安装完Hexo-cli 和hexo后,建立自己的目录如D:\Repository\Hexo,在此目录下右击鼠标点击Git Bash Here 进入Git命令框,执行下列操作:
1.初始化Hexo
hexo init2.利用cnpm安装依赖插件
cnpm install 3.启动本地服务
   hexo generate #构建静态文件
   hexo server #启动server 服务
4.启动服务后访问http://localhost:4000/,即可查看本地服务器效果
五、配置GitHub
第一步:注册或者登陆GIthub账户
Guthub官网:https://github.com/
第二步:创建项目代码库
1.登陆后点击New repository
2.配置仓库信息如下图所示:

注意:仓库名字的格式为 用户名.github.io
第三步:配置SSH秘钥
配置Github的SSH密钥可以让本地git项目与远程的github建立联系,让我们在本地写了代码之后直接通过git操作就可以实现本地代码库与Github代码库同步。操作如下:
1. 查看是否存在SSH秘钥
在C:\Users\shirukai.ssh目录下查看是否有.ssh目录
2. 如果没有此目录,则执行下列命令:
ssh-keygen -t rsa -C "308899573@@qq.com"执行此命令时,默认enter就行。
3. 创建秘钥后,在上述的.ssh目录下回生成如下文件:

右击id_rsa.pub文件用文本编辑器打开,复制秘钥
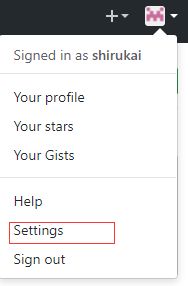
4. 打开Github官网登录后点击头像,打开Settings设置
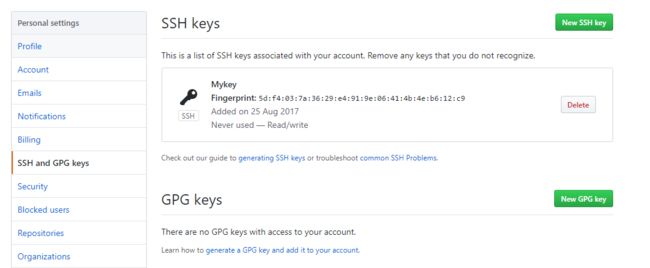
5. 选择 SSH and GPG keys 然后点击右上角 new SSH key 添加新的秘钥
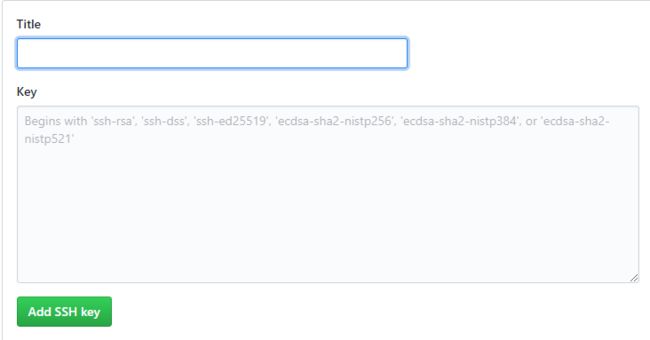
6. 这里面title 是自己随便起的名字, key里面粘贴刚才复制的秘钥,然后点击添加
7. 测试是否添加秘钥成功
ssh -T git@github.com输入yes后会得到以下信息,说明ssh配置成功
The authenticity of host 'github.com (192.30.255.113)' can't be established.
RSA key fingerprint is SHA256:nThbg6kXUpJWGl7E1IGOCspRomTxdCARLviKw6E5SY8.
Are you sure you want to continue connecting (yes/no)? yes
Warning: Permanently added 'github.com,192.30.255.113' (RSA) to the list of known hosts.
Hi shirukai! You've successfully authenticated, but GitHub does not provide shell access.
六、将本地的Hexo文件更新到Github的库中
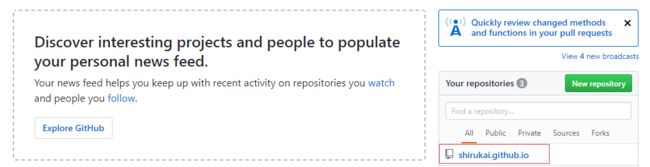
1. 登录Github
打开自己的项目 username.github.io
2. 复制Github项目仓库地址
点击clone or download 绿色按钮,然后复制文本框里的url地址

3. 修改hexo配置文件 _config.yml
在创建Hexo项目的目录下找到_config.yml文件,然后右击用文本编辑器进行修改,在最后添加如下信息,其中repo后跟的是Github里复制的地址。
 deploy:
  type: git
  repo: https://github.com/shirukai/shirukai.github.io.git
  branch: master
4. 将hexo部署到Github
在本地Hexo目录下右击打开Git Bash,输入一下命令:
hexo g -d命令执行后,会提示输入Github的账号和密码,输入登陆后,hexo项目会自动部署到Github上。
5. 访问博客
以上操作完成后,我们的博客就会部署到Github上了,我们只需要输入username.github.io就可以访问自己的博客了。

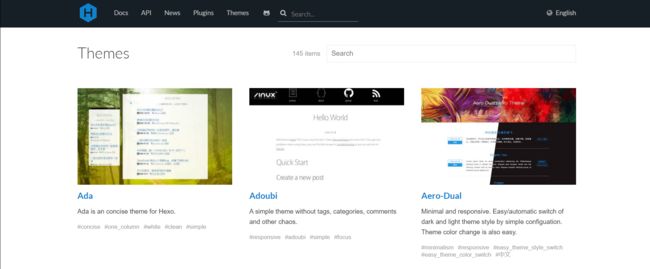
七、美化主题
1. 进入官网选择自己喜欢的主题
hexo官网主题地址
2.复制主题地址
主题地址里面有好多是加了自己的域名,所以我们不能直接使用,可以在底部信息找到主题链接,如下:

点击他的链接,会访问到他指定的Github仓库
这里以主题hexo-theme-next为例子。Github地址为: https://github.com/iissnan/hexo-theme-next
3. 克隆主题
在hexo项目文件夹下的themes目录中打开Git Bash 然后输入一下命令:
git clone https://github.com/iissnan/hexo-theme-next4. 修改hexo配置文件
要想应用下载的主题,需要修改hexo配置文件 _config.yml

theme后面跟上你的主题名字
5. 部署应用主题到本地
输入一下命令:
hexo g
hexo s
本地访问localhost:4000访问效果
推荐主题: https://github.com/viosey/hexo-theme-material
6. 部署主题到Github
hexo clean   (必须要,不然有时因为缓存问题,服务器更新不了主题)
hexo g -d
访问自己的Github路径就可以访问查看效果了。
八、在博客写文章
1. 用hexo命令行工具发表文章
在命令行输入一下命令:
$ hexo n "文章标题" 结果如下:

然后在 Hexo/source/_posts目录下修改创建的文件,就可以写自己的博客了。
2. 直接创建markdown文件
除了使用命令行工具,也可以使用markdown工具直接在 Hexo/source/_posts目录下创建markdown文件。
3. 将文章部署到Github
无论通过什么方式写文章,最终都需要将写好的文档编译成html可读文件,然后部署到Github上。所以通过以下命令就可以实现:
hexo d -g