Flutte 圆角实现
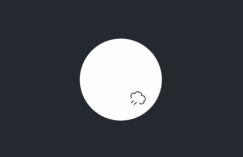
一、使用CircleAvatar
const CircleAvatar({
    Key key,
    this.child,
    this.backgroundColor,
    this.backgroundImage,
    this.foregroundColor,
    this.radius,
    this.minRadius,
    this.maxRadius,
  }) : assert(radius == null || (minRadius == null && maxRadius == null)),
       super(key: key);
代码:
CircleAvatar(
	radius: 50,
	backgroundImage: NetworkImage(user.avatar_url ?? FZICons.DEFAULT_REMOTE_PIC),
),
const BoxDecoration({
    this.color,
    this.image,
    this.border,
    this.borderRadius,
    this.boxShadow,
    this.gradient,
    this.backgroundBlendMode,
    this.shape = BoxShape.rectangle,
  }) : assert(shape != null),
       assert(
         backgroundBlendMode == null || color != null || gradient != null,
         'backgroundBlendMode applies to BoxDecoration\'s background color or '
         'gradient, but no color or gradient was provided.'
       );
代码:
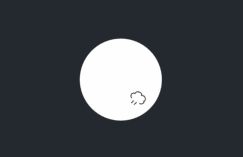
Container(
	width: 100,
	height: 100,
	decoration: BoxDecoration(
		image: DecorationImage(
			image: NetworkImage(user.avatar_url ?? FZICons.DEFAULT_REMOTE_PIC),
			fit: BoxFit.cover
		),
		borderRadius: BorderRadius.all(Radius.circular(50)),
	),
)
三、使用ClipOval
const ClipOval({
	Key key,
	this.clipper,
 	this.clipBehavior = Clip.antiAlias,
 	Widget child
}) : super(key: key, child: child);
代码:
ClipOval(
	child: CachedNetworkImage(
		width: 100,
		height: 100,
		imageUrl: ImageUtil.imageUrlStr(user.avatar_url),
		fit: BoxFit.cover,
		placeholder: (context, url) => Icon(Icons.add),
		errorWidget: (context, url, error) => new Icon(Icons.error),
	),
),
四、使用ClipRRect
const ClipRRect({
    Key key,
    this.borderRadius,
    this.clipper,
    this.clipBehavior = Clip.antiAlias,
    Widget child,
  }) : assert(borderRadius != null || clipper != null),
       assert(clipBehavior != null),
       super(key: key, child: child);
代码:
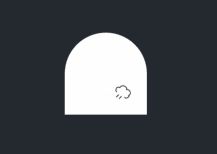
ClipRRect(
	child: CachedNetworkImage(
		width: 100,
		height: 100,
 		imageUrl: ImageUtil.imageUrlStr(user.avatar_url),
		fit: BoxFit.cover,
		placeholder: (context, url) => Icon(Icons.add),
		errorWidget: (context, url, error) => new Icon(Icons.error),
	),
	borderRadius: BorderRadius.only(
		topLeft: Radius.circular(50),
		topRight: Radius.circular(50),
	),
),


