Ubuntu 安装 Prometheus Grafana监控mysql ,redis
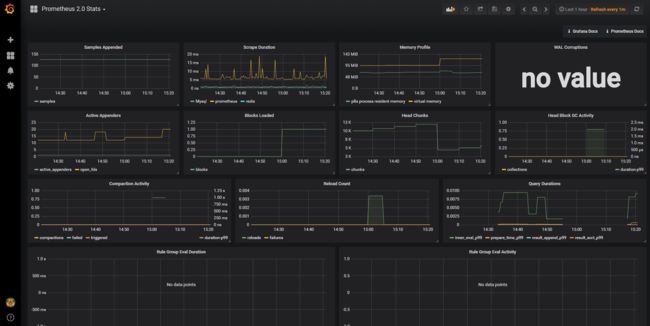
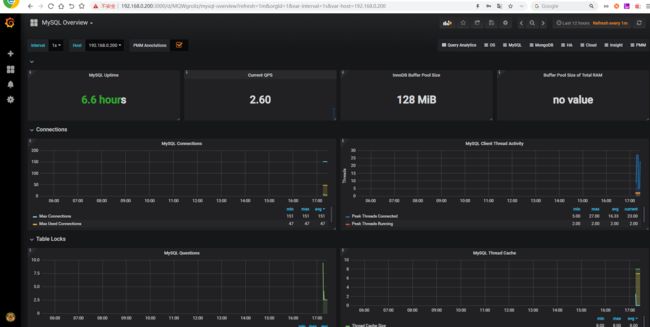
俗话说,没有监控的系统就是在裸奔,好的监控就是运维人员的第三只手,第三只眼。本文将使用prometheus及Grafana搭建一套监控系统来监控主机及数据库(MySQL、Redis)。
1. 安装Grafana
Grafana是一个可视化面板(Dashboard),有着非常漂亮的图表和布局展示,功能齐全的度量仪表盘和图形编辑器,支持Graphite、zabbix、InfluxDB、Prometheus等数据源。
1.1 下载并安装
下载地址:https://grafana.com/grafana/download
下载完了就可以安装:
sudo dpkg -i grafana_5.0.4_amd64.deb
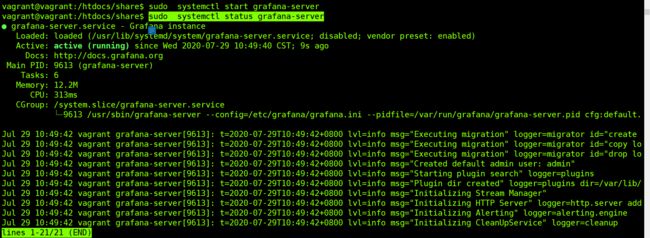
启动查看状态:
sudo systemctl start grafana-server
sudo systemctl status grafana-server
接下来设置prometheus用户和目录:
vagrant@vagrant:/htdocs/share$ sudo useradd --no-create-home --shell /bin/false prometheus
vagrant@vagrant:/htdocs/share$ sudo useradd --no-create-home --shell /bin/false node_exporter
vagrant@vagrant:/htdocs/share$ sudo mkdir /etc/prometheus
vagrant@vagrant:/htdocs/share$ sudo mkdir /var/lib/prometheus
vagrant@vagrant:/htdocs/share$ sudo chown prometheus:prometheus /etc/prometheus
vagrant@vagrant:/htdocs/share$ sudo chown prometheus:prometheus /var/lib/prometheus
接下来下载prometheus:
vagrant@vagrant:/htdocs/share$ cd
vagrant@vagrant:~$ curl -LO https://github.com/prometheus/prometheus/releases/download/v2.0.0/prometheus-2.0.0.linux-amd64.tar.gz
解压进入目录:
vagrant@vagrant:/htdocs/share$ sudo cp prometheus-2.0.0.linux-amd64/prometheus /usr/local/bin/
vagrant@vagrant:/htdocs/share$ sudo cp prometheus-2.0.0.linux-amd64/promtool /usr/local/bin/
vagrant@vagrant:/htdocs/share$ sudo chown prometheus:prometheus /usr/local/bin/prometheus
vagrant@vagrant:/htdocs/share$ sudo chown prometheus:prometheus /usr/local/bin/promtool
vagrant@vagrant:/htdocs/share$ sudo cp -r prometheus-2.0.0.linux-amd64/consoles /etc/prometheus
vagrant@vagrant:/htdocs/share$ sudo cp -r prometheus-2.0.0.linux-amd64/console_libraries /etc/prometheus
vagrant@vagrant:/htdocs/share$ sudo chown -R prometheus:prometheus /etc/prometheus/consoles
vagrant@vagrant:/htdocs/share$ sudo chown -R prometheus:prometheus /etc/prometheus/console_libraries
添加监控任务:![]()
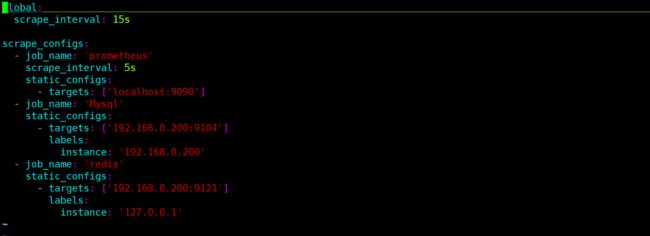
/etc/prometheus/prometheus.yml内容如下:
global:
scrape_interval: 15s
scrape_configs:
- job_name: 'prometheus'
scrape_interval: 5s
static_configs:
- targets: ['localhost:9090']
- job_name: 'Mysql'
static_configs:
- targets: ['192.168.0.200:9104']
labels:
instance: '192.168.0.200'
- job_name: 'redis'
static_configs:
- targets: ['192.168.0.200:9121']
labels:
instance: '127.0.0.1'
/etc/systemd/system/prometheus.service内容如下:
[Unit]
Description=Prometheus
Wants=network-online.target
After=network-online.target
[Service]
User=prometheus
Group=prometheus
Type=simple
ExecStart=/usr/local/bin/prometheus \
--config.file /etc/prometheus/prometheus.yml \
--storage.tsdb.path /var/lib/prometheus/ \
--web.console.templates=/etc/prometheus/consoles \
--web.console.libraries=/etc/prometheus/console_libraries
[Install]
WantedBy=multi-user.target
保存重启配置:
vagrant@vagrant:/htdocs/share$ sudo systemctl daemon-reload
vagrant@vagrant:/htdocs/share$ sudo systemctl start prometheus
vagrant@vagrant:/htdocs/share$ sudo systemctl enable prometheus
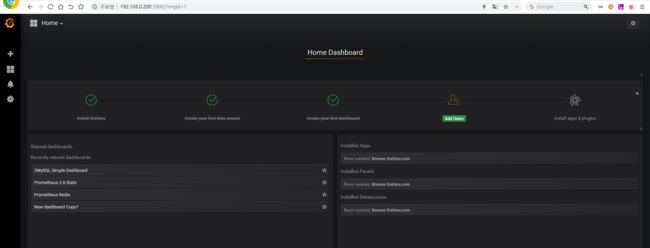
打开首页:http://192.168.0.200:3000
默认密码: admin/admin
http://192.168.0.200:9090/graph
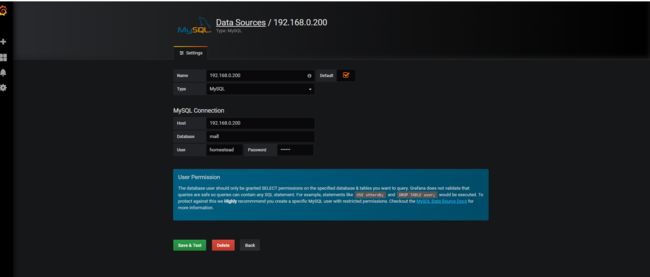
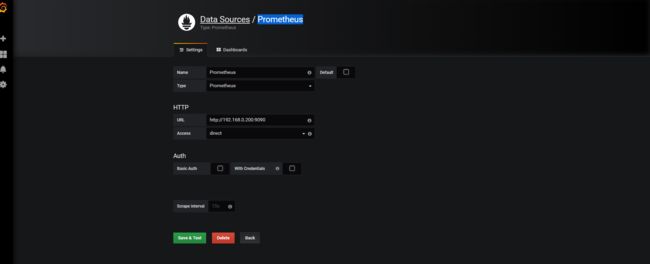
添加数据源:
wget https://github.com/prometheus/mysqld_exporter/releases/download/v0.11.0/mysqld_exporter-0.11.0.linux-amd64.tar.gz
$ tar xvfz mysqld_exporter-0.11.0.linux-amd64.tar.gz
$ cd mysqld_exporter-0.11.0.linux-amd64/
$ sudo vim my.cnf
内容如下:
[client]
user=exporter
password=123456
port=3306
保存后,运行:
$ nohup ./mysqld_exporter --config.my-cnf="my.cnf" &
下载:
wget https://github.com/oliver006/redis_exporter/releases/download/v0.13/redis_exporter-v0.13.l解压:
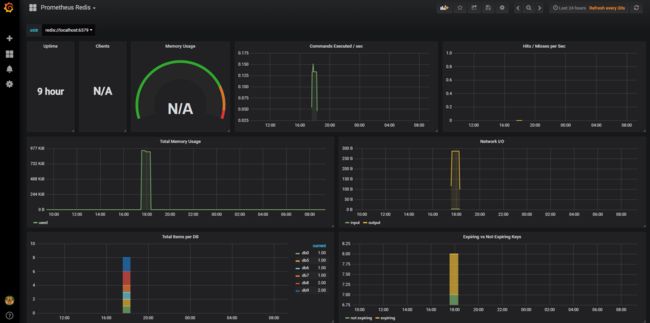
tar -xvf redis_exporter-v0.13.linux-amd64.tar.gz下载grafana的redis的prometheus-redis_rev1.json模板:
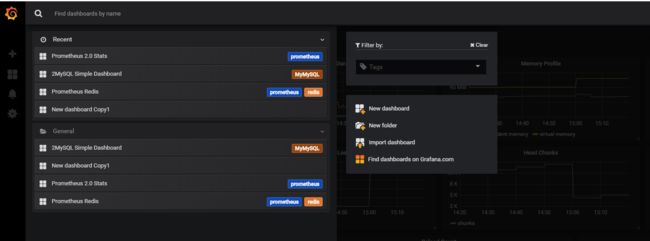
wget https://grafana.com/api/dashboards/763/revisions/1/download在grafana中导入json模板:
启动redis_exporter:
## 无密码
./redis_exporter redis//192.168.0.200:6379 &
## 有密码
./redis_exporter  -redis.addr 192.168.0.200:6379  -redis.password 123456
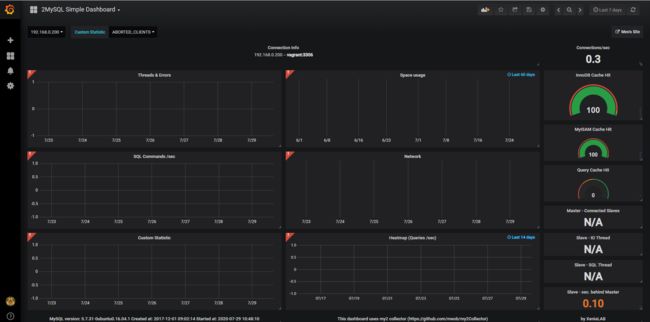
下载my2.sql:
git clone https://github.com/john1337/my2Collector.git
下载完成后,导入数据库。

