IOS基础知识之 - 界面间传值
- IOS基础知识之 - 界面间传值
- 1.1 实现页面跳转
- 1.1.1 页面1
- 1.1.2 页面2
- 1.2 属性传值
- 1.2.1 创建属性
- 1.2.2 在创建页面2的地方传递属性值
- 1.2.3 接收属性值并显示
- 1.3 单例传值
- 1.3.1 构建单例对象
- 1.3.2 页面1
- 1.3.3 页面2
- 1.3.4 单例传值逆向传值
- 1.4 NSUserDefaults传值
- 1.4.1 页面1
- 1.4.2 页面2
- 1.4.3 NSUserDefaults还可以用于逆向传值
- 1.5 代理传值
- 1.5.1 委托方
- 1.5.2 代理方
- 1.6 block传值
- 1.6.1 页面2
- 1.6.2 页面1
- 1.7 通知传值
- 1.7.1 接收方在通知中心进行注册
- 1.7.2 发送方将通知发送到通知中心
- 1.7.3 通知中心拿到数据后再将数据回调给接收方
- 1.1 实现页面跳转
IOS基础知识之 - 界面间传值
什么是页面间传值:
- IOS中每个页面都是由视图控制器来管理的,因此页面间传值即不同视图控制器之间数据传递的过程
几种常见的页面传值方式
- 属性传值
- 代理传值
- NSUserDefaults传值
- 代理传值
- block传值
- 通知传值
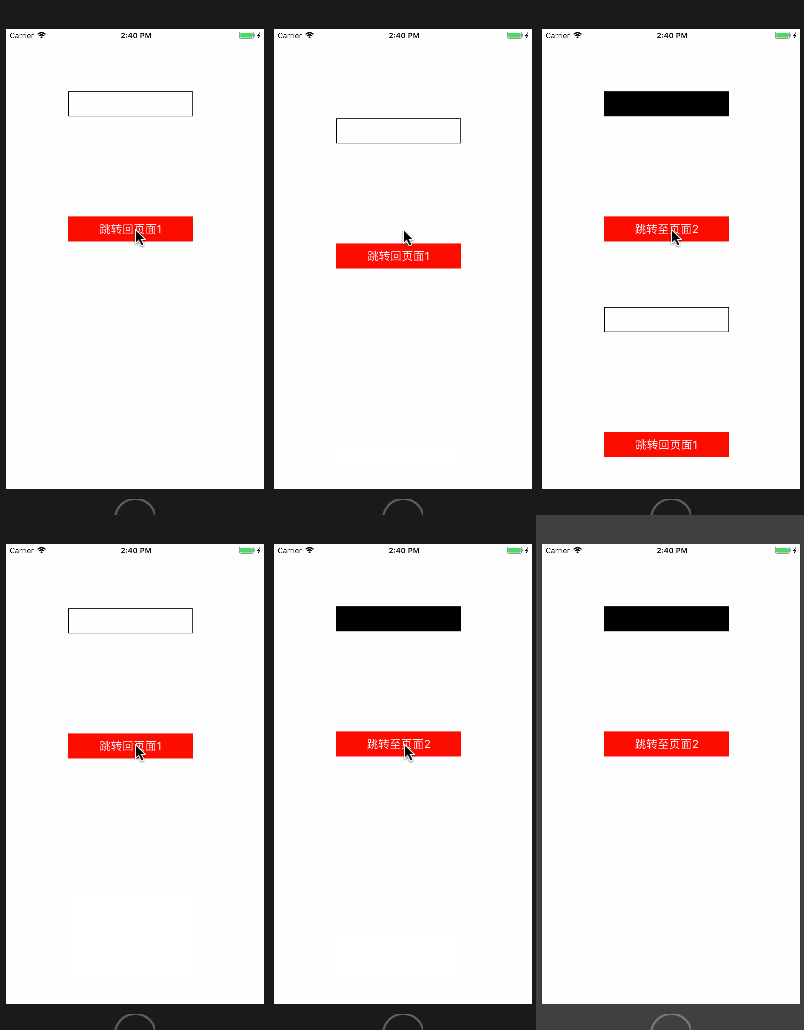
1.1 实现页面跳转
1.1.1 页面1
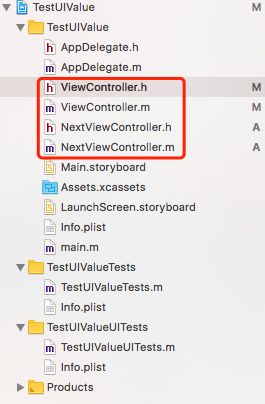
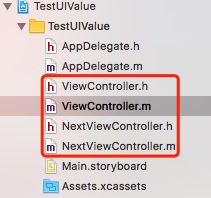
- ViewController.h
#import 因为要跳转到页面2,因此需要引入页面2的头文件
- ViewController.m
#import "ViewController.h"

@interface ViewController ()

@property(nonatomic,strong) UILabel *label; // 用于显示
@property(nonatomic,strong) UIButton *btn; // 用于跳转

@end

@implementation ViewController

- (UILabel *)label{
    if(_label == nil){
        _label = [[UILabel alloc]initWithFrame:CGRectMake(100, 100, 200, 40)];
        _label.backgroundColor = [UIColor blackColor];
        _label.textColor = [UIColor whiteColor];
        _label.font = [UIFont systemFontOfSize:20];
    }
    return _label;
}

- (UIButton *)btn{
    if(_btn == nil){
        _btn = [[UIButton alloc]initWithFrame:CGRectMake(100, 300, 200, 40)];
        _btn.backgroundColor = [UIColor redColor];
        [_btn setTitle:@"跳转至页面2" forState:UIControlStateNormal];
        [_btn setTitleColor:[UIColor whiteColor] forState:UIControlStateNormal];
        [_btn addTarget:self action:@selector(btnClick) forControlEvents:UIControlEventTouchUpInside];
    }
    return _btn;
}

// btn点击事件,跳转至页面2
- (void) btnClick{
    NextViewController *nextVC = [[NextViewController alloc] init];
    [self presentViewController:nextVC animated:YES completion:nil];
}

- (void)viewDidLoad {
    [super viewDidLoad];
    // Do any additional setup after loading the view, typically from a nib.

    [self.view addSubview:self.label];
    [self.view addSubview:self.btn];
}


- (void)didReceiveMemoryWarning {
    [super didReceiveMemoryWarning];
    // Dispose of any resources that can be recreated.
}


@end- 需要两个属性UILabel *label和UIButton *btn
- 在viewDidLoad中,将label和btn加载到当前页面
- 通过懒加载方式创建label和btn
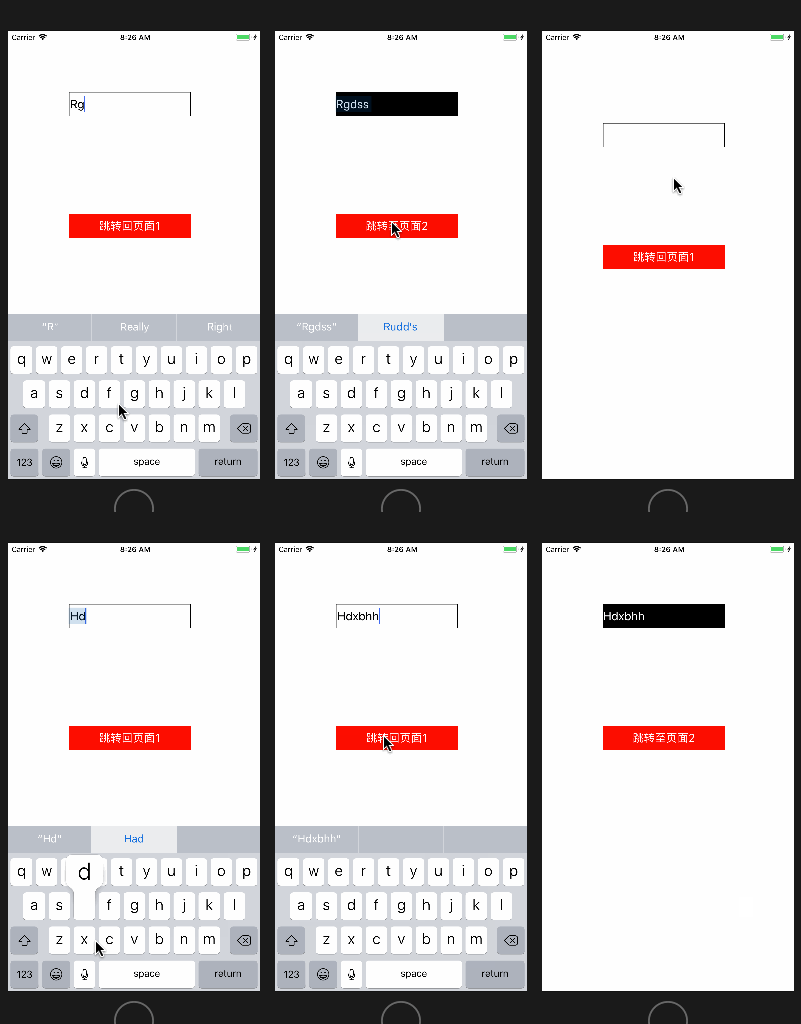
- 构造btn的点击事件btnClick(){},点击btn会调转到页面2
1.1.2 页面2
- NextViewController.m
#import "NextViewController.h"

@interface NextViewController ()

@property(nonatomic,strong) UITextField *textField;
@property(nonatomic,strong) UIButton *btn;

@end

@implementation NextViewController

- (UITextField *)textField{
    if(!_textField){
        _textField = [[UITextField alloc]initWithFrame:CGRectMake(100, 100, 200, 40)];
        _textField.textColor = [UIColor blackColor];
        _textField.font = [UIFont systemFontOfSize:20];
        _textField.borderStyle = UITextBorderStyleLine;
    }
    return _textField;
}

- (UIButton *)btn{
    if(!_btn){
        _btn = [[UIButton alloc]initWithFrame:CGRectMake(100, 300, 200, 40)];
        _btn.backgroundColor = [UIColor redColor];
        [_btn setTitle:@"跳转回页面1" forState:UIControlStateNormal];
        [_btn setTitleColor:[UIColor whiteColor] forState:UIControlStateNormal];
        [_btn addTarget:self action:@selector(btnClick) forControlEvents:UIControlEventTouchUpInside];
    }
    return _btn;
}

- (void)btnClick{
    [self dismissViewControllerAnimated:YES completion:nil];
}

- (void)viewDidLoad {
    [super viewDidLoad];
    // Do any additional setup after loading the view.
    self.view.backgroundColor = [UIColor whiteColor];
    [self.view addSubview:self.textField];
    [self.view addSubview:self.btn];
}

- (void)didReceiveMemoryWarning {
    [super didReceiveMemoryWarning];
    // Dispose of any resources that can be recreated.
}

/*
#pragma mark - Navigation

// In a storyboard-based application, you will often want to do a little preparation before navigation
- (void)prepareForSegue:(UIStoryboardSegue *)segue sender:(id)sender {
    // Get the new view controller using [segue destinationViewController].
    // Pass the selected object to the new view controller.
}
*/

@end- 需要两个属性UITextField *textField和UIButton *btn
- 在viewDidLoad中,将textField和btn加载到当前页面
- 通过懒加载方式创建textField和btn
- 构造btn的点击事件btnClick(){},点击btn会调回到页面1
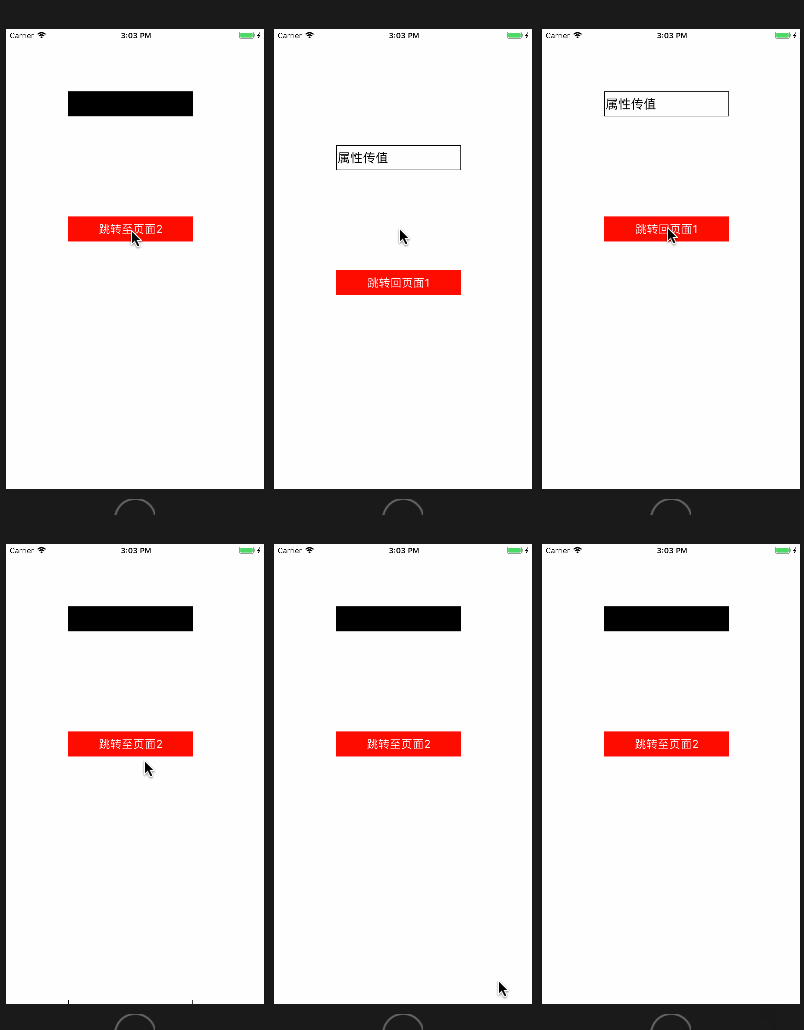
1.2 属性传值
从页面1向页面2跳转的时候为页面2的属性赋值
属性传值是非常有效的正向传值方式
1.2.1 创建属性
在页面2中创建属性NSString *str
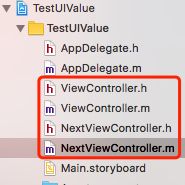
- NextViewController.h
#import 在页面2中创建属性NSString *str
1.2.2 在创建页面2的地方传递属性值
- ViewController.m
// btn点击事件,跳转至页面2
- (void) btnClick{
    NextViewController *nextVC = [[NextViewController alloc] init];
    // 属性传值 - 传递
    nextVC.str = @"属性传值";
    [self presentViewController:nextVC animated:YES completion:nil];
}
1.2.3 接收属性值并显示
- NextViewController.m
- (UITextField *)textField{
    if(!_textField){
        _textField = [[UITextField alloc]initWithFrame:CGRectMake(100, 100, 200, 40)];
        _textField.textColor = [UIColor blackColor];
        _textField.font = [UIFont systemFontOfSize:20];
        _textField.borderStyle = UITextBorderStyleLine;
        // 属性传值 - 接收并显示
        _textField.text = self.str;
    }
    return _textField;
}
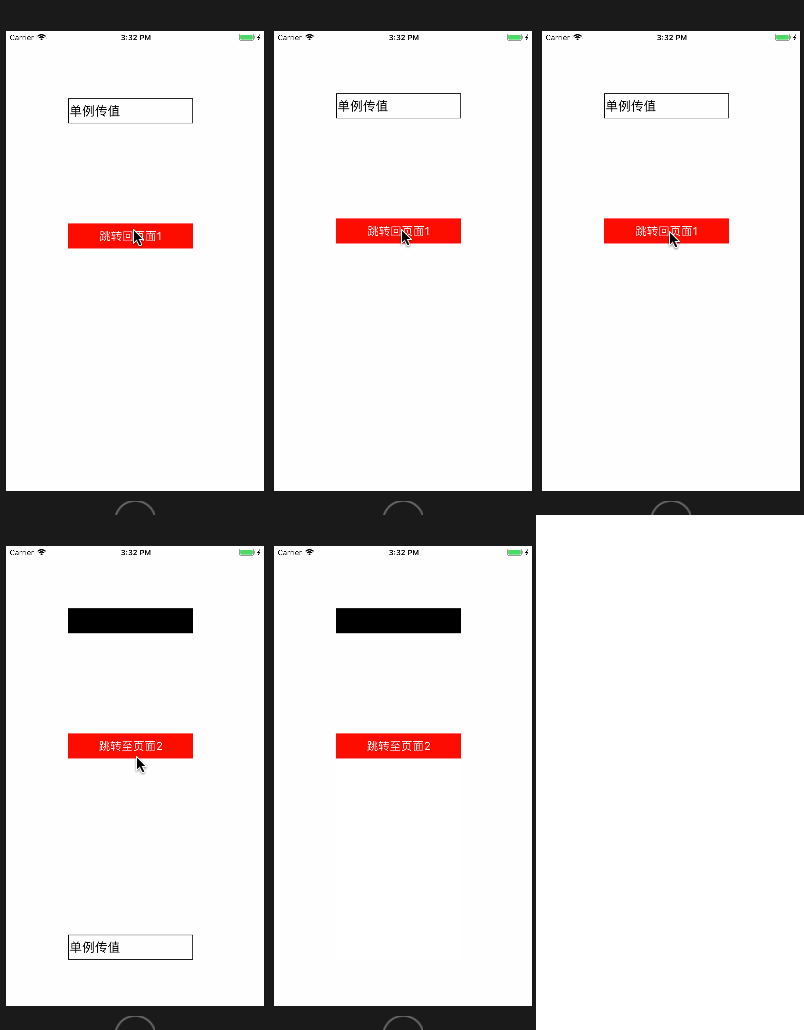
1.3 单例传值
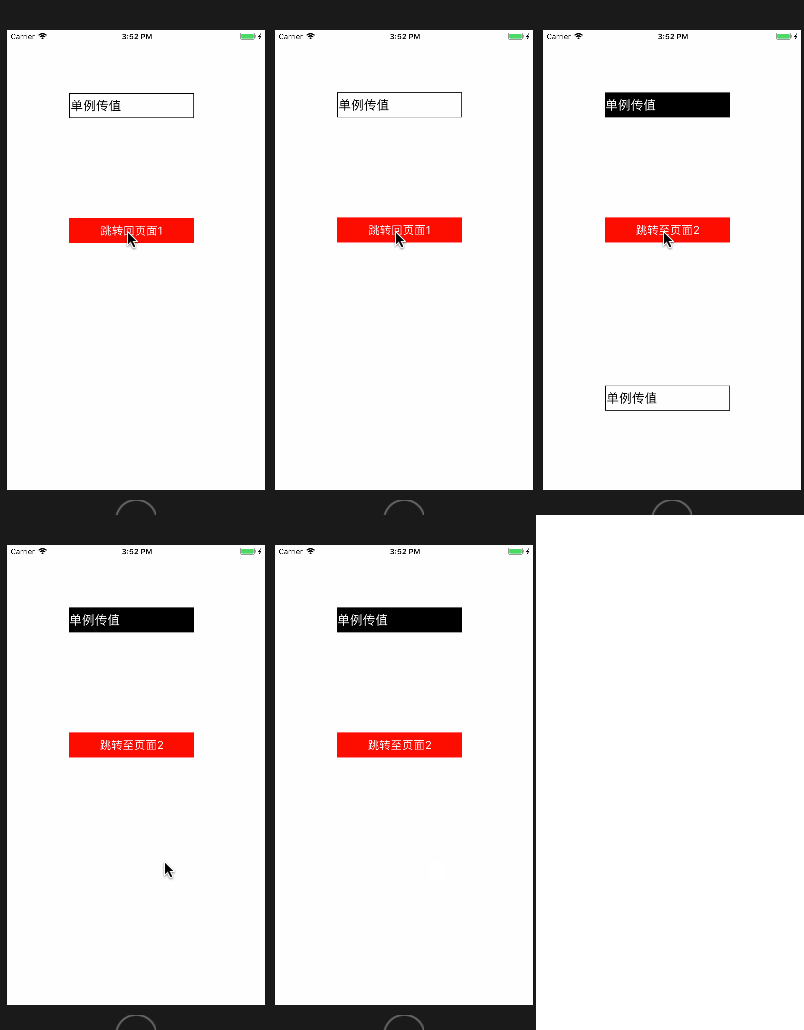
两个页面通过单例对象进行传值
1.3.1 构建单例对象
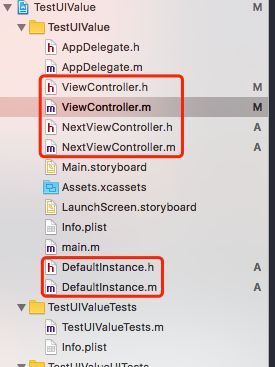
- DefaultInstance.h
#import - 声明了一个单例方法
声明了一个属性用于传值
- DefaultInstance.m
#import "DefaultInstance.h"

@implementation DefaultInstance

// 通过类方法创建单例对象
+ (instancetype)sharedInstance{
    static DefaultInstance *sharedVC = nil;
    if(sharedVC == nil){
        sharedVC = [DefaultInstance new];
    }
    return sharedVC;
}

@end
实现了单例方法
1.3.2 页面1
- ViewController.h
#import - 引入页面2,因为要向页面2跳转
引入单例对象,因为需要通过单例对象进行传值
- ViewController.m
// btn点击事件,跳转至页面2
- (void) btnClick{
    NextViewController *nextVC = [[NextViewController alloc] init];
    // 单例传值 - 传递
    [DefaultInstance sharedInstance].str = @"单例传值";
    [self presentViewController:nextVC animated:YES completion:nil];
}
在页面跳转的地方通过单例对象接收传值
1.3.3 页面2
- NextViewController.h
#import 引入单例对象,因为需要通过单例对象传值
- NextViewController.m
- (UITextField *)textField{
    if(!_textField){
        _textField = [[UITextField alloc]initWithFrame:CGRectMake(100, 100, 200, 40)];
        _textField.textColor = [UIColor blackColor];
        _textField.font = [UIFont systemFontOfSize:20];
        _textField.borderStyle = UITextBorderStyleLine;
        // 单例传值 - 接收并显示
        _textField.text = [DefaultInstance sharedInstance].str;
    }
    return _textField;
}
接收并显示单例对象传值
1.3.4 单例传值逆向传值
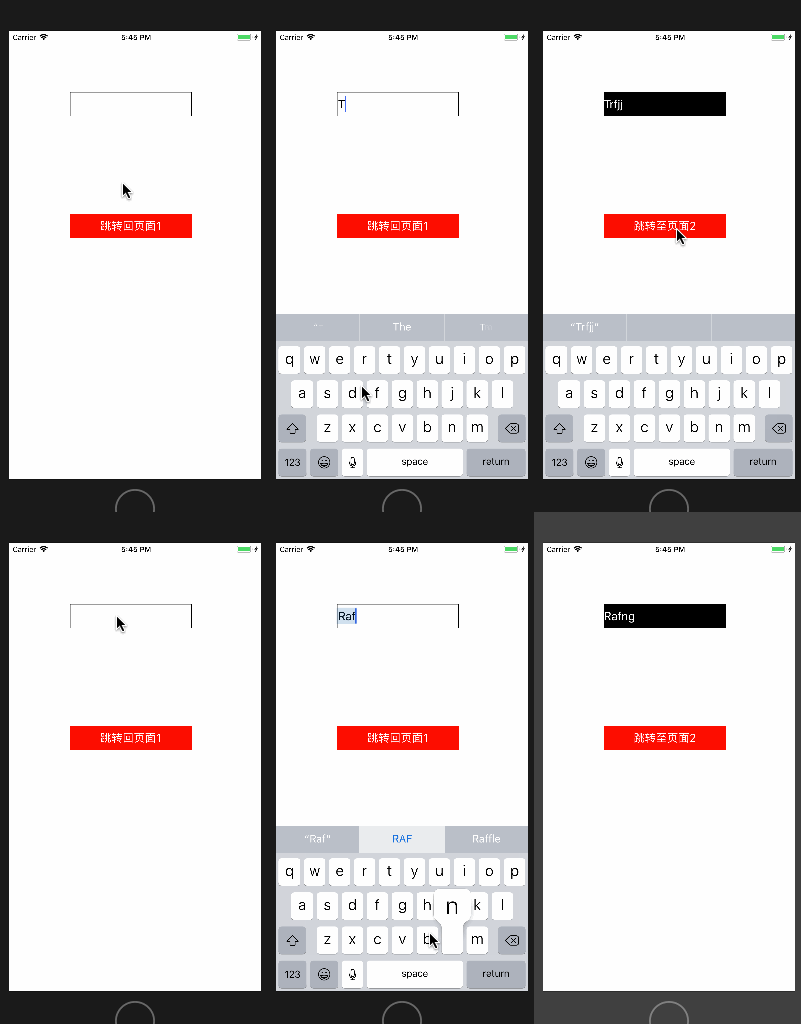
上面实现了正向单例传值,但单例传值还可以逆向传值,即页面2向页面1传值
- (void)btnClick{
    // 单例逆向传值 - 传递
    [DefaultInstance sharedInstance].str = _textField.text;
    [self dismissViewControllerAnimated:YES completion:nil];
}- ViewControlle.m
- (void)viewWillAppear:(BOOL)animated{
    [super viewWillAppear:animated];
    // 单例逆向传值 - 接收并显示
    _label.text = [DefaultInstance sharedInstance].str;
}
在页面2中通过单例逆向传递textField.text的值,在页面1的viewWillAppear中通过单例逆向接收并显示传递的值
单例传值的应用范围很广泛,不仅可以页面间正向和逆向传值,还可以跨页面传值
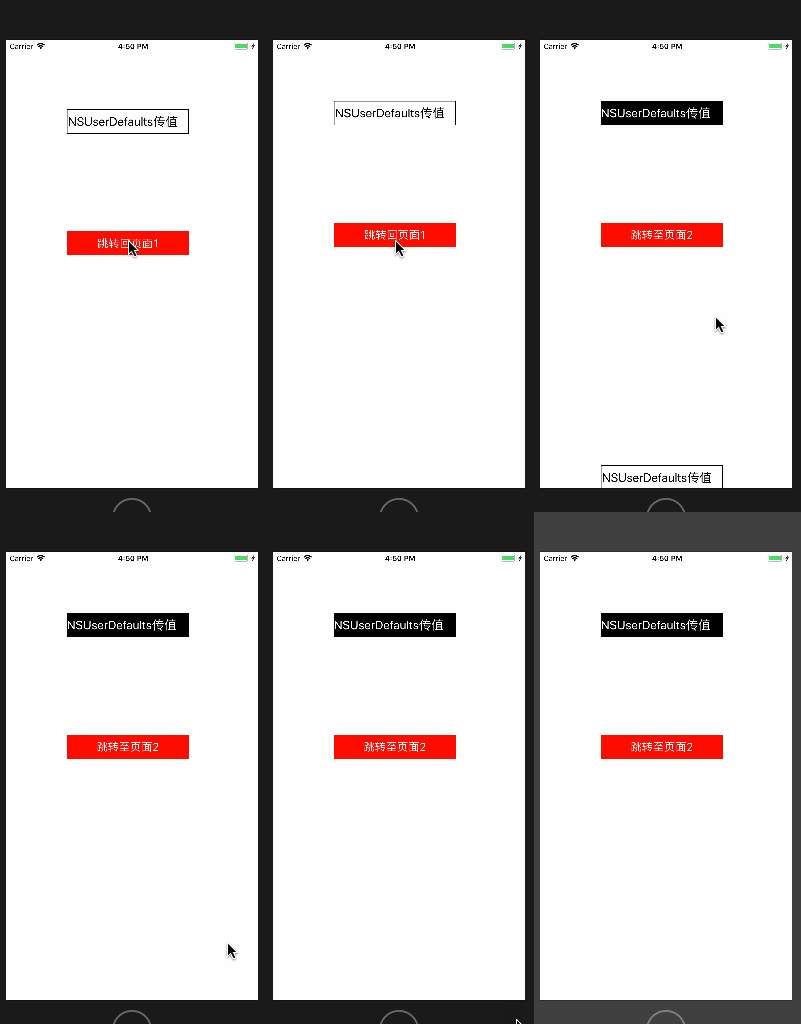
1.4 NSUserDefaults传值
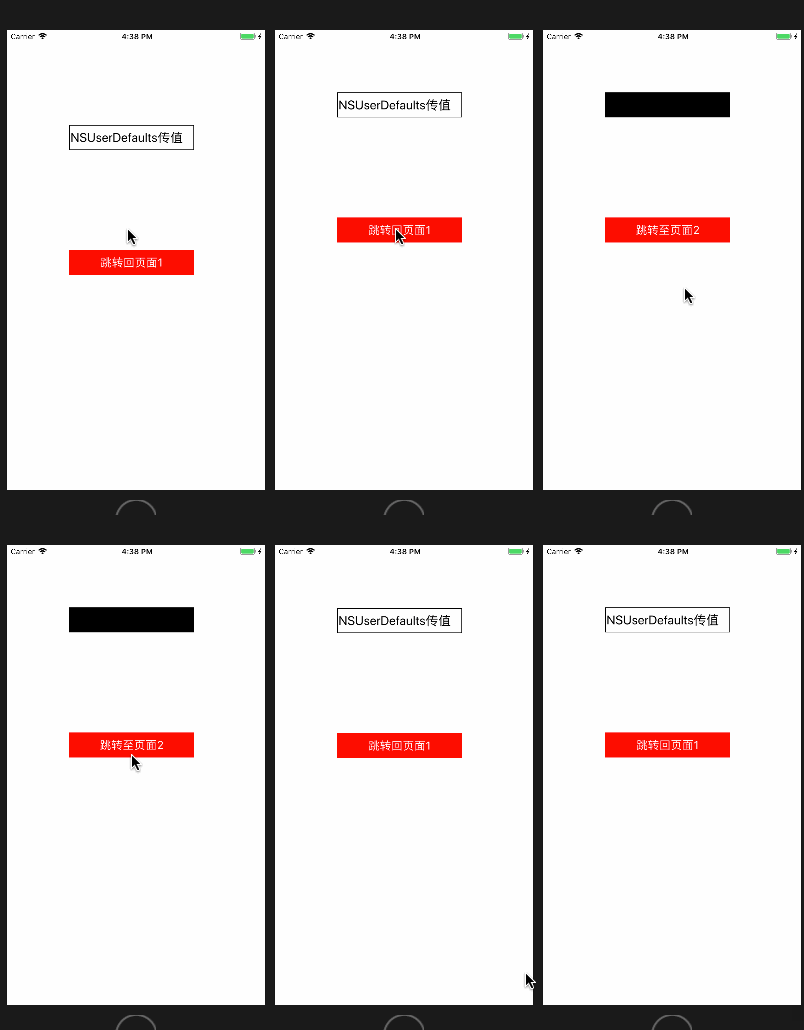
通过NSUserDefaults读写数据的方式,通过沙盒文件进行传值
1.4.1 页面1
- ViewController.m
// btn点击事件,跳转至页面2
- (void) btnClick{
    NextViewController *nextVC = [[NextViewController alloc] init];
    // NSUserDefaults传值 - 正向传递数据到沙盒文件中
    [[NSUserDefaults standardUserDefaults]setObject:@"NSUserDefaults传值" forKey:@"NSUserDefaults"];
    [[NSUserDefaults standardUserDefaults]synchronize];
    [self presentViewController:nextVC animated:YES completion:nil];
}
用字典的方式向沙盒文件中传值并刷新沙盒文件
1.4.2 页面2
- NextViewController.m
- (UITextField *)textField{
    if(!_textField){
        _textField = [[UITextField alloc]initWithFrame:CGRectMake(100, 100, 200, 40)];
        _textField.textColor = [UIColor blackColor];
        _textField.font = [UIFont systemFontOfSize:20];
        _textField.borderStyle = UITextBorderStyleLine;
        // NSUserDefaults传值 - 从沙盒文件中读取并显示
        _textField.text = [[NSUserDefaults standardUserDefaults] objectForKey:@"NSUserDefaults"];
    }
    return _textField;
}
用字典的方式读取沙盒文件中的传值并显示
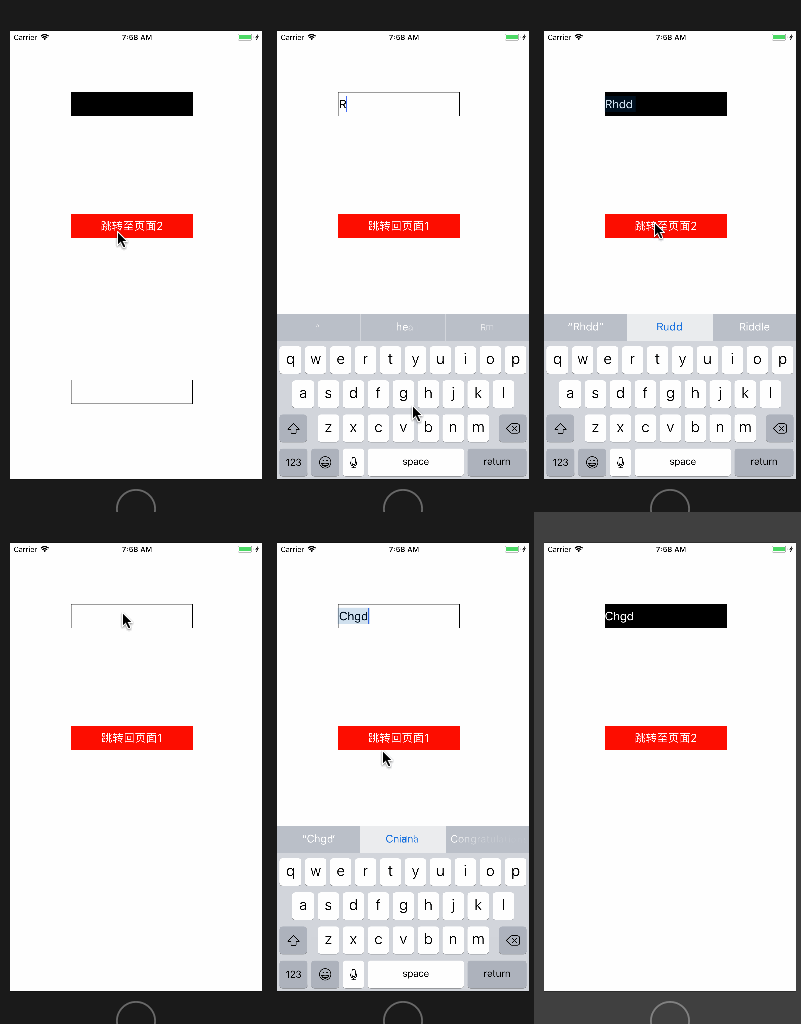
1.4.3 NSUserDefaults还可以用于逆向传值
NextViewController.m
- (void)btnClick{
    // NSUserDefaults逆向传值
    [[NSUserDefaults standardUserDefaults] setObject:_textField.text forKey:@"NSUserDefaults - re"];
    [[NSUserDefaults standardUserDefaults]synchronize];
    [self dismissViewControllerAnimated:YES completion:nil];
}
返回页面时,通过字典方式向NSUserDefaults沙盒文件中写入值,并同步沙盒文件
- 页面2
ViewController.m
- (void)viewWillAppear:(BOOL)animated{
    [super viewWillAppear:animated];
    // NSUserDefaults反向传值 - 接收并显示数据
    _label.text = [[NSUserDefaults standardUserDefaults] objectForKey:@"NSUserDefaults - re"];
}
在ViewController将要显示的时候,通过字典方式从NSUserDefault沙盒文件取出并显示传值
当然NSUserDefaults也可以跨文件传值
1.5 代理传值
代理传值是IOS中最重要并且用的最多的传值方式
委托方和代理方共同遵守一份协议就可以通讯了,
委托方持有协议调用协议方法进行传值,
代理方遵守协议实现协议方法就可以接收委托方传过来的值
代理传值主要用于反向传值
1.5.1 委托方
#import delegate;
@end - 委托方创建一个协议
- 在协议中定义一个传值方法
- 委托方定义一个持有协议的id指针
1.5.2 代理方
#import "ViewController.h"

@interface ViewController ()<passValueDelegate> // 代理方遵守协议

@property(nonatomic,strong) UILabel *label;
@property(nonatomic,strong) UIButton *btn;

@end

@implementation ViewController

- (UILabel *)label{
    if(_label == nil){
        _label = [[UILabel alloc]initWithFrame:CGRectMake(100, 100, 200, 40)];
        _label.backgroundColor = [UIColor blackColor];
        _label.textColor = [UIColor whiteColor];
        _label.font = [UIFont systemFontOfSize:20];
    }
    return _label;
}

- (UIButton *)btn{
    if(_btn == nil){
        _btn = [[UIButton alloc]initWithFrame:CGRectMake(100, 300, 200, 40)];
        _btn.backgroundColor = [UIColor redColor];
        [_btn setTitle:@"跳转至页面2" forState:UIControlStateNormal];
        [_btn setTitleColor:[UIColor whiteColor] forState:UIControlStateNormal];
        [_btn addTarget:self action:@selector(btnClick) forControlEvents:UIControlEventTouchUpInside];
    }
    return _btn;
}

- (void) btnClick{
    NextViewController *nextVC = [[NextViewController alloc] init];
    // 代理传值 - 设置代理关系
    nextVC.delegate = self;
    [self presentViewController:nextVC animated:YES completion:nil];
}

// 代理传值 -- 代理方实现协议方法 -- 接收来自页面2的值
- (void)passValue:(NSString *)str{ //
    self.label.text = str;
}

- (void)viewDidLoad {
    [super viewDidLoad];
    // Do any additional setup after loading the view, typically from a nib.

    [self.view addSubview:self.label];
    [self.view addSubview:self.btn];
}

- (void)didReceiveMemoryWarning {
    [super didReceiveMemoryWarning];
    // Dispose of any resources that can be recreated.
}

@end- 代理方遵守协议
- 代理方设置代理关系
- 代理方实现协议方法
1.6 block传值
block是目前苹果最推荐和最流行的传值方式,它可以做代理传值一样的事情,但比代理传值写法更简单更容易理解,它省去了定义协议设置代理的过程
页面1跳转到页面2,页面2回调block传值,页面1只需要实现block接收数据就可以了
block传值也主要用于反向页面传值
1.6.1 页面2
- NextViewController
#import 页面2定义block
- NextViewController.m
- (void)btnClick{
    // block传值 - 反向传值
    self.block(self.textField.text);

    [self dismissViewControllerAnimated:YES completion:nil];
}
在页面2回调到页面1方法中回调block
1.6.2 页面1
// btn点击事件,跳转至页面2
- (void) btnClick{
    NextViewController *nextVC = [[NextViewController alloc] init];

    // block传值 - 实现block - 接收来自页面2的值
    nextVC.block = ^(NSString *str){
        self.label.text = str;
    };

    [self presentViewController:nextVC animated:YES completion:nil];
}
在页面1跳转到页面2的方法中实现block
1.7 通知传值
接收方在通知中心进行注册,发送方将通知发送到通知中心,通知中心拿到数据再回调给接收方
可以进行跨页面传值,是一种多对多的传值方式
模拟页面2发送通知到页面1
1.7.1 接收方在通知中心进行注册
页面1作为接收方
- ViewController.m
// btn点击事件,跳转至页面2
- (void) btnClick{
    NextViewController *nextVC = [[NextViewController alloc] init];

// 通知传值 - 添加监听 - 等待页面2的传值,参数object表示通知要发给谁,nil的话就是群发
    [[NSNotificationCenter defaultCenter] addObserver:self selector:@selector(notHandler:) name:@"notify" object:nil];

    [self presentViewController:nextVC animated:YES completion:nil];
}
在跳转到页面2之前定义定义一个观察者
1.7.2 发送方将通知发送到通知中心
- (void)btnClick{

    // 通知传值 - 发送通知
    [[NSNotificationCenter defaultCenter] postNotificationName:@"notify" object:nil userInfo:@{@"not":self.textField.text}];

    [self dismissViewControllerAnimated:YES completion:nil];
}
在回调到页面1之前,发送方将通知发送到通知中心
1.7.3 通知中心拿到数据后再将数据回调给接收方
// 接收到通知之后的处理 - 参数1就是通知
- (void)notHandler:(NSNotification *)not{
    self.label.text = not.userInfo[@"not"];
}
通知中心将拿到数据后将通知回调给接收方
