opencv-python绘制图形
参考: Drawing Functions in OpenCV
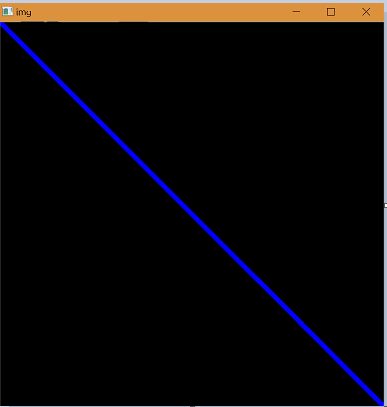
- cv2.line() 绘制直线
# -*- coding: utf-8 -*-
# numpy 是非常有名的python科学计算工具包
import numpy as np
import cv2
# 创建一张黑色图像
img = np.zeros((512,512,3),np.uint8)
# 以5px绘制一条蓝色直线
# 参数
# img   图像
# pt1   起始坐标
# pt2   终止坐标
# 线条颜色 这里使用蓝色(BRG:255,0,0)
# 笔画宽度
cv2.line(img,(0,0),(512,512),(255,0,0),5)
cv2.imshow('img',img)
cv2.waitKey(0)- cv2.rectangle() 绘制矩形
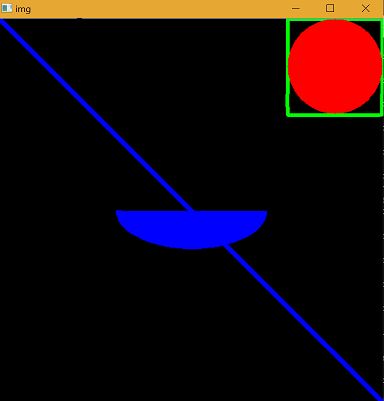
# 以3px绘制一个绿色矩形
# 参数
# img   图像
# pt1   矩形左上角坐标
# pt2   矩形右下角坐标
# 线条颜色 这里使用绿色(BGR:0,255,0)
# 笔画宽度
cv2.rectangle(img,(384,0),(510,128),(0,255,0),3)
cv2.imshow('img',img)
cv2.waitKey(0)
# 绘制一个实心红色圆形
# 参数
# img 图像
# center 圆心坐标
# radius 圆直径
# 线条颜色 这里使用红色(BGR:0,0,255)
# 笔画宽度 指定-1时,若为闭合图形,则填充整个图像
cv2.circle(img,(447,63), 63, (0,0,255), -1)- cv2.ellipse() 绘制椭圆
# 绘制蓝色半椭圆
# 参数
# img   图像
# center    椭圆中心坐标
# axes  长轴和短轴长度
# angle 椭圆沿逆时针方向旋转的角度
# startAngle    椭圆弧顺时针方向起始的角度
# endAngle  椭圆弧顺时针方向结束的角度
# 颜色
# 笔画宽度 指定-1时,若为闭合图形,则填充整个图像
cv2.ellipse(img,(256,256),(100,50),0,0,180,255,-1)- cv2.polylines() 绘制多边形
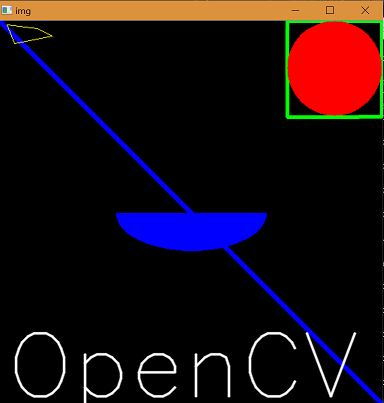
pts = np.array([[10,5],[20,30],[70,20],[50,10]], np.int32)
pts = pts.reshape((-1,1,2))
cv2.polylines(img,[pts],True,(0,255,255))- cv2.putText() 加入文字
# 参数
# img   图像
# text    文字内容
# org   文字左下角起始坐标
# fontFace 字体
# fontScale 文字大小
# color 颜色, 这里是白色
# thickness 粗细
# lineType 线类型
font = cv2.FONT_HERSHEY_SIMPLEX
cv2.putText(img,'OpenCV',(10,500), font, 4,(255,255,255),2,cv2.LINE_AA)
代码路径:https://github.com/lissdy/opencv-python/blob/master/draw.py


