springboot整和ssm框架结构
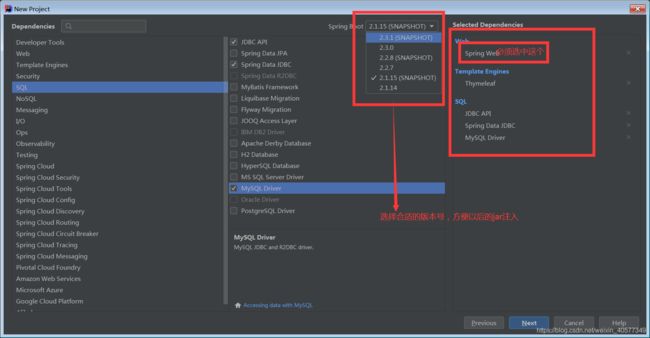
1.新建项目
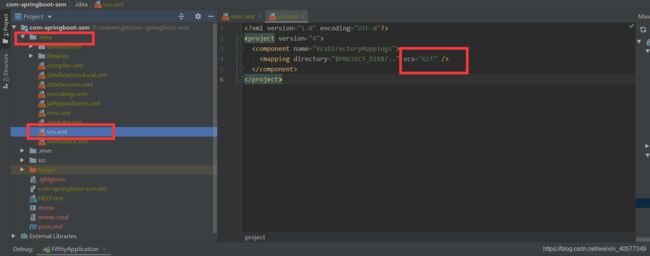
创建完项目之后有事会出现目录文件报红的现象
解决办法:
★ 将下图所示文件中的vcs内容删除后文件显示正常
- 注入pom文件
(1)修改pom文件
注意事项:
1.如果遇到需要修改springboot版本的时候,修改完成之后需要重新递启动一下idea

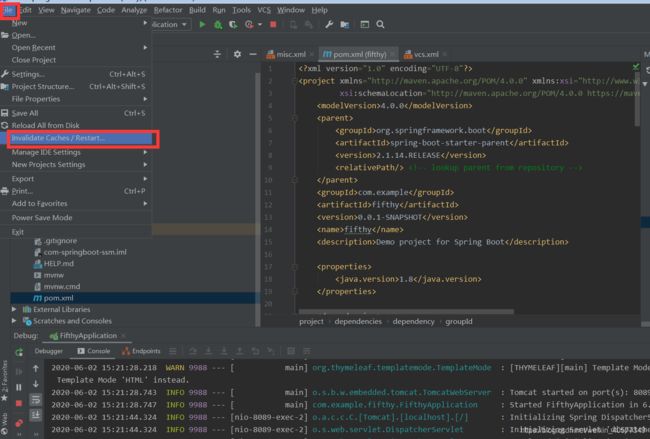
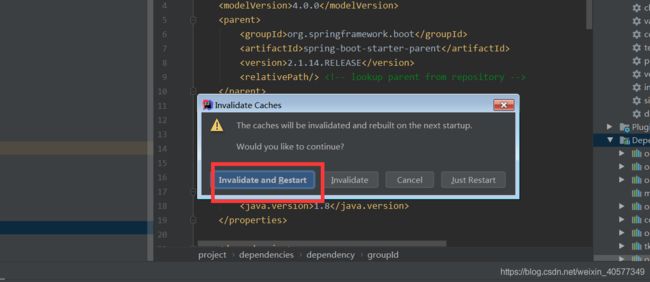
(2)依次注入一下jar
前提是在用spring Initializr 创建,并配置web启动,sql ,thymeleaf等
例
 <dependency>
            <groupId>org.springframework.boot</groupId>
            <artifactId>spring-boot-starter-jdbc</artifactId>
        </dependency>
        <dependency>
            <groupId>org.springframework.boot</groupId>
            <artifactId>spring-boot-starter-web</artifactId>
        </dependency>
        <dependency>
            <groupId>org.springframework.boot</groupId>
            <artifactId>spring-boot-starter-thymeleaf</artifactId>
        </dependency>
        <dependency>
            <groupId>mysql</groupId>
            <artifactId>mysql-connector-java</artifactId>
            <scope>runtime</scope>
        </dependency>
        <dependency>
            <groupId>org.springframework.boot</groupId>
            <artifactId>spring-boot-starter-test</artifactId>
            <scope>test</scope>
        </dependency>
之后根据功能注入一下内容
<dependency>
            <groupId>com.alibaba</groupId>
            <artifactId>druid-spring-boot-starter</artifactId>
            <version>1.1.22</version>
        </dependency>
        <!-- mybatis的启动器 -->
        <dependency>
            <groupId>org.mybatis.spring.boot</groupId>
            <artifactId>mybatis-spring-boot-starter</artifactId>
            <version>1.2.1</version>
        </dependency>
        <!-- 通用mapper的启动器 -->
        <dependency>
            <groupId>tk.mybatis</groupId>
            <artifactId>mapper-spring-boot-starter</artifactId>
            <version>2.0.2</version>
        </dependency>
        <!-- 引入freeMarker的依赖包. -->
        <dependency>
            <groupId>org.springframework.boot</groupId>
            <artifactId>spring-boot-starter-freemarker</artifactId>
        </dependency>
        <!--json @responseBody/@requestBody-->
        <dependency>
            <groupId>com.alibaba</groupId>
            <artifactId>fastjson</artifactId>
            <version>1.2.58</version>
        </dependency>
3.修改配置文件application.properties
server.port=8089
#编码格式
server.tomcat.uri-encoding=utf-8

#数据库相关配置
######数据库链接配置########
spring.datasource.url=jdbc\:mysql\://127.0.0.1\:3306/test?serverTimezone=UTC
spring.datasource.username=root
spring.datasource.password=123456
spring.datasource.driver-class-name=com.mysql.cj.jdbc.Driver
spring.datasource.type=com.alibaba.druid.pool.DruidDataSource

mybatis.mapper-locations=classpath*:mapper/*.xml

#spring.resources.static-locations=classpath:/resources/static/
spring.mvc.static-path-pattern=/static/**
#spring.resources.static-locations=classpath:/static/*
#获取登录后的资源
spring.resources.static-locations=classpath:/META-INF/resources/,classpath:/resources/,classpath:/static/,classpath:/public


spring.thymeleaf.cache=false
spring.thymeleaf.mode= LEGACYHTML5
spring.resources.chain.strategy.content.enabled=true
spring.resources.chain.strategy.content.paths=/**
spring.thymeleaf.check-template = true
spring.thymeleaf.servlet.content-type=text/html
spring.thymeleaf.enabled = true
spring.thymeleaf.encoding = UTF-8
spring.thymeleaf.prefix = classpath:/templates/
spring.thymeleaf.suffix = .html

#session生命周期
server.servlet.session.timeout=30m

# druid连接池
#初始化连接数
spring.datasource.druid.initial-size=1
#最小空闲连接
spring.datasource.druid.min-idle=1
#最大活动连接
spring.datasource.druid.max-active=20
#获取连接时测试是否可用
spring.datasource.druid.test-on-borrow=true
#监控页面启动
spring.datasource.druid.stat-view-servlet.allow=true
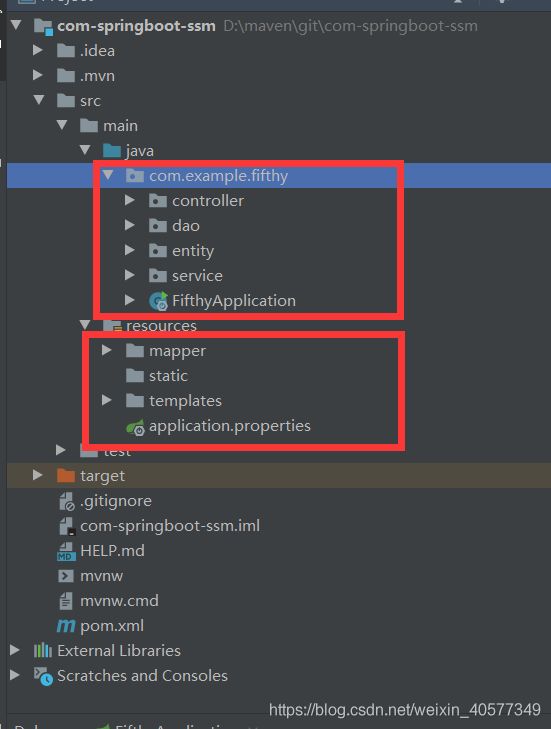
4.建立三层结构进行开发
package com.example.fifthy.entity;

/**
 * @auther ocean li
 * @date 2020/5/19 - 12:44
 */
public class User {
    private int id;
    private String name;
    private int age;
    private String password;

    public User() {
    }

    public User(String name, int age) {
        this.name = name;
        this.age = age;
    }

    public User(String name, int age, String password) {
        this.name = name;
        this.age = age;
        this.password = password;
    }

    public int getId() {
        return id;
    }

    public void setId(int id) {
        this.id = id;
    }

    public String getName() {
        return name;
    }

    public void setName(String name) {
        this.name = name;
    }

    public int getAge() {
        return age;
    }

    public void setAge(int age) {
        this.age = age;
    }

    public String getPassword() {
        return password;
    }

    public void setPassword(String password) {
        this.password = password;
    }

    @Override
    public String toString() {
        return "User{" +
                "id=" + id +
                ", name='" + name + '\'' +
                ", age=" + age +
                '}';
    }
}
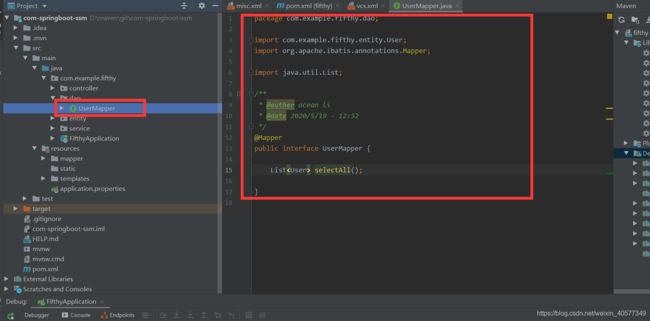
代码块 dao
package com.example.fifthy.dao;

import com.example.fifthy.entity.User;
import org.apache.ibatis.annotations.Mapper;

import java.util.List;

/**
 * @auther ocean li
 * @date 2020/5/19 - 12:52
 */
@Mapper
public interface UserMapper {

    List<User> selectAll();

}
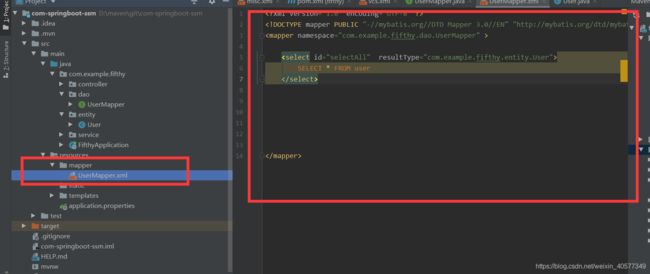
4.3在resources下创建文件夹mapper,并新建xml文件
<?xml version="1.0" encoding="UTF-8" ?>
<!DOCTYPE mapper PUBLIC "-//mybatis.org//DTD Mapper 3.0//EN" "http://mybatis.org/dtd/mybatis-3-mapper.dtd" >
<mapper namespace="com.example.fifthy.dao.UserMapper" >

    <select id="selectAll"  resultType="com.example.fifthy.entity.User">
        SELECT * FROM user
    </select>


</mapper>
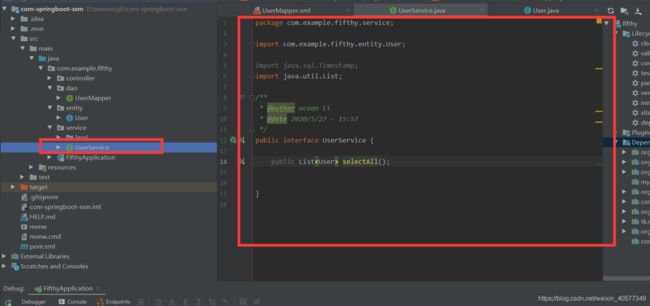
4.4 新建service 并创建接口
package com.example.fifthy.service;

import com.example.fifthy.entity.User;

import java.sql.Timestamp;
import java.util.List;

/**
 * @auther ocean li
 * @date 2020/5/27 - 15:57
 */
public interface UserService {

    public List<User> selectAll();


}
4.4.1 创建包Impl 新建类文件
package com.example.fifthy.service.Impl;/**
 * @auther ocean li
 * @date 2020/6/2 - 15:10
 */

import com.example.fifthy.dao.UserMapper;
import com.example.fifthy.entity.User;
import com.example.fifthy.service.UserService;
import org.springframework.stereotype.Service;
import org.springframework.transaction.annotation.Transactional;

import javax.annotation.Resource;
import java.util.List;

/**
 *@ClassName UserServiceImpl
 *@Description TODO
 *@Author zenghw
 *@Date {TIME}
 */
@Service
@Transactional// 注解
public class UserServiceImpl implements UserService {

    @Resource
    private UserMapper userMapper;

    @Override
    public List<User> selectAll() {
        return userMapper.selectAll();
    }
}
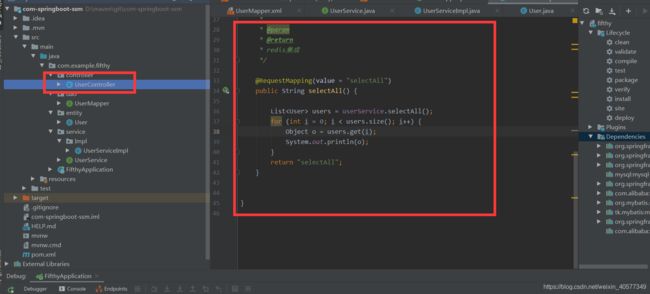
4.5 创建接口方法 controller
并根据接口中方法的返回值,新建页面
package com.example.fifthy.controller;

import com.example.fifthy.entity.User;
import com.example.fifthy.service.UserService;
import org.slf4j.Logger;
import org.slf4j.LoggerFactory;
import org.springframework.beans.factory.annotation.Autowired;
import org.springframework.stereotype.Controller;
import org.springframework.web.bind.annotation.RequestMapping;

import java.util.List;


/**
 * @auther ocean li
 * @date 2020/5/19 - 12:54
 */
@Controller
//@RestController
@RequestMapping("/user")
public class UserController {

    @Autowired
    private UserService userService;

    /**
     *
     * @param
     * @return
     * redis集成
     */

    @RequestMapping(value = "selectAll")
    public String selectAll() {

        List<User> users = userService.selectAll();
        for (int i = 0; i < users.size(); i++) {
            Object o = users.get(i);
            System.out.println(o);
        }
        return "selectAll";
    }


}
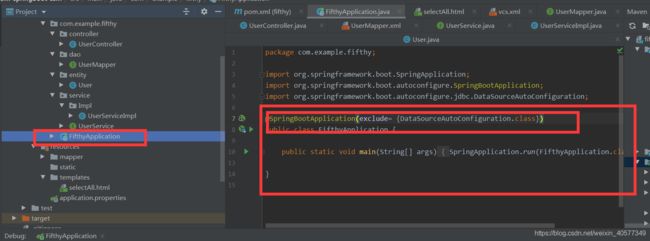
4.6 修改启动类
package com.example.fifthy;

import org.springframework.boot.SpringApplication;
import org.springframework.boot.autoconfigure.SpringBootApplication;
import org.springframework.boot.autoconfigure.jdbc.DataSourceAutoConfiguration;

@SpringBootApplication(exclude= {DataSourceAutoConfiguration.class})
public class FifthyApplication {

    public static void main(String[] args) {
        SpringApplication.run(FifthyApplication.class, args);
    }

}
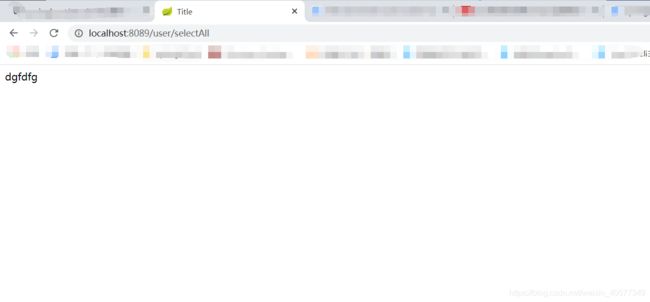
启动项目 在页面输入http://localhost:8089/user/selectAll 查看运行结果

