Flink demo wordCount词频统计及单机任务提交
本文相关内容出自Flink官方文档:http://flink.apache.org/
在完成本地Flink安装后,通过在安装目录下执行start脚本可启动单机Flink。
bindeMacBook-Air:libexec bin$ pwd
/usr/local/Cellar/apache-flink/1.10.1/libexec
bindeMacBook-Air:libexec bin$ ./bin/start-cluster.sh
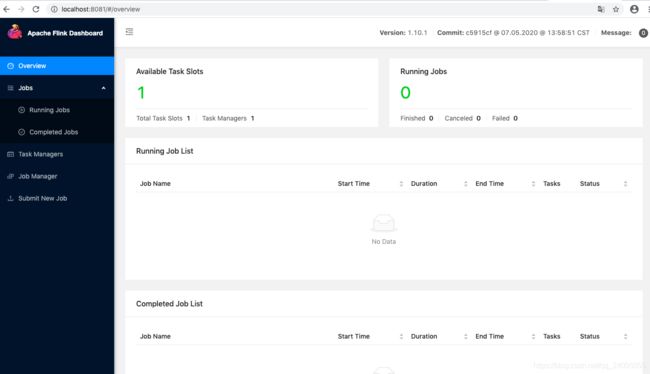
此时可通过 http://localhost:8081/ 查看Flink管理页面。

因为还没有提交任务,此时,Running Jobs为0。
此处Flink官方文档提供了Demo代码SocketWindowWordCount.java
public class SocketWindowWordCount {
public static void main(String[] args) throws Exception {
// the port to connect to
final int port;
try {
final ParameterTool params = ParameterTool.fromArgs(args);
port = params.getInt("port");
} catch (Exception e) {
System.err.println("No port specified. Please run 'SocketWindowWordCount --port '" );
return;
}
// get the execution environment
final StreamExecutionEnvironment env = StreamExecutionEnvironment.getExecutionEnvironment();
// get input data by connecting to the socket
DataStream<String> text = env.socketTextStream("localhost", port, "\n");
// parse the data, group it, window it, and aggregate the counts
DataStream<WordWithCount> windowCounts = text
.flatMap(new FlatMapFunction<String, WordWithCount>() {
@Override
public void flatMap(String value, Collector<WordWithCount> out) {
for (String word : value.split("\\s")) {
out.collect(new WordWithCount(word, 1L));
}
}
})
.keyBy("word")
.timeWindow(Time.seconds(5), Time.seconds(1))
.reduce(new ReduceFunction<WordWithCount>() {
@Override
public WordWithCount reduce(WordWithCount a, WordWithCount b) {
return new WordWithCount(a.word, a.count + b.count);
}
});
// print the results with a single thread, rather than in parallel
windowCounts.print().setParallelism(1);
env.execute("Socket Window WordCount");
}
// Data type for words with count
public static class WordWithCount {
public String word;
public long count;
public WordWithCount() {}
public WordWithCount(String word, long count) {
this.word = word;
this.count = count;
}
@Override
public String toString() {
return word + " : " + count;
}
}
}
因为这里是从本地socket端口获取输入数据,首先通过nc -lk 9000开放9000端口等待获取数据。
bindeMacBook-Air:~ bin$ nc -lk 9000
....
在Flink安装目录的examples下有对应的jar包,通过以下命令提交任务:
bindeMacBook-Air:libexec bin$ pwd
/usr/local/Cellar/apache-flink/1.10.1/libexec
bindeMacBook-Air:libexec bin$ ./bin/flink run examples/streaming/SocketWindowWordCount.jar --port 9000
Job has been submitted with JobID 34ab922549a5cac2ce2d4939dd348612
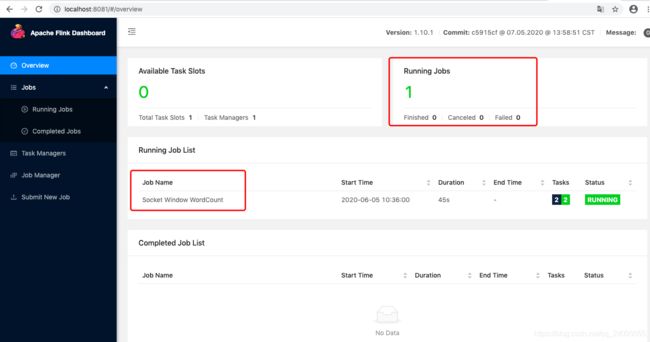
在UI界面可以看到当前存在一个正在运行的任务。
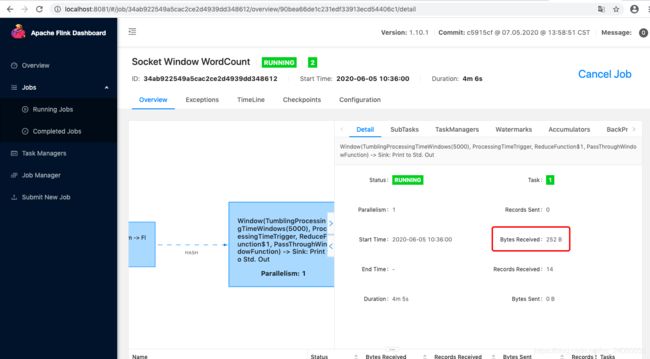
点击对应的Job Name可以进入任务详情页面,此时可以查看对应的JobGraph。

在socket端口进行输入:
bindeMacBook-Air:~ bin$ nc -lk 9000
a	c	b	d	a	a	d
c	c	a	b	b	c	a

如上图,可以查看到对应的输入输出的数据。
可以查看日志文件获取对应结果:
bindeMacBook-Air:libexec bin$ cat ./log/flink-bin-taskexecutor-3-bindeMacBook-Air.local.out
a : 3
d : 2
b : 1
c : 1
c : 3
b : 2
a : 2