Swift是对OC的一个优雅的包装,所有的底层库、框架都是使用OC来实习的。所以Swift可以无缝的和Cocoa、OC兼容调用。Swift通过和OC兼容,就可以在Swift程序中大量使用OC API函数。尽管Swift和OC可以相互调用,但是在真实项目中,Swift调用C/C++要常见,因为采用Swift开发,必然要采用大量的稳定的OC开源库
首先,就先来说说Swift是如何调用OC文件的
一、Swift调用OC文件
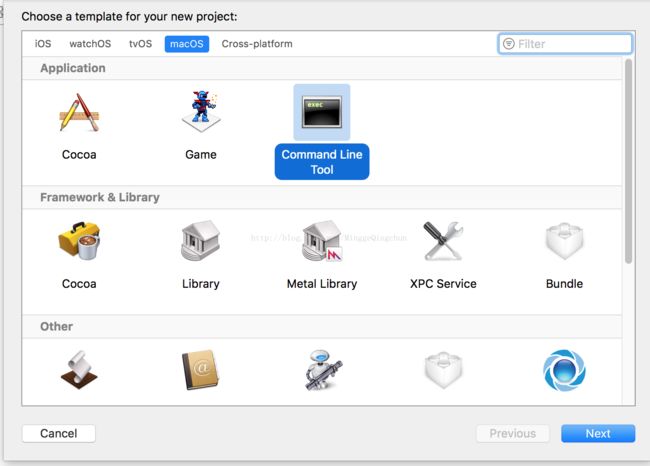
(1)创建一个Swift项目
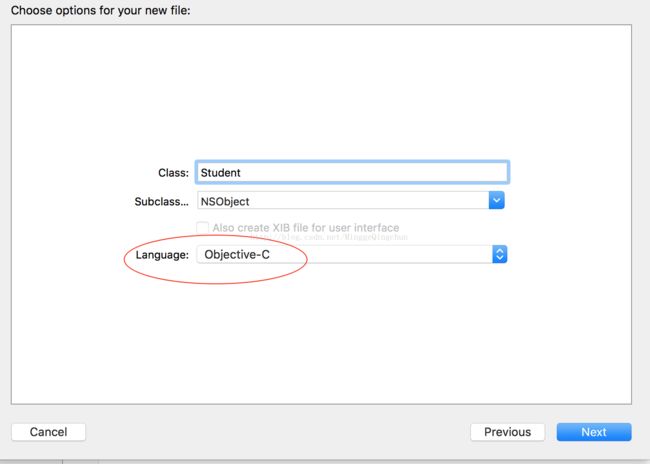
(2)在项目中创建一个Objective-C的类Student,记住语言一定要选择OC
(3)这时出现一个提示框,点击Create Bridging Header,

这样就会生成一个Student.h和Student.m文件,同事还会生成一个中间桥梁文件SwiftCallObjectiveC-Bridging-Header.h,这个文件在swift调用OC中是必须的,他的命名规则是-- “产品名字-Bridging-Header.h”

(4)分别在Student.h和Student.m文件中填写代码
Student.h
[objc] view plain copy
#import
@interface Student : NSObject
@property(nonatomic,assign)NSInteger Id;
@property(nonatomic,copy)NSString *name;
- (id)initWithName:(NSString *)name;
- (id)initWithId:(NSInteger)Id andName:(NSString *)name;
- (NSString *)getName;
+ (NSInteger)maxStudent;
@end
Student.m
[objc] view plain copy
#import "Student.h"
@implementation Student
- (id)initWithName:(NSString *)name
{
self = [super init];
return self;
}
- (id)initWithId:(NSInteger)Id andName:(NSString *)name
{
self = [super init];
if (self) {
self.name = name;
self.Id = Id;
}
return self;
}
- (NSString *)getName{
return self.name;
}
+ (NSInteger)maxStudent{
return 100;
}
@end
然后在桥梁文件SwiftCallObjectiveC-Bridging-Header.h中插入代码
#import"Student.h"
(5)在main.m文件中调用Student类
[objc] view plain copy
//创建Student对象,并调用Student的对象方法和类方法
let s = Student()
let s1 = Student(id:100,andName:"ming")
print("name=\(s1?.getName())--student=\(Student.maxStudent())")
二、Objective-C中调用Swift文件
这里没有swift调用OC那么顺畅,中间遇到一些问题以及注意事项跟大家分享一下!
Demo下载
(1)首先创建一个iOS工程,然后按以下步骤配置一下

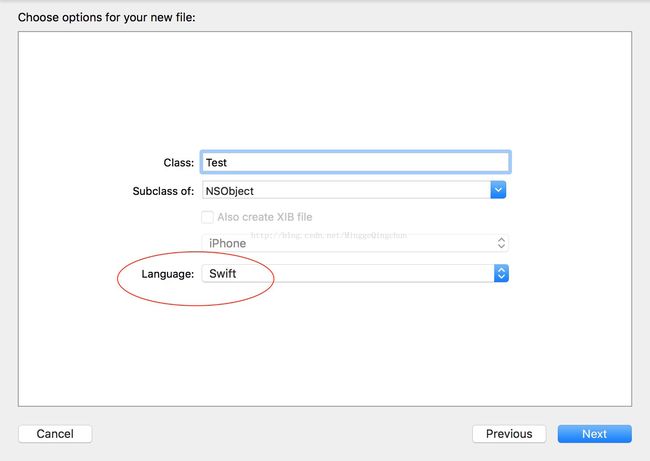
(2)创建一个Swift的Test类,选择Swift语言;!!!在这里生成的swift类必须是:类继承于NSObject或者使用@objc进行修饰
这时也会弹出一个桥接文件,这里不像Swift调用OC文件一样是必须的,但是第一次创建时我们必须要点击创建
(3)之后在swift类中添加自己代码
Test.swift
[objc] view plain copy
import UIKit
class Test: NSObject {
var arr = [String]();
override init(){
}
init(cap:NSInteger) {
arr = Array(repeating:"",count:cap);
}
subscript(index:Int) -> String?{
return arr[index];
}
func getLength() -> Int{
return arr.count;
}
func addElem(elm:String){
arr.append(elm);
}
}
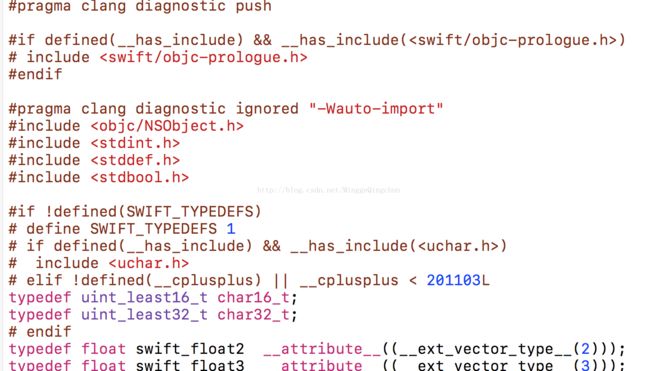
(4)这时我们可以先编译一下(command+B),这时系统会动生成一个ObjectiveCCallSwift-Swift.h文件,这个文件是所有Swift为了兼容OC产生的.h文件,他的命名规则是:产品名字-Swift.h;这里不会用到我们创建的桥接文件,我们选中 command+ObjectiveCCallSwift-Swift.h 点进去会看到一些自动编译生成的代码,最下方还有转换的OC代码

(5)在ViewController文件中调用swift的类,这时我们要注意如果按照swift类中方法有时报错找不到此方法,这是我们要注意查看Test这个类文件,看看被转换成OC之后方法名是否被修改(大家一定要注意这个步骤顺序的问题,之前博主就是因为顺序问题导致swift类不能识别或者缺少头文件等等问题)
[objc] view plain copy
#import "ViewController.h"
#import "ObjectiveCCallSwift-Swift.h"
@interface ViewController ()
@end
@implementation ViewController
- (void)viewDidLoad {
[super viewDidLoad];
Test *arr = [[Test alloc]init];
[arr addElemWithElm:@"hello"];
[arr addElemWithElm:@"world"];
NSInteger len = [arr getLength];
NSString *elm = [arr objectAtIndexedSubscript:0];
NSLog(@"len--%ld,elm--%@",len,elm);
}
@end
本文出自https://blog.csdn.net/minggeqingchun/article/details/54628876