SpringBoot初学(一)
(一)springboot初了解
springboot的出现降低了spring的开发难度以及入门的难度,在过去的spring开发中,需要配置大量的xml文件,springboot的出现,使得程序员得到了很大的解脱,能够让程序在sping下很快的运行起来。
(二)编写第一个springboot程序
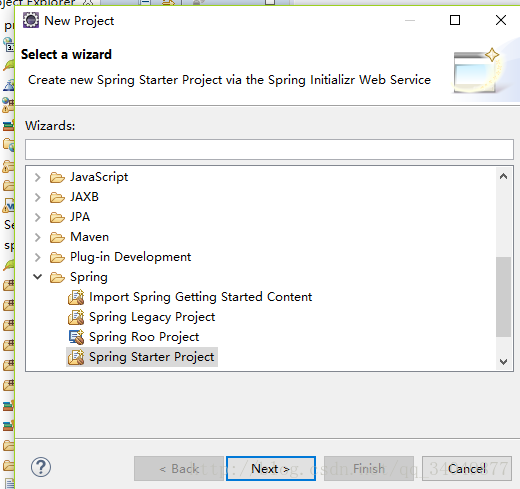
1.首先建立一个maven java工程 因为我用的是eclipse,以下的都是使用eclispe。

然后填写好一些相关的信息,next就可以,最后finish,就可以创建好一个工程。不过还需要一些配置。
在pom.xml文件中添加Spring Boot Maven的相关依赖
在pom.xml中引入spring-boot-start-parent依赖,它可以提供依赖管理的功能,在以后的依赖中,可以忽略版本号。因为在创建工程的时候会自动生成,就不用添加了。如果没有生成,则需要在pom.xml中手动添加上。就是下面的代码。
<parent>
        <groupId>org.springframework.bootgroupId>
        <artifactId>spring-boot-starter-parentartifactId>
        <version>1.5.7.RELEASEversion>
        <relativePath/>
parent>
(三)springboot下的web工程
因为开发的是web项目,所以需要在pom.xml文件中添加好关于web的配置信息。需要在pom.xml文件中引入spring-boot-starter-web配置,其中包含了spring web开发的相关信息以及tomcat中的特性。
<dependency>
            <groupId>org.springframework.bootgroupId>
            <artifactId>spring-boot-starter-webartifactId>
dependency>
(四) 在maven下运行Application
如果想在main方法中直接启动,就需要添加相关的插件,否则,会启动失败。如果是在maven下通过 spring-boot:run 指令启动,可以选择不配置。
<build>
    <plugins>
        <plugin>
            <groupId>org.springframework.bootgroupId>
            <artifactId>spring-boot-maven-pluginartifactId>
        plugin>
    plugins>
build>
这块代码在创建工程的时候,pom.xml文件里会生成,如果没有,可以选择手动添加。
(五) 写启动类中的代码
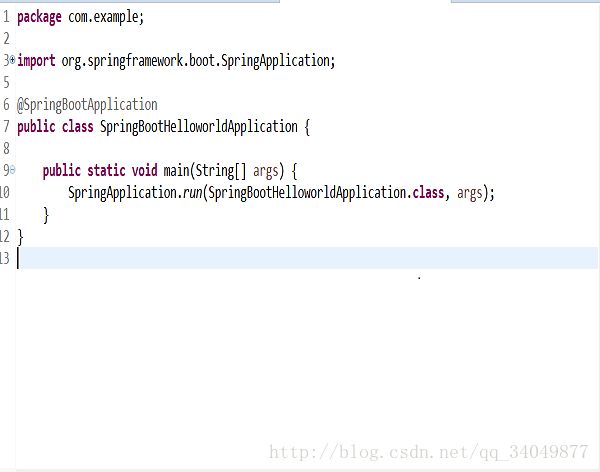
启动类在工程建立的时候都会生成一个启动类,整个工程的运行是以这个为开始的。
接下来,我们需要在启动类里面通过一些注解,来声明让springboot自动给我们做好sping的配置。
通过一个最简单的hello world例子来展示一下。
@SpringBootApplication申明让spring boot自动给程序进行必要的配置
@RestController则是返回json类型的数据。
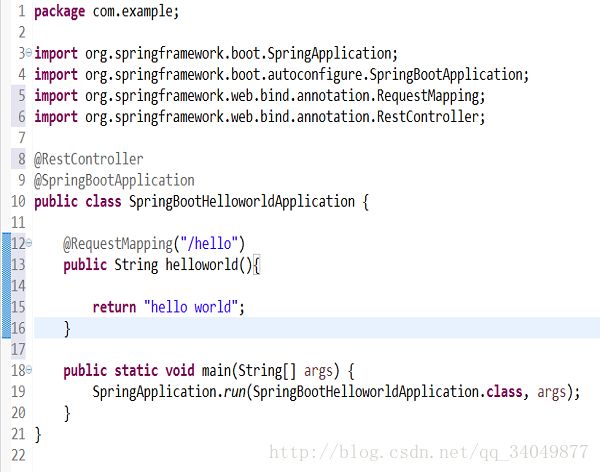
代码如下:
package com.example;

import org.springframework.boot.SpringApplication;
import org.springframework.boot.autoconfigure.SpringBootApplication;
import org.springframework.web.bind.annotation.RequestMapping;
import org.springframework.web.bind.annotation.RestController;

@RestController
@SpringBootApplication
public class SpringBootHelloworldApplication {

    @RequestMapping("/hello")
    public String helloworld(){
        System.out.println("hello world!");
        return "hello world";
    }

    public static void main(String[] args) {
        SpringApplication.run(SpringBootHelloworldApplication.class, args);
    }
}
@RequestMapping(“/hello”) 这里的hello与浏览器输入的相匹配。
(六) 工程的运行
第一种运行方式:右键 ->Run As ->Java Application 控制台就会输出一大堆启动信息。如下:

接下来 我们就可以打开浏览器,输入地址 localhost:8080/hello或者http://127.0.0.1:8080/hello 就可以看见在浏览器中输出hello world
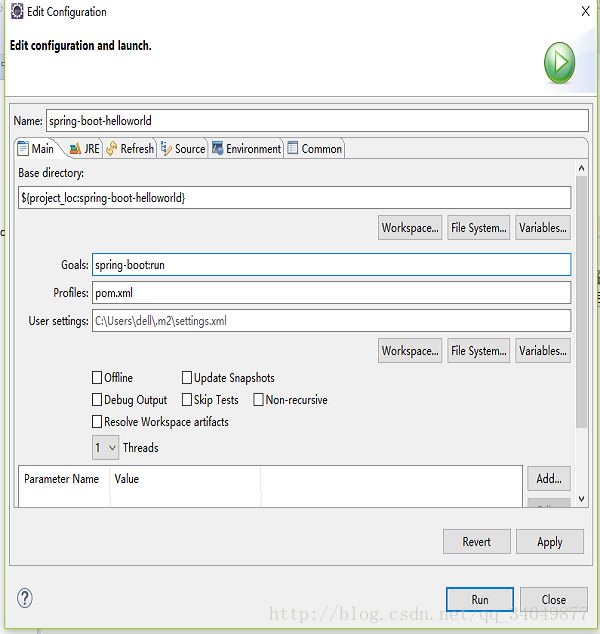
第二种启动方式: 右键project – Run as – Maven build – 在Goals里输入spring-boot:run ,然后Apply,最后点击Run。之后的步骤同上。

到此 第一个springboot工程就结束了。
注意:在开发springboot项目时,应该先搭好需要的环境以及相关插件,并且还需要配置好maven.


