一,yarn add jpush-react-native
yarn add jcore-react-native
react-native link
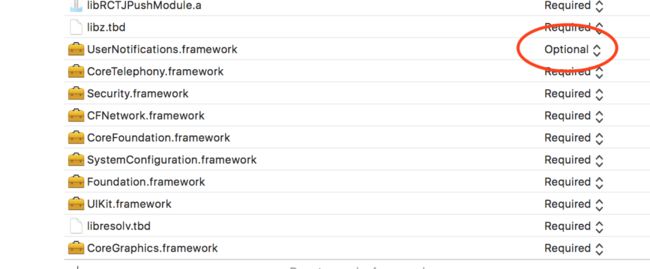
link后会自动添加上依赖包,然后把 其中一个库 UserNotification.framework status 设为 Optional
注:如果在已开发的项目植入极光推送,避免link其他包可选择
react-native link jpush-react-native
react-native link jcore-react-native
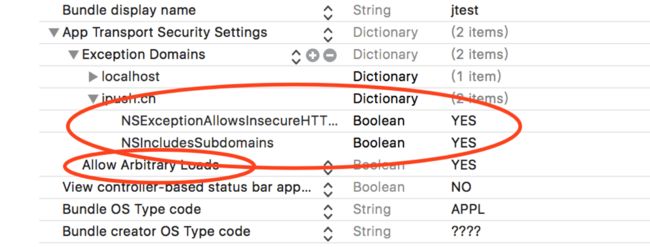
接下来配置Info.plist
设置ATS权限App Transport Security Settings的 Allow Arbitrary Loads为YES Exception Domains下的jpush.cn下的NSExceptionAllowsInsecureHTTPLoads为YES 和NSIncludesSubdomains为YES
二,制作极光推送所需的两个证书,申请csr文件(如果已申请的可跳过 )
打开mac钥匙串并从右上角选择从证书颁发机构请求证书
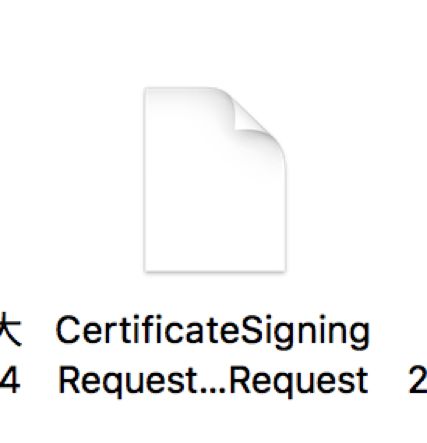
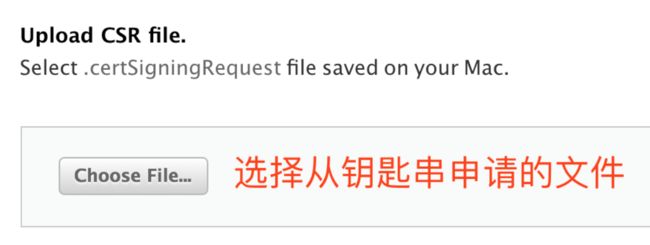
输入邮箱和密码(这个密码后面会用到)接着把证书保存到本地如下图
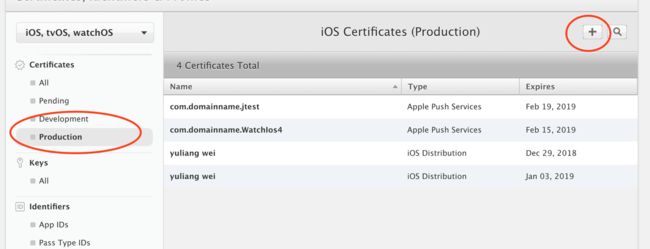
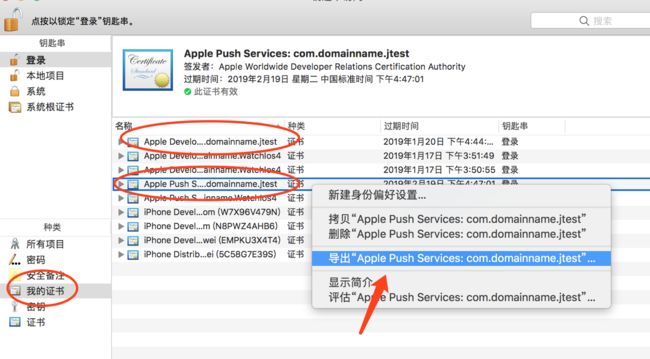
申请apple推送生产证书和开发证书(.p12后缀)申请之前确保appid的推送功能已打开如下图
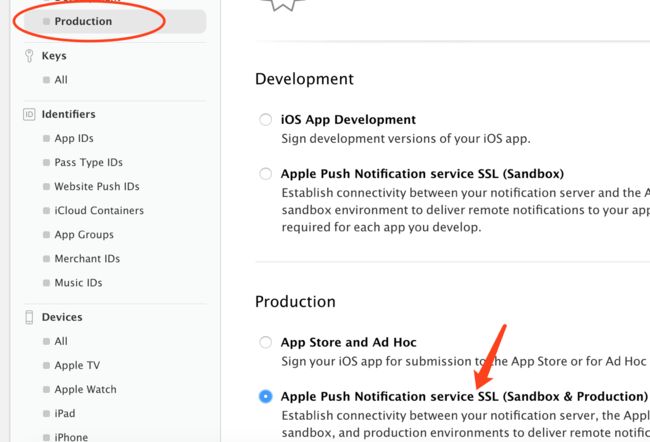
接下来申请生产证书
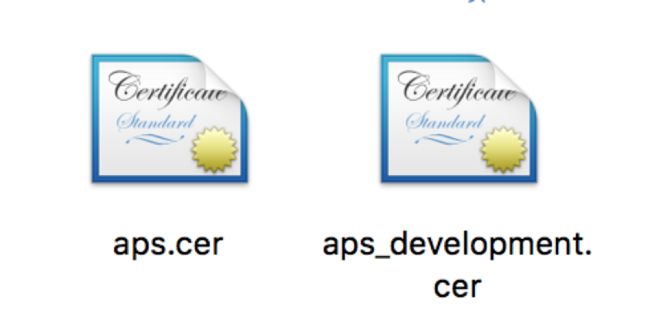
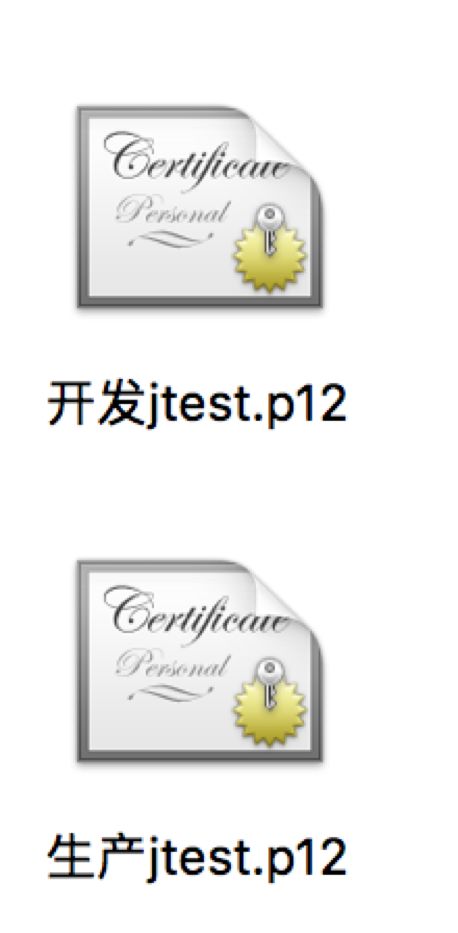
DOWN下来两个证书为下图
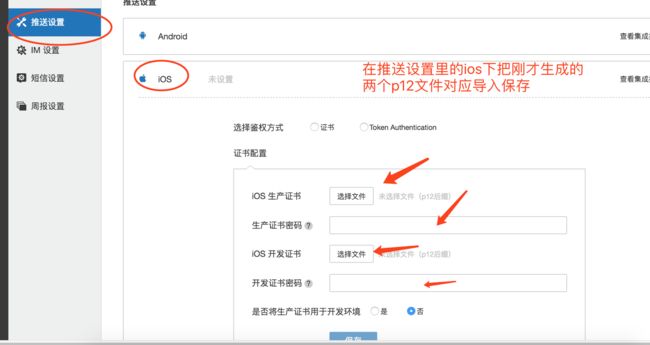
登录极光推送网站并创建一个应用得到appkey
三,回到工程目录下
在AppDelegate.m文件中加入
#import
#import "JPUSHService.h"
#ifdef NSFoundationVersionNumber_iOS_9_x_Max
#import
#endif
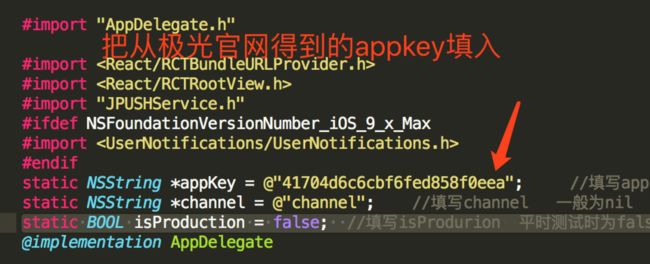
staticNSString *appKey = @"41704d6c6cbf6fed858f0eea"; //填写appkey
staticNSString *channel = @"channel"; //填写channel 一般为nil
staticBOOL isProduction = false; //填写isProdurion 平时测试时为false ,生产时填写true
以下代码参照:
-(BOOL)application:(UIApplication *)applicationdidFinishLaunchingWithOptions:(NSDictionary *)launchOptions
{
if ([[UIDevice currentDevice].systemVersionfloatValue] >= 8.0) {
//可以添加自定义categories
[JPUSHServiceregisterForRemoteNotificationTypes:(UIUserNotificationTypeBadge |
UIUserNotificationTypeSound |
UIUserNotificationTypeAlert)
categories:nil];
} else {
//iOS 8以前categories 必须为nil
[JPUSHServiceregisterForRemoteNotificationTypes:(UIRemoteNotificationTypeBadge |
UIRemoteNotificationTypeSound |
UIRemoteNotificationTypeAlert)
categories:nil];
}
[JPUSHService setupWithOption:launchOptionsappKey:appKey
channel:channelapsForProduction:isProduction];
NSURL *jsCodeLocation;
jsCodeLocation = [[RCTBundleURLProvidersharedSettings] jsBundleURLForBundleRoot:@"index.ios"fallbackResource:nil];
RCTRootView *rootView = [[RCTRootView alloc]initWithBundleURL:jsCodeLocation
moduleName:@"jtest"
initialProperties:nil
launchOptions:launchOptions];
rootView.backgroundColor = [[UIColor alloc]initWithRed:1.0f green:1.0f blue:1.0f alpha:1];
self.window = [[UIWindow alloc]initWithFrame:[UIScreen mainScreen].bounds];
UIViewController *rootViewController =[UIViewController new];
rootViewController.view = rootView;
self.window.rootViewController =rootViewController;
[self.window makeKeyAndVisible];
return YES;
}
//添加这个方法,将设备token传给极光的服务器
-(void)application:(UIApplication *)applicationdidRegisterForRemoteNotificationsWithDeviceToken:(NSData *)deviceToken {
[JPUSHServiceregisterDeviceToken:deviceToken];
}
//取得APNS推送过来的消息
-(void)application:(UIApplication *)applicationdidReceiveRemoteNotification:(NSDictionary *)userInfo{
// [[NSNotificationCenter defaultCenter]postNotificationName:kJPFDidReceiveRemoteNotification object:userInfo];
}
//添加如下几个方法
-(void)jpushNotificationCenter:(UNUserNotificationCenter *)centerwillPresentNotification:(UNNotification *)notificationwithCompletionHandler:(void (^)(NSInteger))completionHandler {
// Required
NSDictionary * userInfo =notification.request.content.userInfo;
if([notification.request.triggerisKindOfClass:[UNPushNotificationTrigger class]]) {
[JPUSHServicehandleRemoteNotification:userInfo];
// [[NSNotificationCenter defaultCenter] postNotificationName:kJPFDidReceiveRemoteNotificationobject:userInfo];
}
completionHandler(UNNotificationPresentationOptionAlert); //需要执行这个方法,选择是否提醒用户,有Badge、Sound、Alert三种类型可以选择设置
}
-(void)jpushNotificationCenter:(UNUserNotificationCenter *)centerdidReceiveNotificationResponse:(UNNotificationResponse *)responsewithCompletionHandler:(void (^)())completionHandler {
// Required
NSDictionary * userInfo =response.notification.request.content.userInfo;
if([response.notification.request.triggerisKindOfClass:[UNPushNotificationTrigger class]]) {
[JPUSHServicehandleRemoteNotification:userInfo];
// [[NSNotificationCenter defaultCenter]postNotificationName:kJPFDidReceiveRemoteNotification object:userInfo];
}
completionHandler();//系统要求执行这个方法
}
//iOS 7Remote Notification
-(void)application:(UIApplication *)applicationdidReceiveRemoteNotification:(NSDictionary *)userInfofetchCompletionHandler:(void (^)(UIBackgroundFetchResult))completionHandler {
// [[NSNotificationCenter defaultCenter]postNotificationName:kJPFDidReceiveRemoteNotification object:userInfo];
}
@end
在页面中引入
import JPushModulefrom 'jpush-react-native';
componentDidMount() {
JPushModule.getRegistrationID((registrationid)=> {
alert(registrationid);
});
////这里获取registrationid
}
打完收工!!!!!!

