自定义加载动画的效果
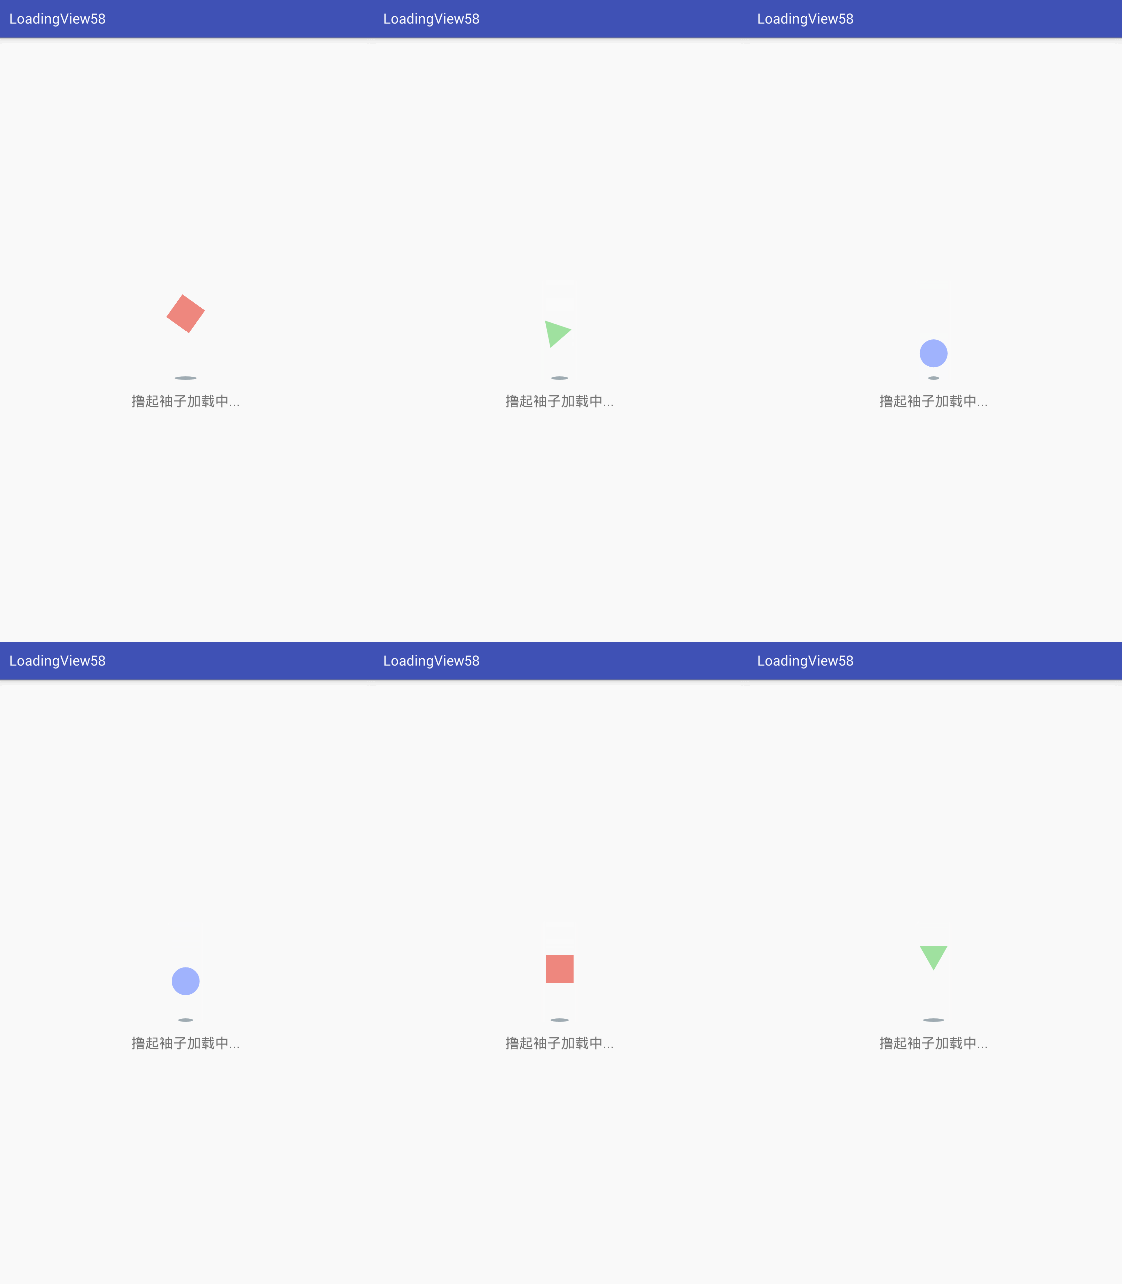
大家好,今天分享一个之前在某个app上看到一个加载的效果,效果如下:
首先,我们来拆分下这个效果:
- 首先,最上面的是一个带着各种动画的会变形的图形
- 然后接下来的,是一个阴影的效果,距离图形越远,阴影的面积就越大
- 最下面,是一个TextView
好,按照我们的拆分步骤,首先来实现下图形变化这个效果:
话不多说,直接上代码:
/**
 * Created by DELL on 2017/9/14.
 * Description :自定义图形变换的view
 */

public class ShapeView extends View {

    private Paint mPaint;
    //默认初始状态为圆形
    private Shape mCurrentShape = Shape.Circle;

    public ShapeView(Context context) {
        this(context,null);
    }

    public ShapeView(Context context, @Nullable AttributeSet attrs) {
        this(context, attrs,1);
    }

    public ShapeView(Context context, @Nullable AttributeSet attrs, int defStyleAttr) {
        super(context, attrs, defStyleAttr);

        mPaint = new Paint();
        mPaint.setAntiAlias(true);
        mPaint.setStyle(Paint.Style.FILL);//设置类型为填充
    }

    @Override
    protected void onMeasure(int widthMeasureSpec, int heightMeasureSpec) {
        super.onMeasure(widthMeasureSpec, heightMeasureSpec);
        int width = MeasureSpec.getSize(widthMeasureSpec);
        int height = MeasureSpec.getSize(heightMeasureSpec);

        setMeasuredDimension(width>height?height:width,width>height?height:width);
    }

    @Override
    protected void onDraw(Canvas canvas) {
        switch (mCurrentShape){
            case Circle:
                //画圆形
                int center = getHeight()/2;
                mPaint.setColor(getContext().getResources().getColor(R.color.circle));
                canvas.drawCircle(center,center,center,mPaint);
                break;
            case Square:
                //画正方形
                mPaint.setColor(getContext().getResources().getColor(R.color.rect));
                canvas.drawRect(0,0,getWidth(),getHeight(),mPaint);
                break;
            case Triangle:
                //画正三角形
                /**
                 * 由于没有现成的API,所以这里采用的方法是使用画Path的方法来绘画
                 */
                mPaint.setColor(getContext().getResources().getColor(R.color.triangle));
                Path path = new Path();
                int dy = (int) (Math.sqrt(3)*getHeight()/2);
                int offsetY = (getHeight() - dy)/2;
                path.moveTo(getWidth()/2,offsetY);
                path.lineTo(getWidth(),getHeight()-offsetY);
                path.lineTo(0,getHeight()-offsetY);
                path.close();
                canvas.drawPath(path,mPaint);
                break;
        }
    }

    public void changeShape(){
        if (mCurrentShape == Shape.Circle){
            mCurrentShape = Shape.Square;
        }else if(mCurrentShape == Shape.Square){
            mCurrentShape = Shape.Triangle;
        }else if(mCurrentShape == Shape.Triangle){
            mCurrentShape = Shape.Circle;
        }
        invalidate();
    }

    //枚举出所有的类型
    public enum Shape{
        //圆形,正方形,正三角
        Circle,Square,Triangle;
    }
}
这里,采用的方法是使用画笔来绘制图形,圆和正方形都好说,有现成的api可以调用,当时最后的这个正三角形,需要我们自己来绘制,这里使用的方法是通过Path这个类来处理。绘制完成之后,我们只需要让他每隔一段时间切换形状就可以了!
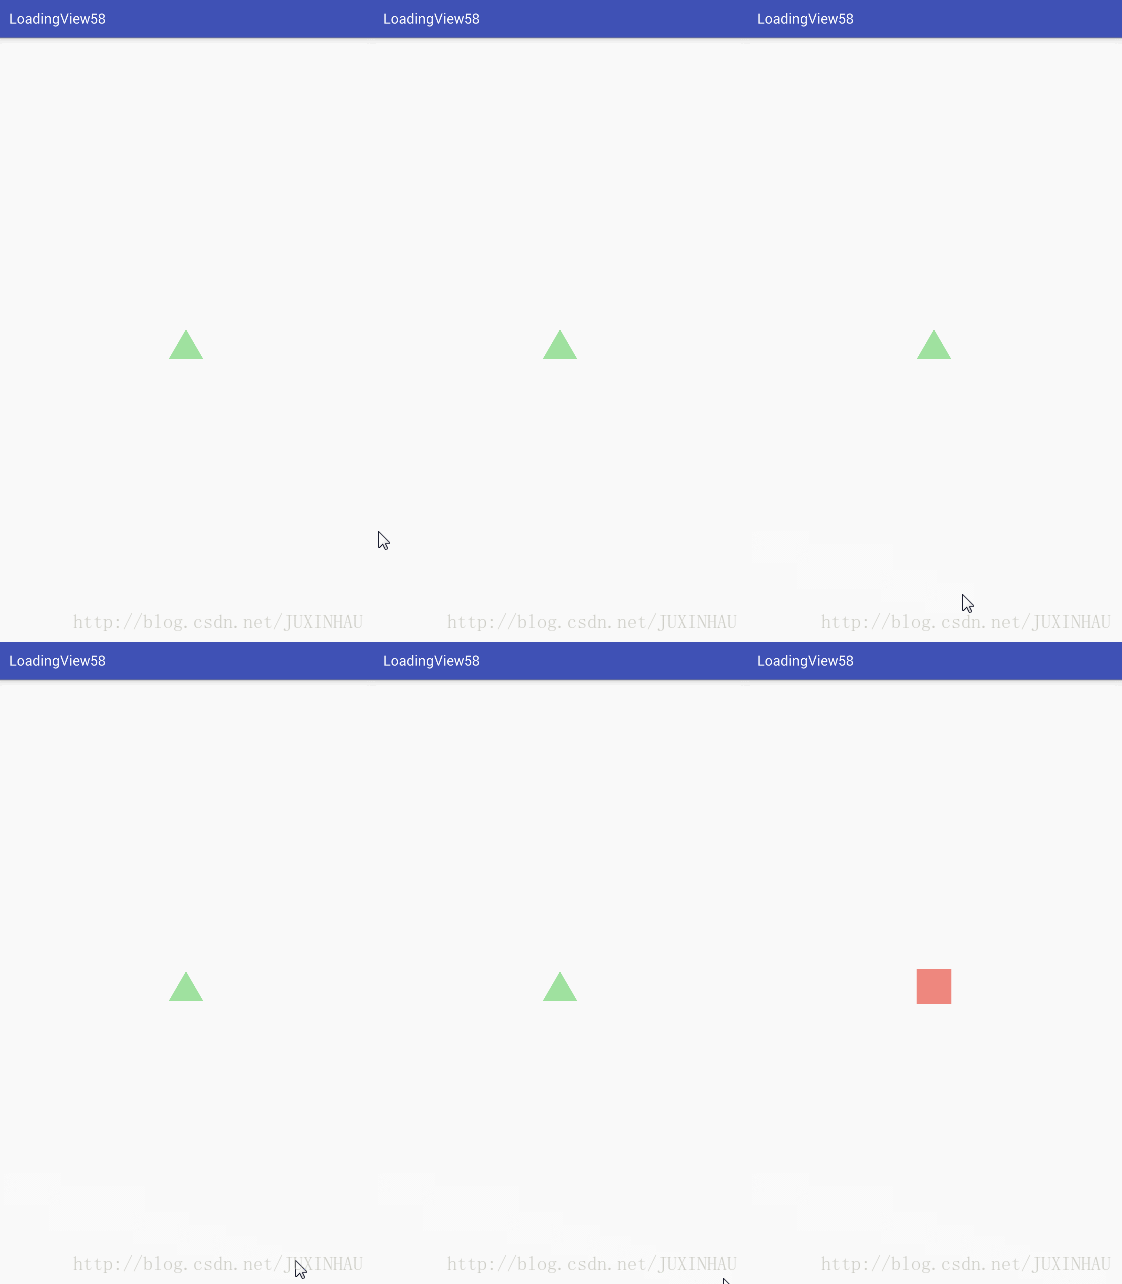
绘制完成之后,效果如下:
好了,其实到这里,可以说我们今天的效果已经实现了一半了,下面的事情,基本上交给属性动画来处理就好了:
首先,我们写好布局:
<LinearLayout xmlns:android="http://schemas.android.com/apk/res/android"
              android:orientation="vertical"
              android:layout_width="match_parent"
              android:layout_height="match_parent"
    android:gravity="center">

    <com.justh.dell.loadingview58.ShapeView
        android:id="@+id/shapeview"
        android:layout_width="40dp"
        android:layout_height="40dp"
        android:layout_marginBottom="100dp"/>

    <View
        android:id="@+id/shadow"
        android:layout_width="40dp"
        android:layout_height="5dp"
        android:background="@drawable/shape_shadow"/>

    <TextView
        android:layout_width="wrap_content"
        android:layout_height="wrap_content"
        android:textSize="20dp"
        android:text="撸起袖子加载中..."
        android:paddingTop="16dp"/>

LinearLayout>
然后在自定义的LinearLayout中来处理动画效果,阴影变换效果就好了!阴影的形状,我们可以使用一个drawable的资源文件来设置其背景!
<shape xmlns:android="http://schemas.android.com/apk/res/android"
    android:shape="oval">

    <solid android:color="#9fabb2"/>

shape>
/**
* Created by DELL on 2017/9/14.
* Description :
*/
public class LoadingView extends LinearLayout {
//图形view
private ShapeView mShapeView;
//阴影
private View mShadowView;
private int mDropDistance;
private boolean stopAnimation = false;
public LoadingView(Context context) {
this(context,null);
}
public LoadingView(Context context, @Nullable AttributeSet attrs) {
this(context, attrs,0);
}
public LoadingView(Context context, @Nullable AttributeSet attrs, int defStyleAttr) {
super(context, attrs, defStyleAttr);
mDropDistance = dip2px(100);
initLoadingView();
}
private void initLoadingView(){
inflate(getContext(),R.layout.loading_view,this);
mShapeView = (ShapeView) findViewById(R.id.shapeview);
mShadowView = findViewById(R.id.shadow);
startDropAnimation();
}
//开启下落的动画 伴随阴影缩小
private void startDropAnimation(){
if(stopAnimation){
return;
}
//下落的动画
ObjectAnimator translationAnimator = ObjectAnimator.ofFloat(mShapeView,"translationY",0,mDropDistance);
//阴影缩小的动画
ObjectAnimator scaleAnimator = ObjectAnimator.ofFloat(mShadowView,"scaleX",1f,0.3f);
//创建一个动画集合
AnimatorSet animatorSet = new AnimatorSet();
//设置动画执行时长
animatorSet.setDuration(1000);
//设置插值器
animatorSet.setInterpolator(new AccelerateInterpolator());
//设置一起启动
animatorSet.playTogether(translationAnimator,scaleAnimator);
animatorSet.addListener(new AnimatorListenerAdapter() {
/**
* 监听动画结束 开启上抛动画 并切换形状
* @param animation
*/
@Override
public void onAnimationEnd(Animator animation) {
//切换形状
mShapeView.changeShape();
//开启上抛动画
startUpThrowAnimation();
}
});
animatorSet.start();
}
/**
* 与下落动画类似
*/
private void startUpThrowAnimation(){
if(stopAnimation){
return;
}
//下落的动画
ObjectAnimator translationAnimator = ObjectAnimator.ofFloat(mShapeView,"translationY",mDropDistance,0);
//阴影缩小的动画
ObjectAnimator scaleAnimator = ObjectAnimator.ofFloat(mShadowView,"scaleX",0.3f,1f);
//创建一个动画集合
AnimatorSet animatorSet = new AnimatorSet();
//设置动画执行时长
animatorSet.setDuration(1000);
//设置插值器
animatorSet.setInterpolator(new DecelerateInterpolator());
//设置一起启动
animatorSet.playTogether(translationAnimator,scaleAnimator);
animatorSet.addListener(new AnimatorListenerAdapter() {
/**
* 监听结束动画 结束之后 开启下落动画
* @param animation
*/
@Override
public void onAnimationEnd(Animator animation) {
startDropAnimation();
}
/**
* 当该上抛动画开启之后,开启图形的旋转动画
* @param animation
*/
@Override
public void onAnimationStart(Animator animation) {
startRotateAnimation();
}
});
animatorSet.start();
}
/**
* 开启图形旋转动画 旋转180度
*/
private void startRotateAnimation(){
ObjectAnimator rotateAnimation = ObjectAnimator.ofFloat(mShapeView,"rotation",0,180);
rotateAnimation.setDuration(1000);
rotateAnimation.setInterpolator(new DecelerateInterpolator());
rotateAnimation.start();
}
private int dip2px(int dp){
return (int) TypedValue.applyDimension(TypedValue.COMPLEX_UNIT_DIP,dp,getResources().getDisplayMetrics());
}
/**
* 优化一些能够想到的细节
* 比如当数据加载完成之后,将该加载view设置为Gone,
* 但其实,还是在运行着的(小伙伴们可以自行在开启动画的代码块上去打印log) 只是将其设置为不可见了
* 这里采用的方法是 在用户将视图设置为Gone之后,
* 1:清除动画
* 2:在父布局中移除该加载view,
* 3:给其设置标志位
*/
//清除动画
@Override
public void setVisibility(int visibility) {
if(visibility == GONE){
super.setVisibility(View.INVISIBLE);// 不要再去排放和计算,少走一些系统的源码(View的绘制流程)
}else{
super.setVisibility(visibility);
}
mShapeView.clearAnimation();
mShadowView.clearAnimation();
ViewGroup parent = (ViewGroup) getParent();
if(parent != null){
parent.removeView(this);
removeAllViews();
}
stopAnimation = true;
}
}好了 ,到这里,就差不许多了,我们只需要在使用到的地方,引入这个自定义的view就可以了!
最后,再来看一遍辛辛苦苦写出来的效果,哈哈ha !

