centos分布式文件存储系统搭建nginx+fastdfs
本教程针对centos系统搭建。tracker和storage都在本机。
云服务器需打开23000和22122端口
一、软件准备与上传(准备好后,上传到服务器中)
1、fastdfs,fastdfs-nginx-module,libfastcommon
以上三款软件下载地址:https://github.com/happyfish100
2.nginx:nginx.org
二、安装需要的依赖
yum install gcc-c++ -y
yum -y install zlib zlib-devel pcre pcre-devel gcc gcc-c++ openssl openssl-devel libevent libevent-devel perl unzip net-tools wget
三、安装libfastcommon
1.解压libfastcommon文件
unzip libfastcommon-master
2.进入文件目录
cd libfastcommon-master
3.编译
./make.sh && make install
4.安装
./make.sh install
四、安装fastdfs
1.进入软件目录
cd /opt
2.解压文件
unzip fastdfs-master.zip
3.进入目录
cd fastdfs-master
4.编译
./make.sh
5.安装
./make.sh install
1)、配置tracker
1.编辑文件
vi /etc/fdfs/tracker.conf
2.配置storage
1.编辑文件
vi /etc/fdfs/storage.conf
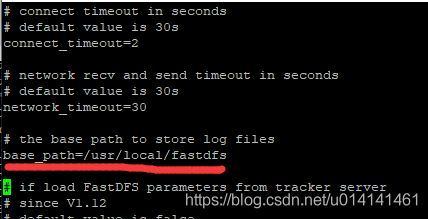
2.修改软件和数据目录

3.修改文件存储目录
![]()
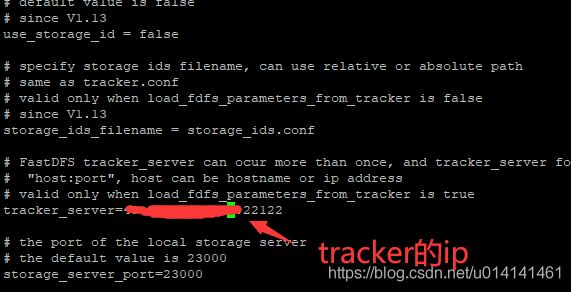
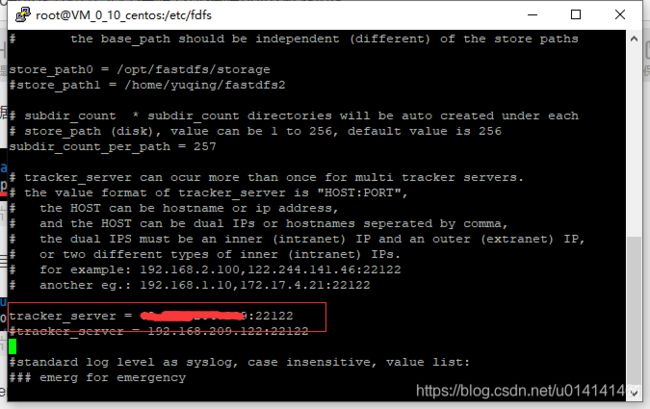
4.配置tracker_server,tracker和storage在一台机器上,就配本地ip:22122,:wq保存退出
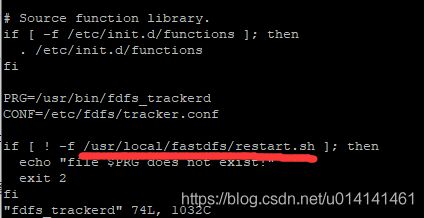
4. 配置tracker的启动服务
vi /etc/init.d/fdfs_trackerd
2.参照图中修改,(保证可以访问到脚本,一般是解压目录)
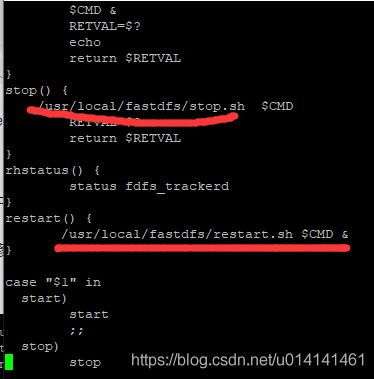
5.配置storaged的启动服务
1.编辑文件
vi /etc/init.d/fdfs_storaged
2.参照图中修改,(保证可以访问到脚本,一般是解压目录)
6、加入服务
chkconfig --add fdfs_storaged
chkconfig --add fdfs_trackerd
7、启动测试
service fdfs_trackerd start
service fdfs_storaged start
五、安装fastdfs-nginx-module插件
1.进入软件存放目录
cd /opt
2.解压文件
unzip fastdfs-nginx-module-master.zip
3.编辑文件
vi fastdfs-nginx-module-master/src/config
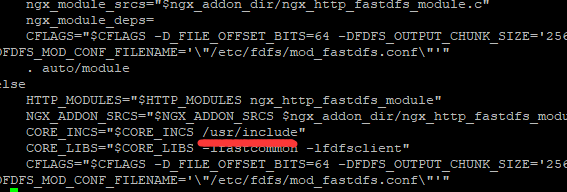
4.去掉路径中间的local,:wq保存退出
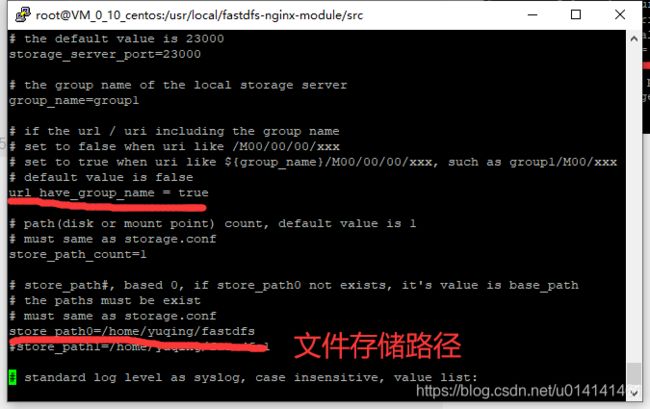
5.编辑配置文件
vi fastdfs-nginx-module-master/src/mod_fastdfs.conf
六、nginx安装
1.解压
tar -xvf nginx-1.16.1.tar.gz
2.进入目录
cd nginx-1.16.1
3.引入模块
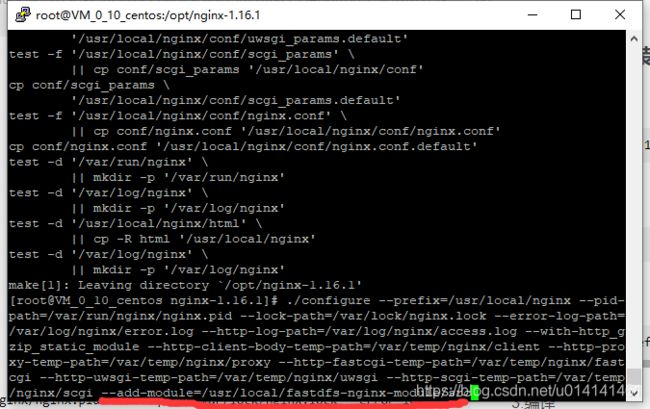
./configure --prefix=/usr/local/nginx --pid-path=/var/run/nginx/nginx.pid --lock-path=/var/lock/nginx.lock --error-log-path=/var/log/nginx/error.log --http-log-path=/var/log/nginx/access.log --with-http_gzip_static_module --with-http_stub_status_module --with-http_ssl_module --http-client-body-temp-path=/var/temp/nginx/client --http-proxy-temp-path=/var/temp/nginx/proxy --http-fastcgi-temp-path=/var/temp/nginx/fastcgi --http-uwsgi-temp-path=/var/temp/nginx/uwsgi --http-scgi-temp-path=/var/temp/nginx/scgi --add-module=/usr/local/fastdfs-nginx-module/src
make && make install
6.修改配置,照下图配置,/wq保存退出
vi /usr/local/nginx/conf/nginx.conf
加入下面代码,让nginx解析给插件
ngx_fastdfs_module;


